Wire Forming Tools
April 14, 2019
Wire Forming Tools
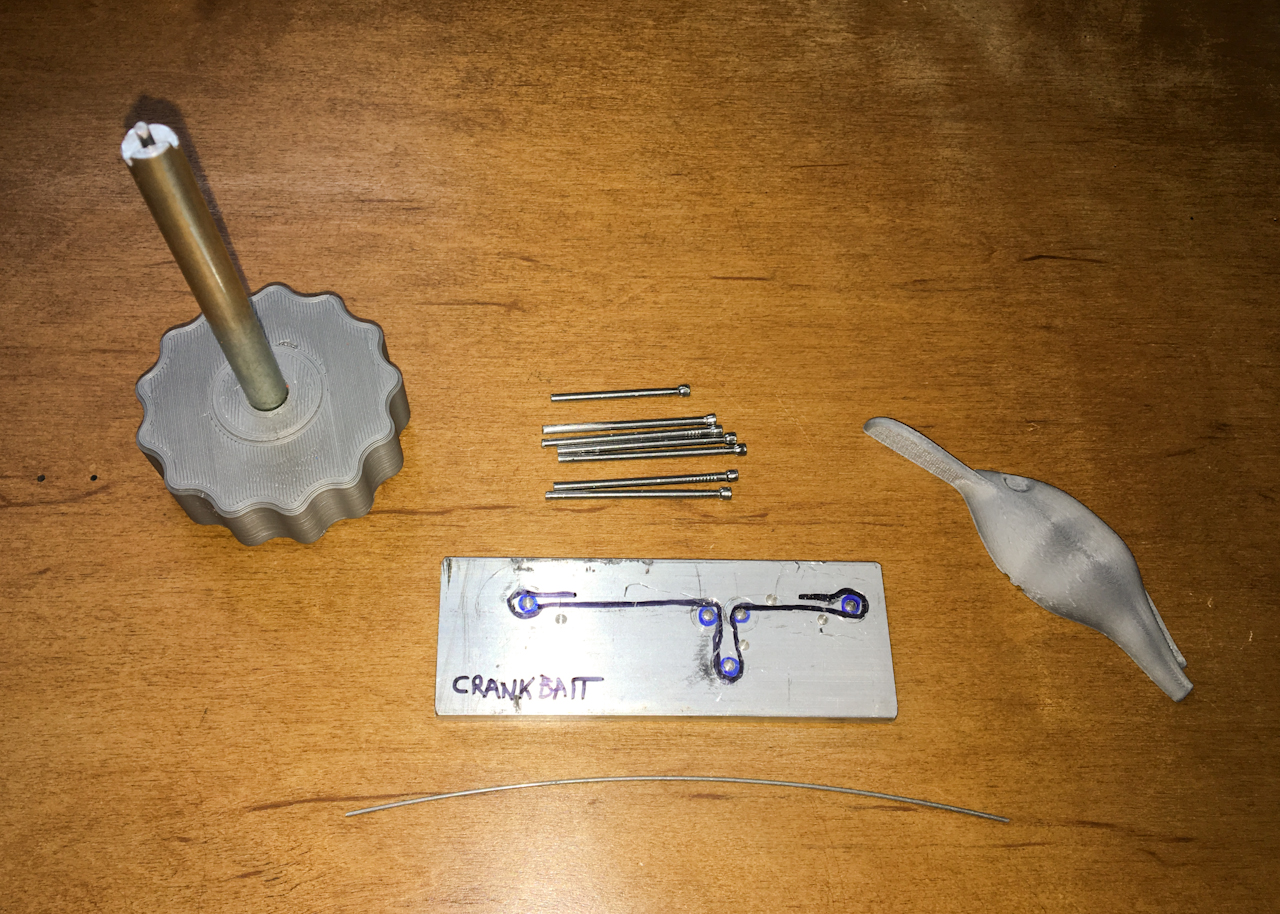
This is a simple jig and wire forming tool for making wire forms for fishing lures. Using these tools you can make exact forms over and over in less than a minute or two.

I’ve been using these wire forming pliers to make all my forms and while they work great it is a time consuming process.
I figured making a jig would be faster and make the forms more uniform so I tried to make a jig out of aluminum plate and some pins. I tried to just use a X-acto hand as a quick tube like bender but it didn’t work very well because it doesn’t sit flat against the jig and the hole was to big for the wire so it didn’t bend accurately enough.
After looking around on the internet and looking at forming tools you can buy I didn’t come across much that looked like it would work. I then stumbled across this video by the Engineered Angler on Youtube and it shows the style tool pictured above that he came up with. It looked exactly what I needed so I had to make one.
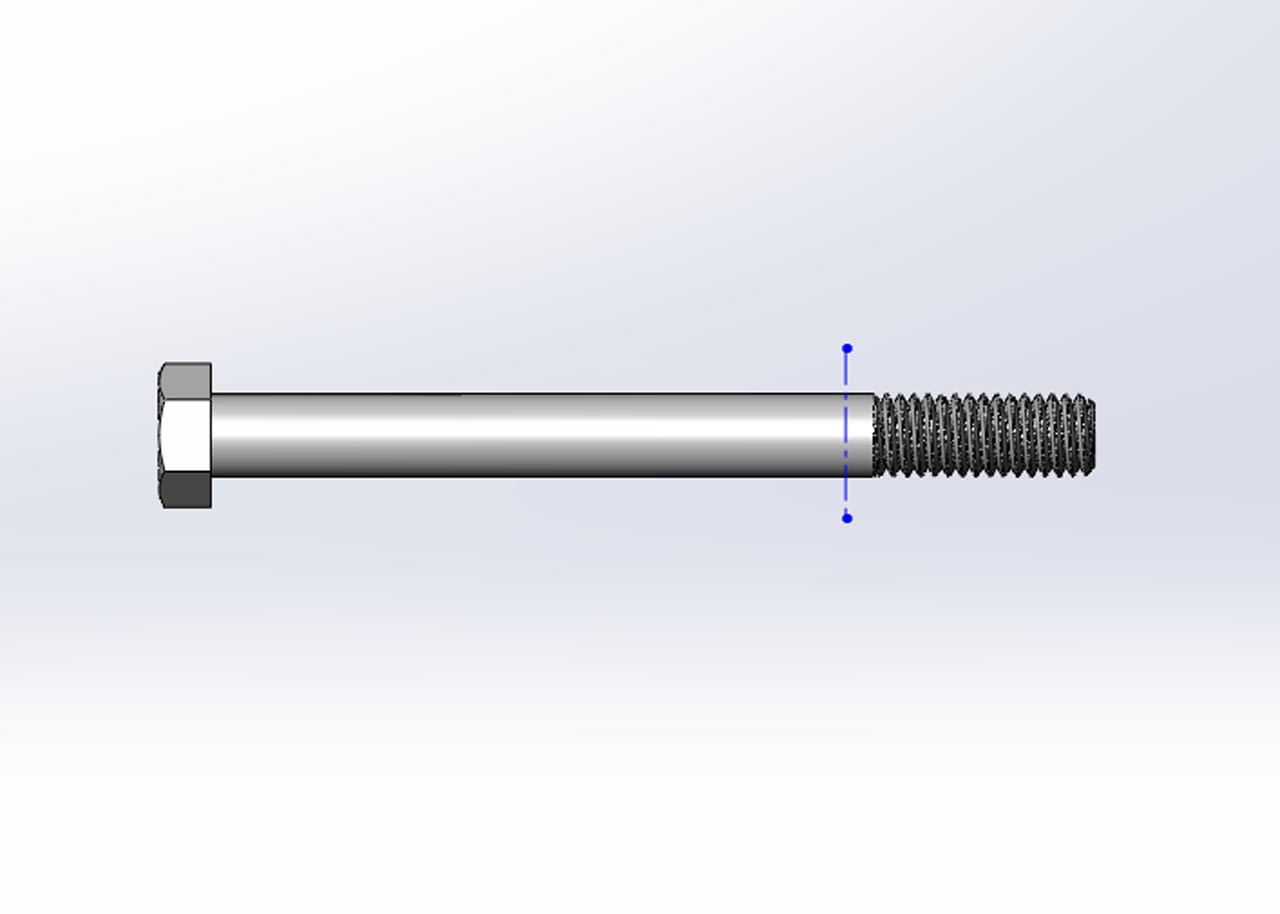
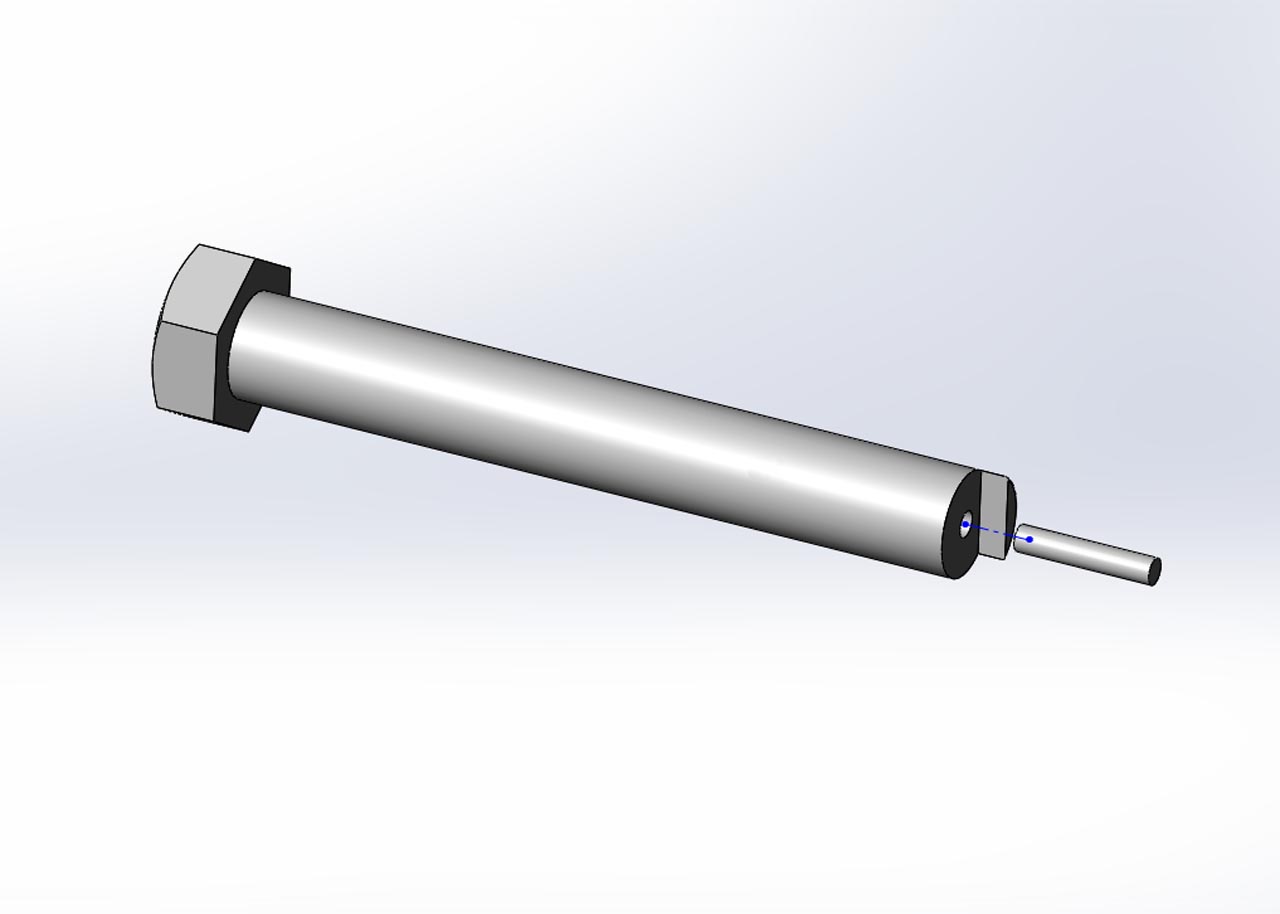
I didn’t take actual pictures of the make but these images show the process I went about to make the tool. I started but cutting off the threaded end of a 4″ long 3/8″ bolt with a hacksaw.

Next I drilled a 3/32″ hole in the center of the bolt. (this size matches the 6D nails I am using for pins.) I did this on a lathe but if you center punch it you can probably do it on a drill press or even by hand.
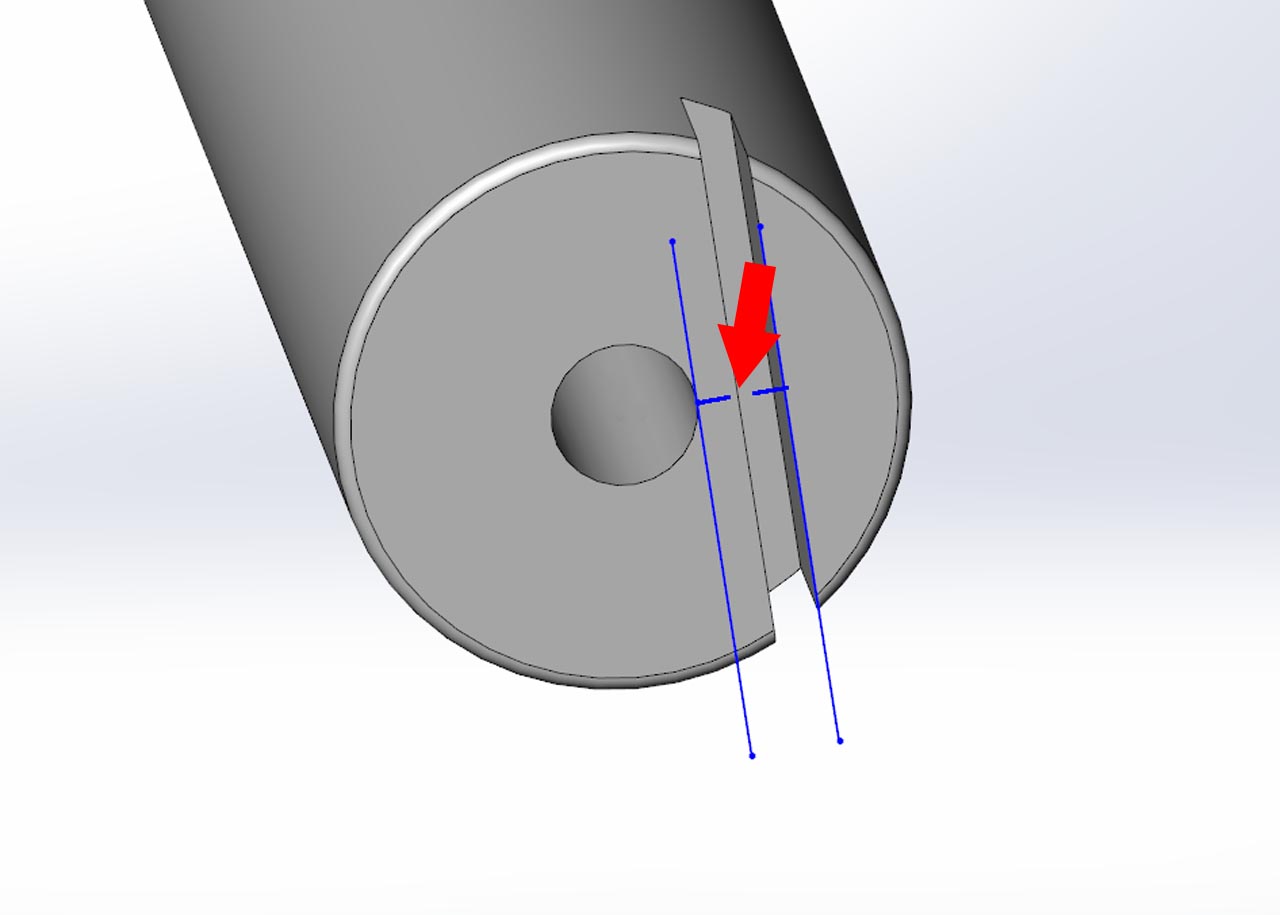
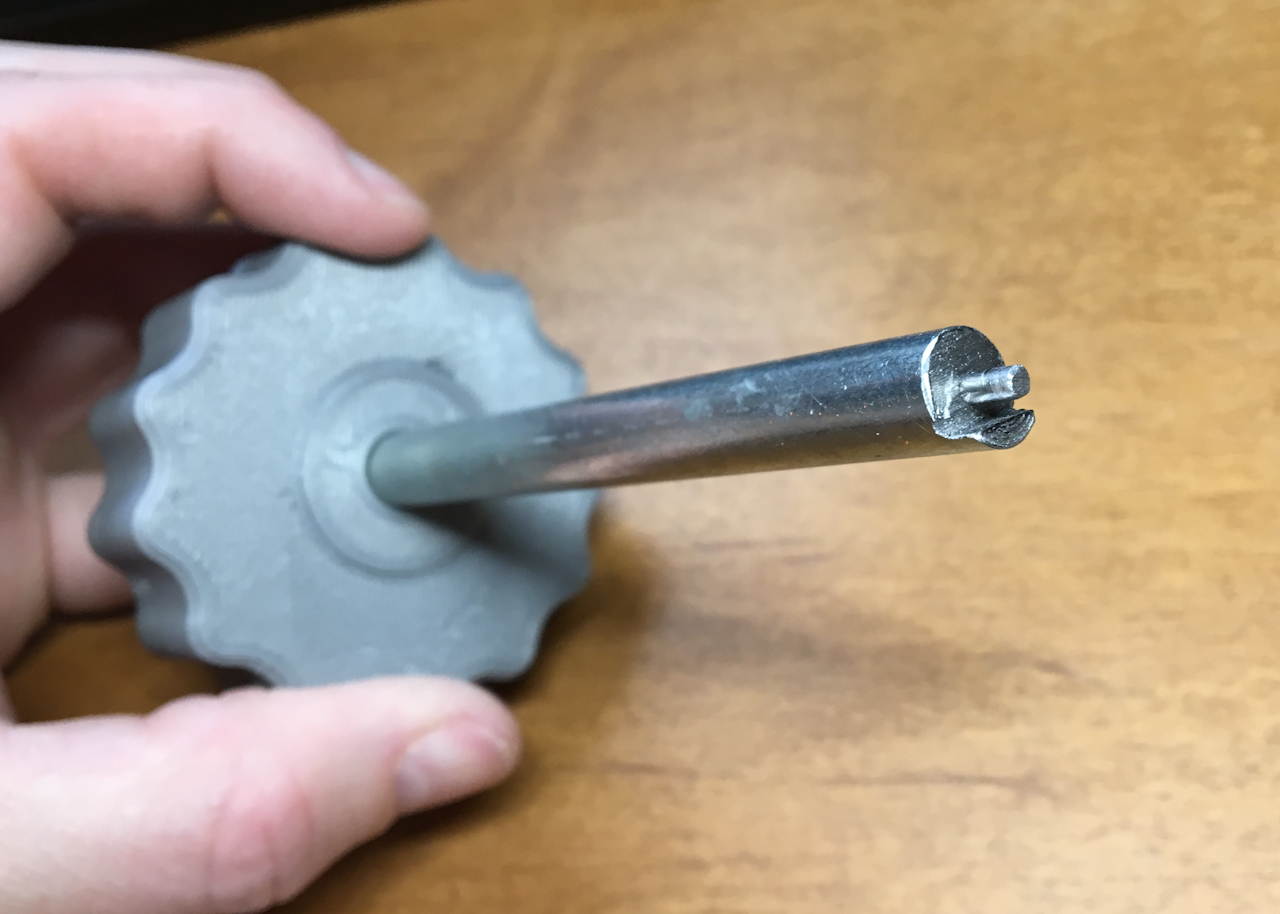
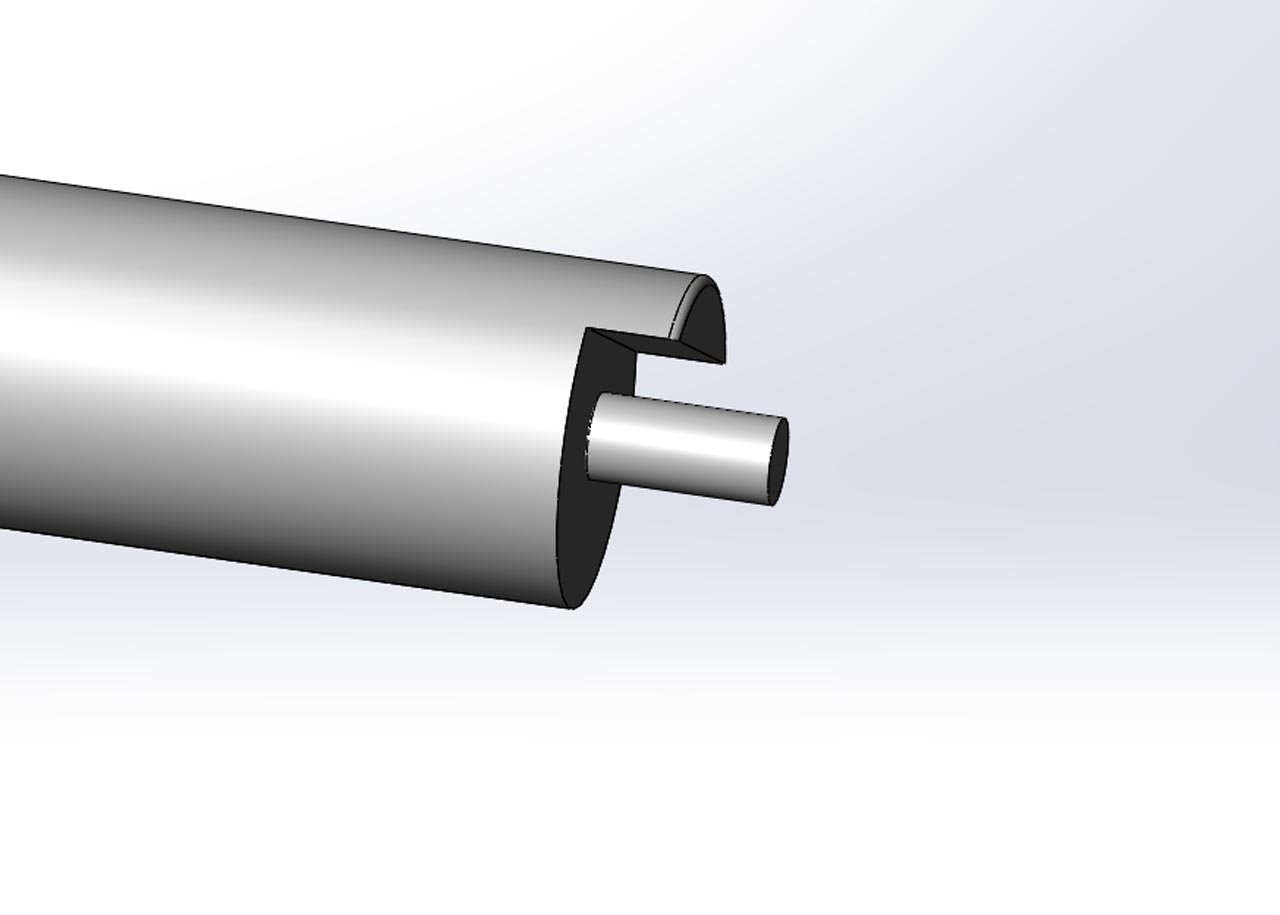
I then cut a slot in the face using a hacksaw. The spacing dimension between the outer edge of the center pin hole and the side wall you are creating should match the wire diameter you are going to bend. (I cut the slot to a depth of .10″)
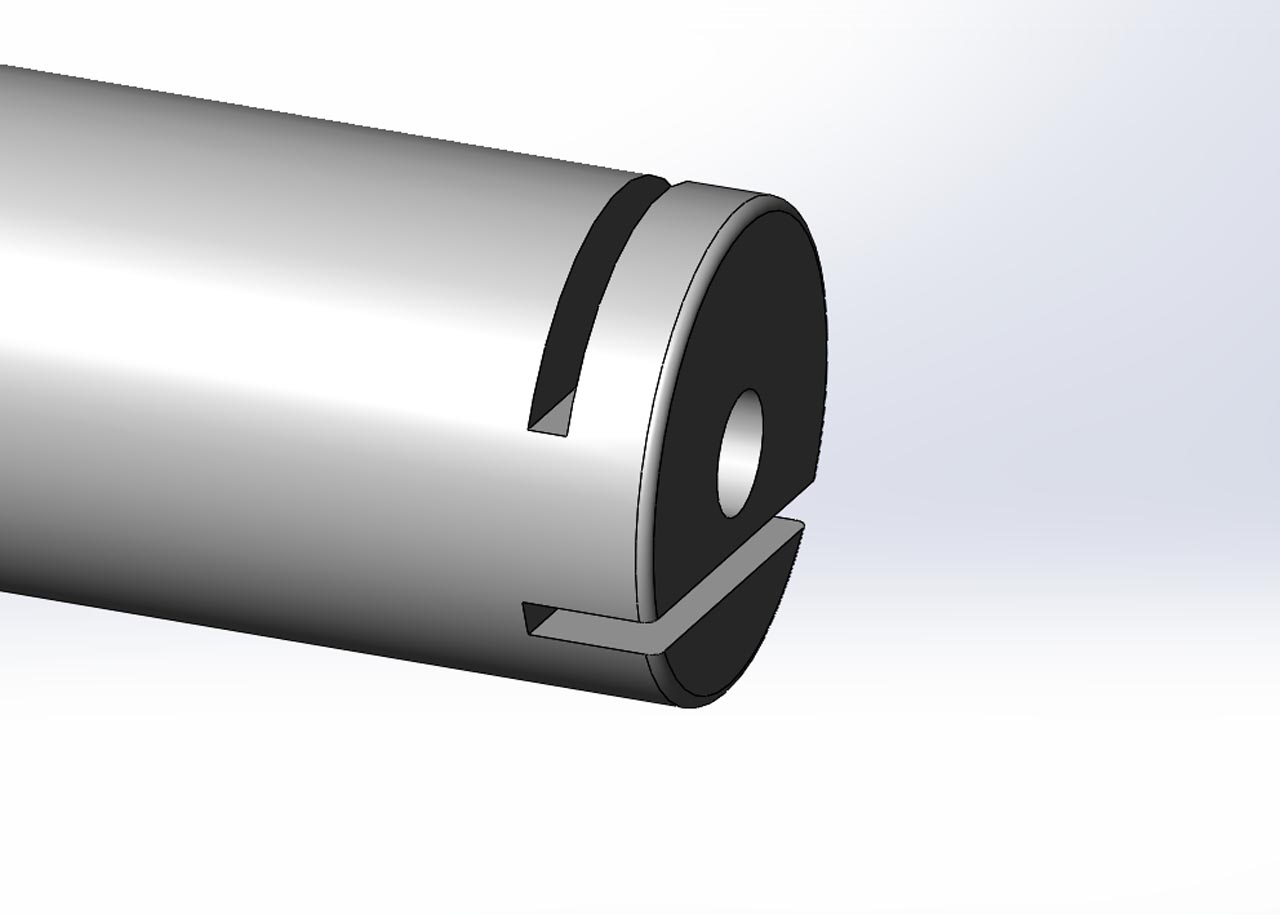
After that I cut from the side of the bolt until I meet up with the first slot. (starter cut shown)
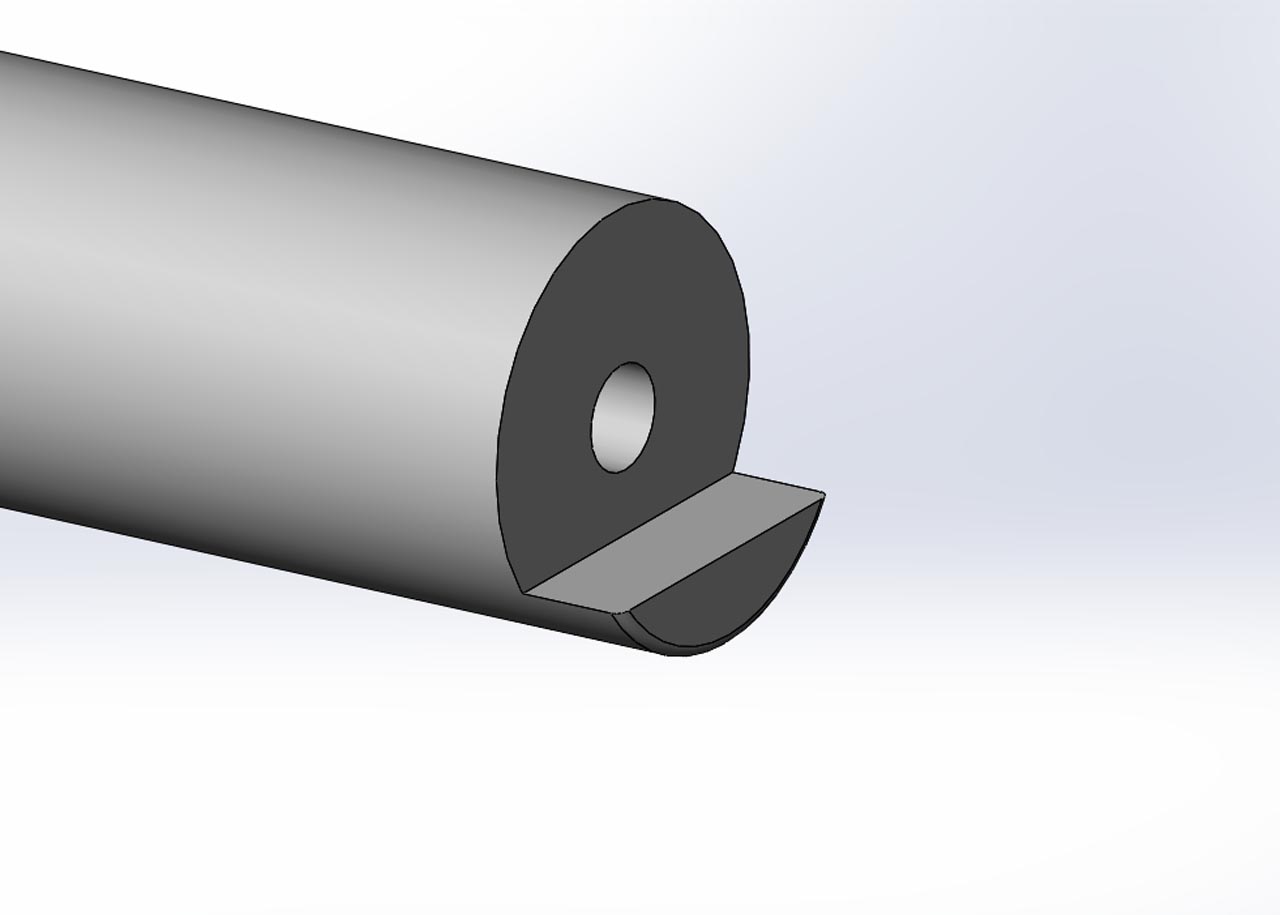
When complete it should form a shoulder that looks like this. (you may need to clean up the surfaces with a file.
I then just hammer in a piece of a 6D nail and trim it off to length.
The length of the pin (nail) should extend past the shoulder you created but the length extending past the shoulder should be based on the thickness of your jig material. (You do not want the tip to stick through the holes in the jig.)
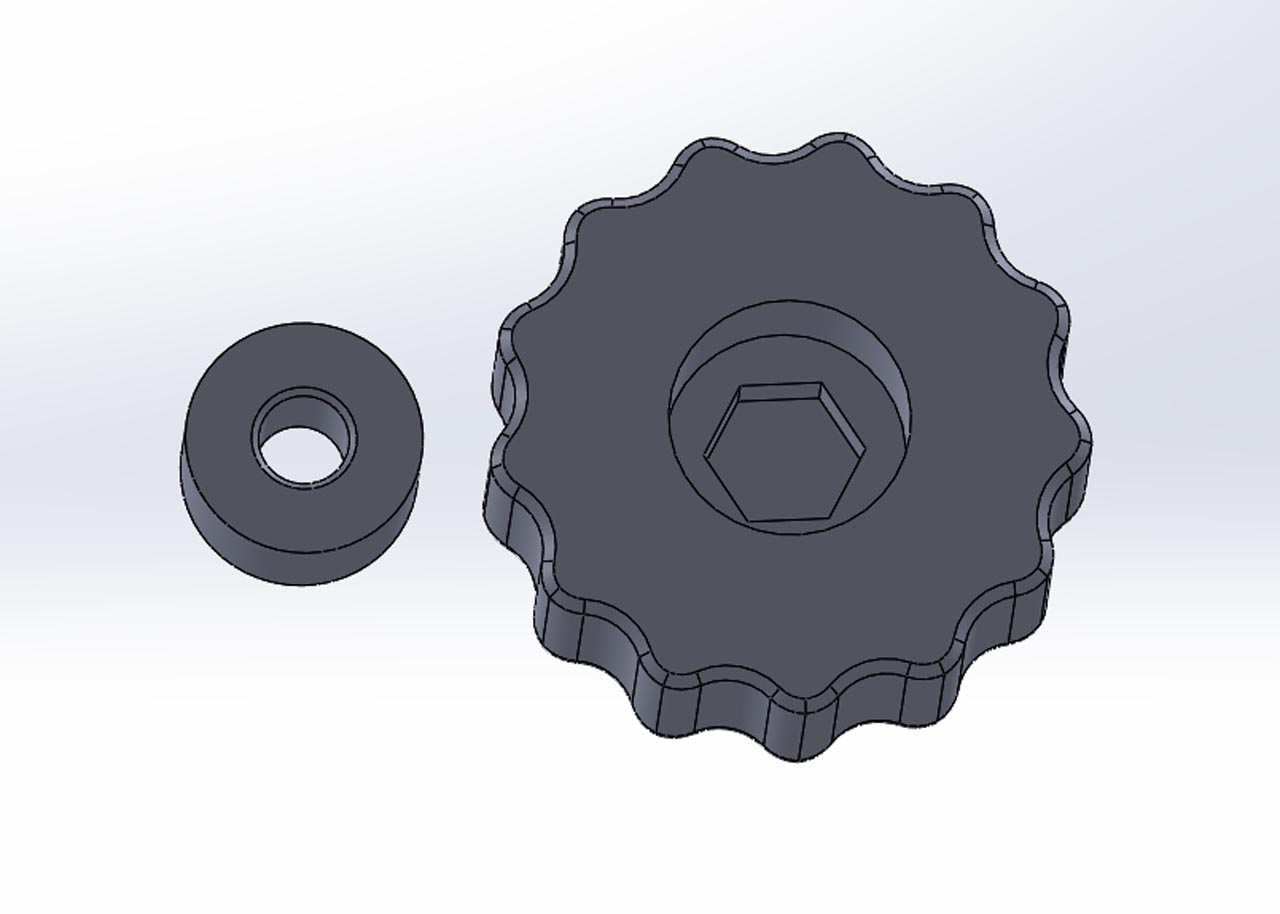
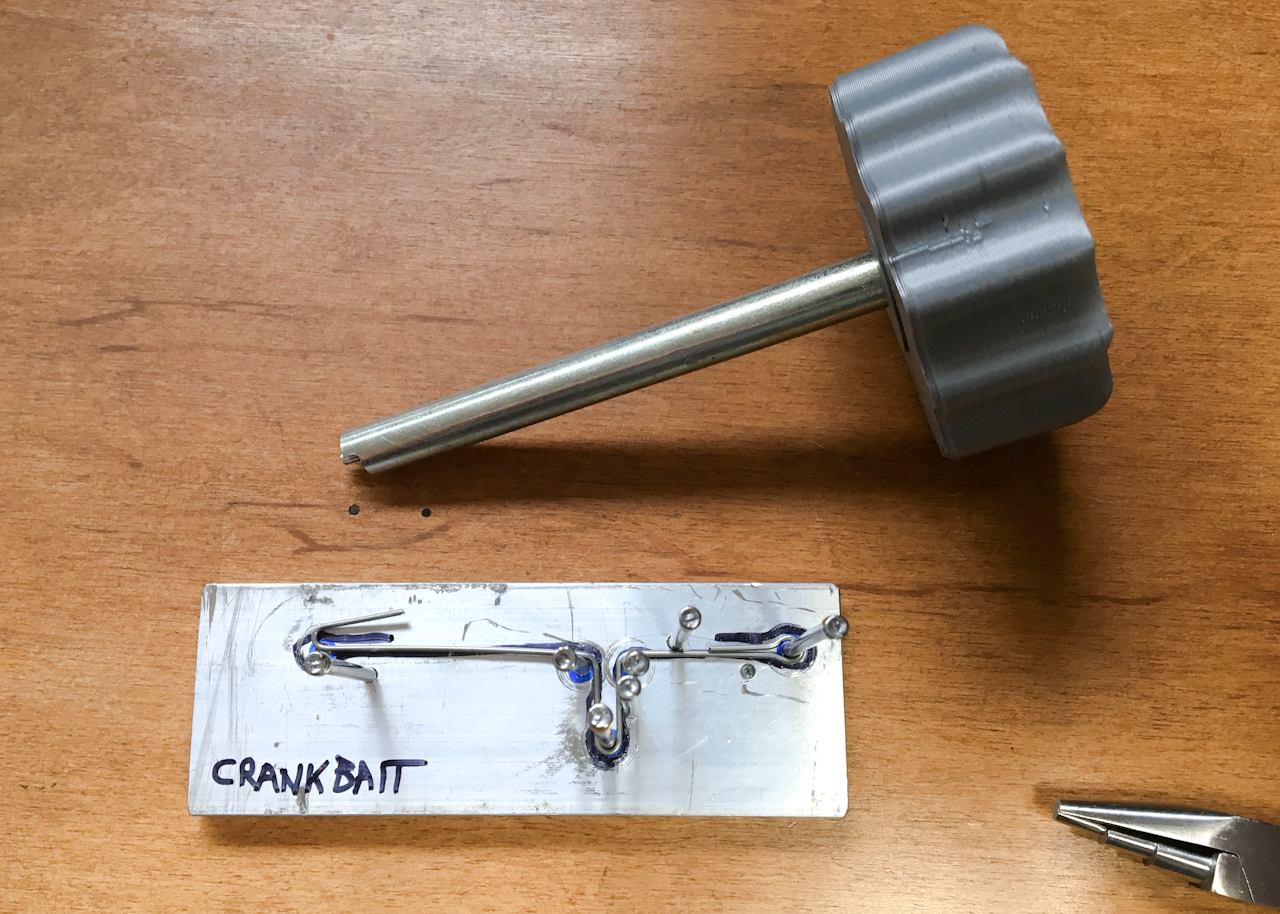
The Engineered Angler used a large knob screw to make his tool but I didn’t have one of those so I designed a quick handle that I could 3D print.
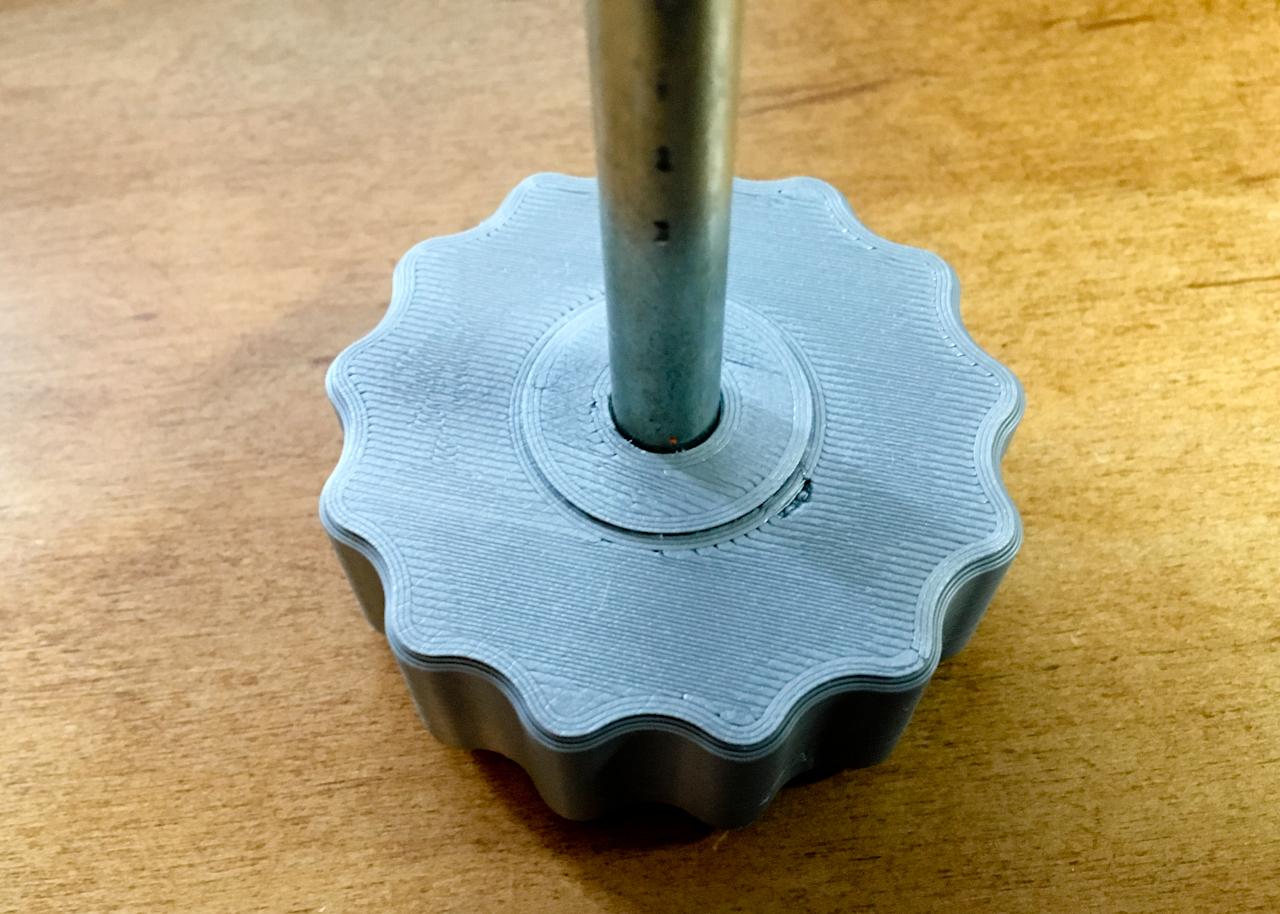
I just stuck the bolt in the handle and then I glued in the spacer.
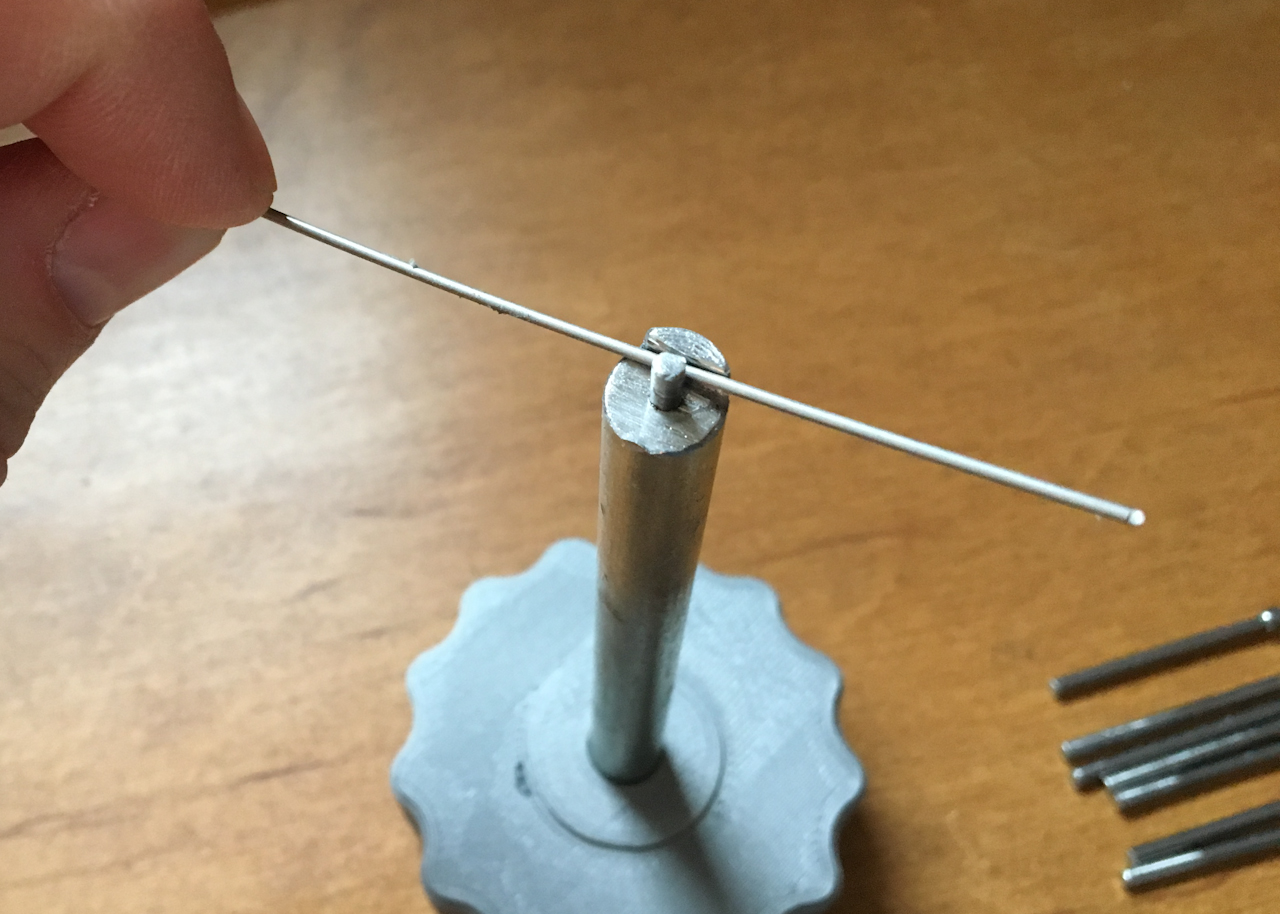
This is how the wire should fit in the finished tool.
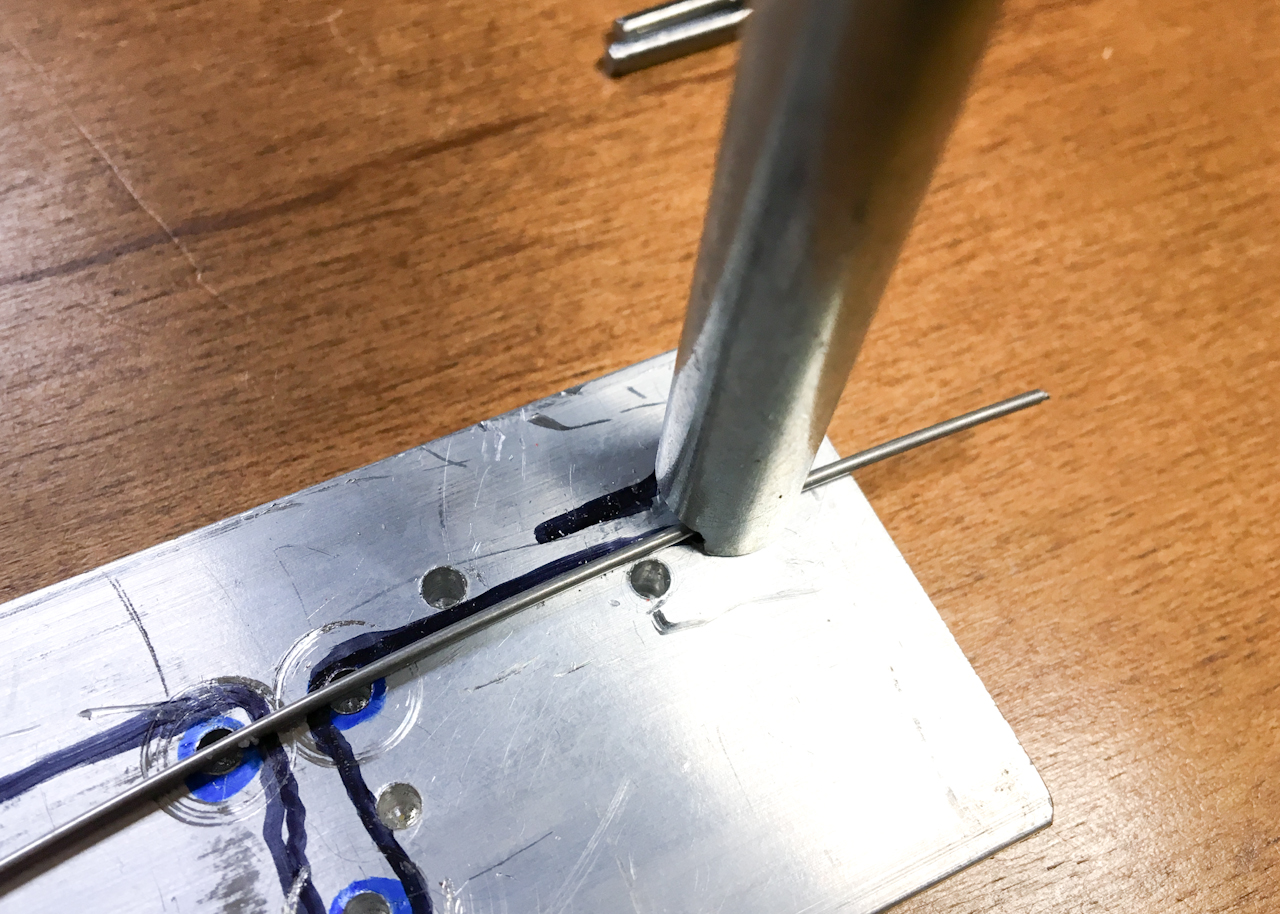
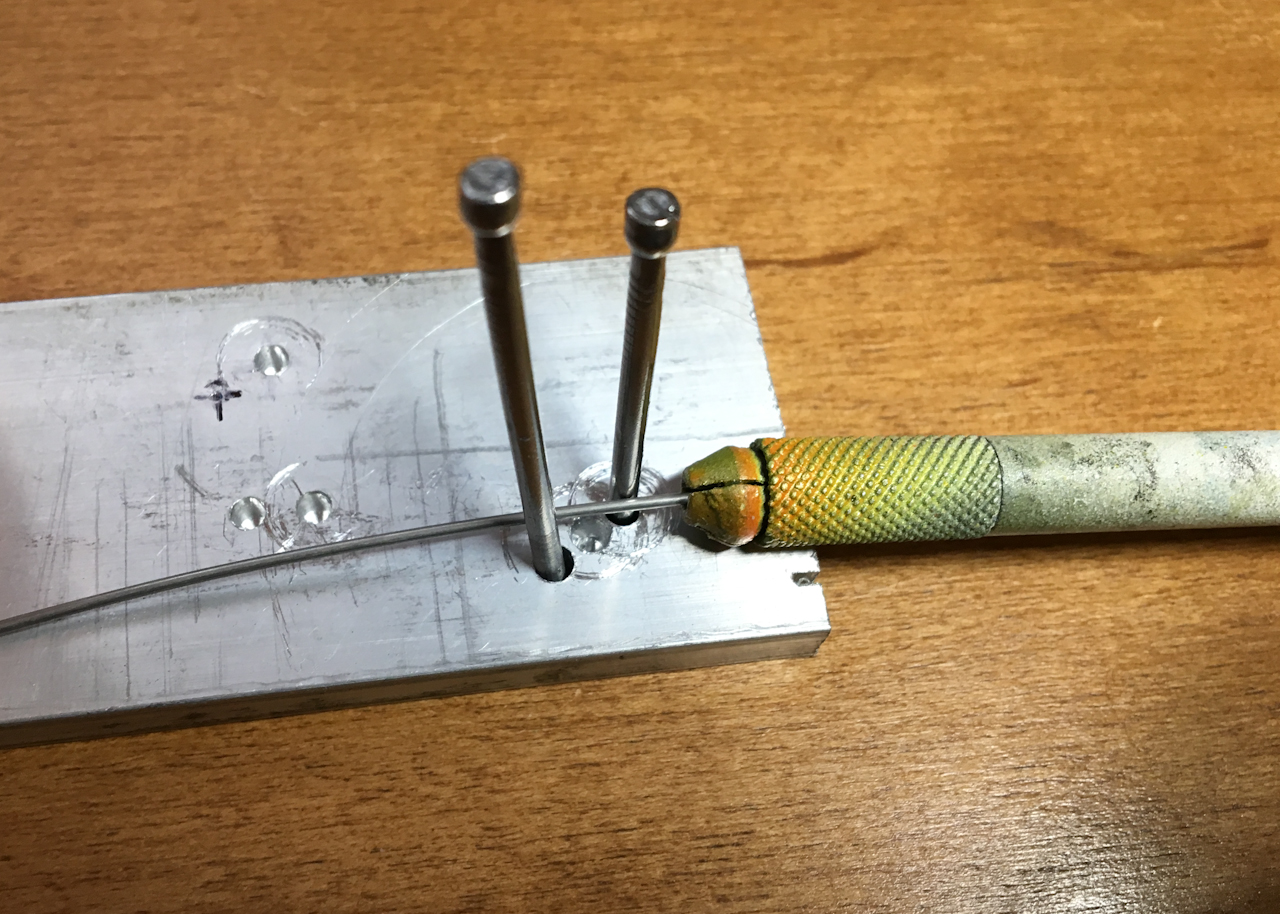
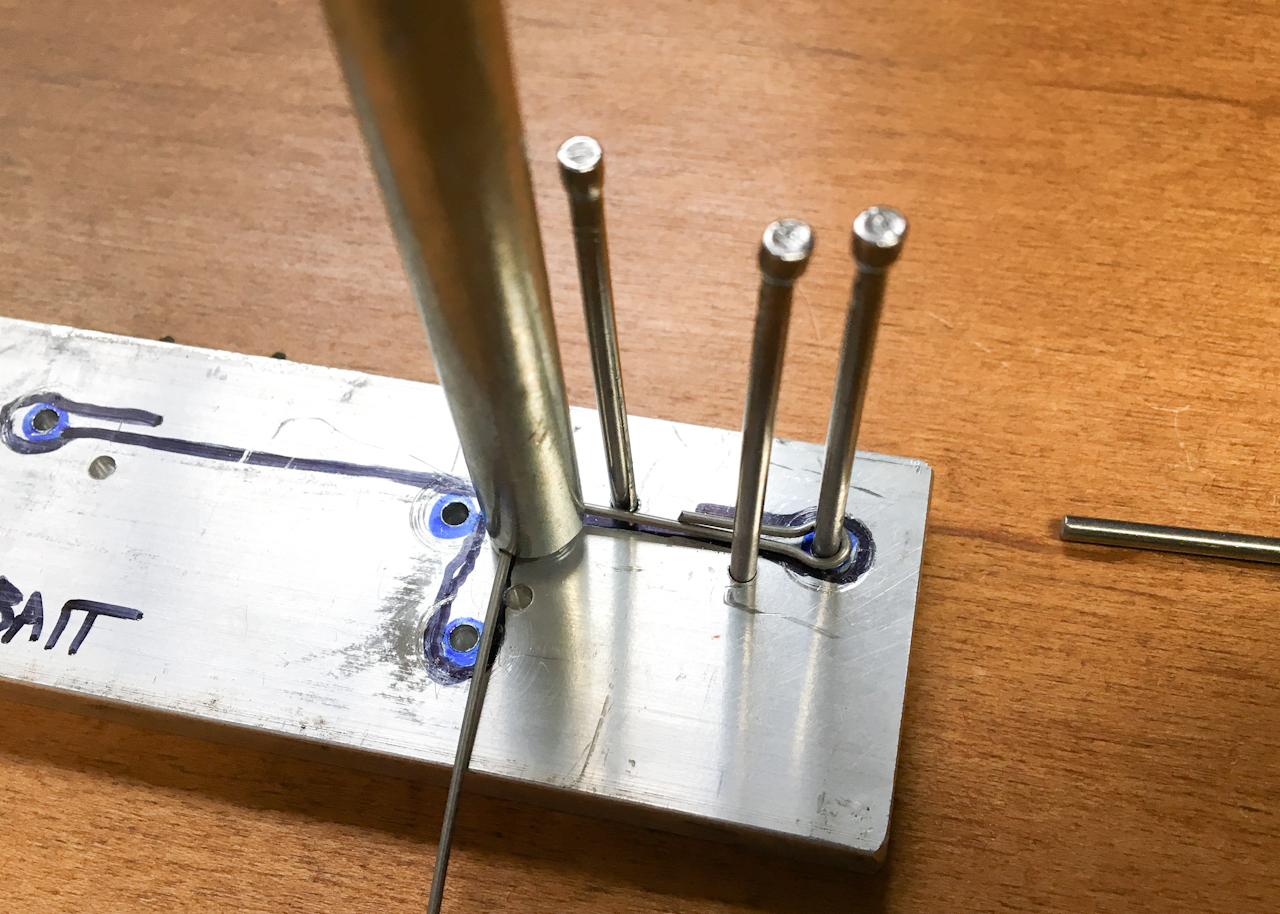
I’m still using a jig made from aluminum plate. The tip of the tool just fits into hole drilled into the plate. (The Engineered Angler has another video on how to accurately make these jigs.)
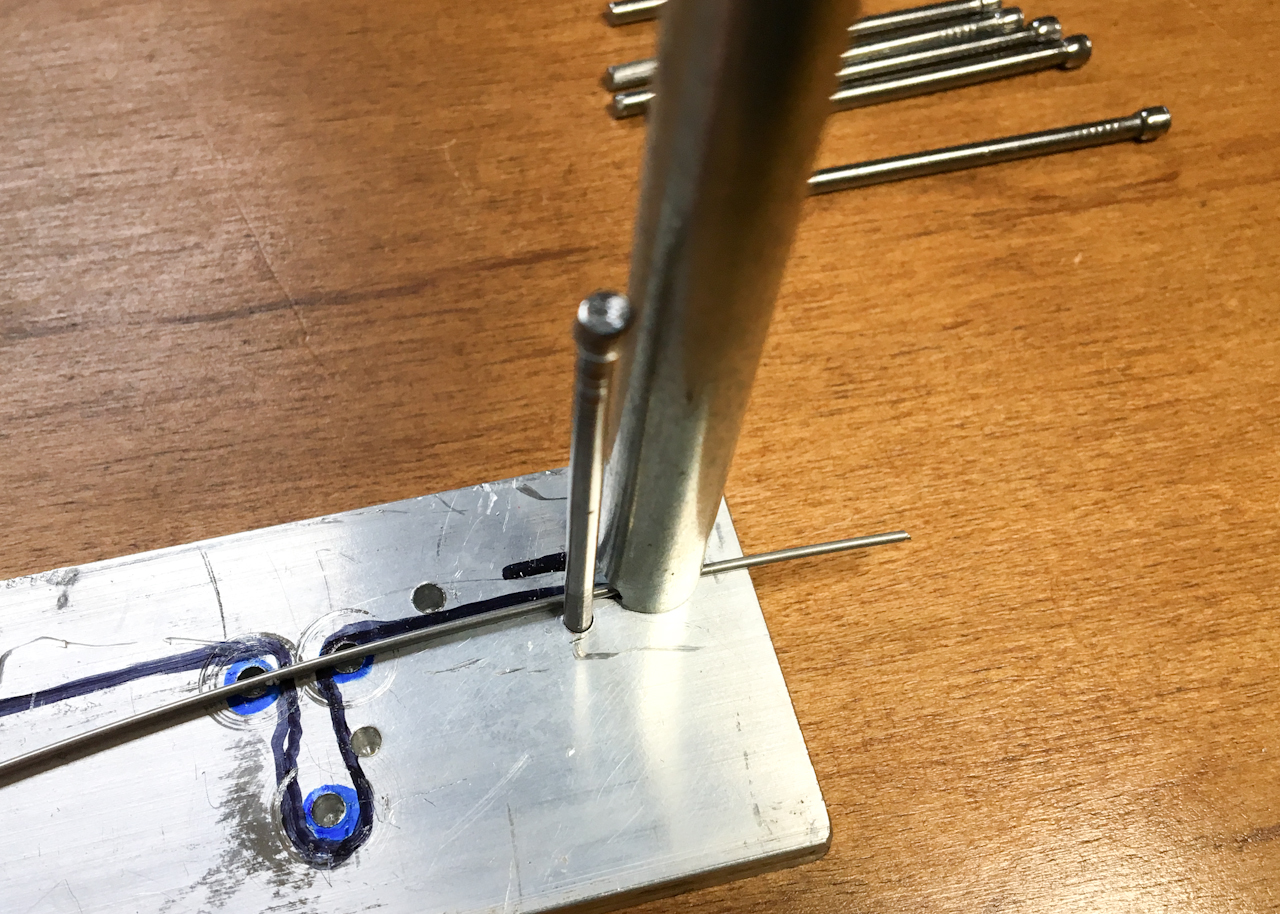
Another pin (cut down 6D nails) is use to hold the wire while you bend it with the tool. Bending the wire is as easy but just rotating the tool.
Here is the first bend.
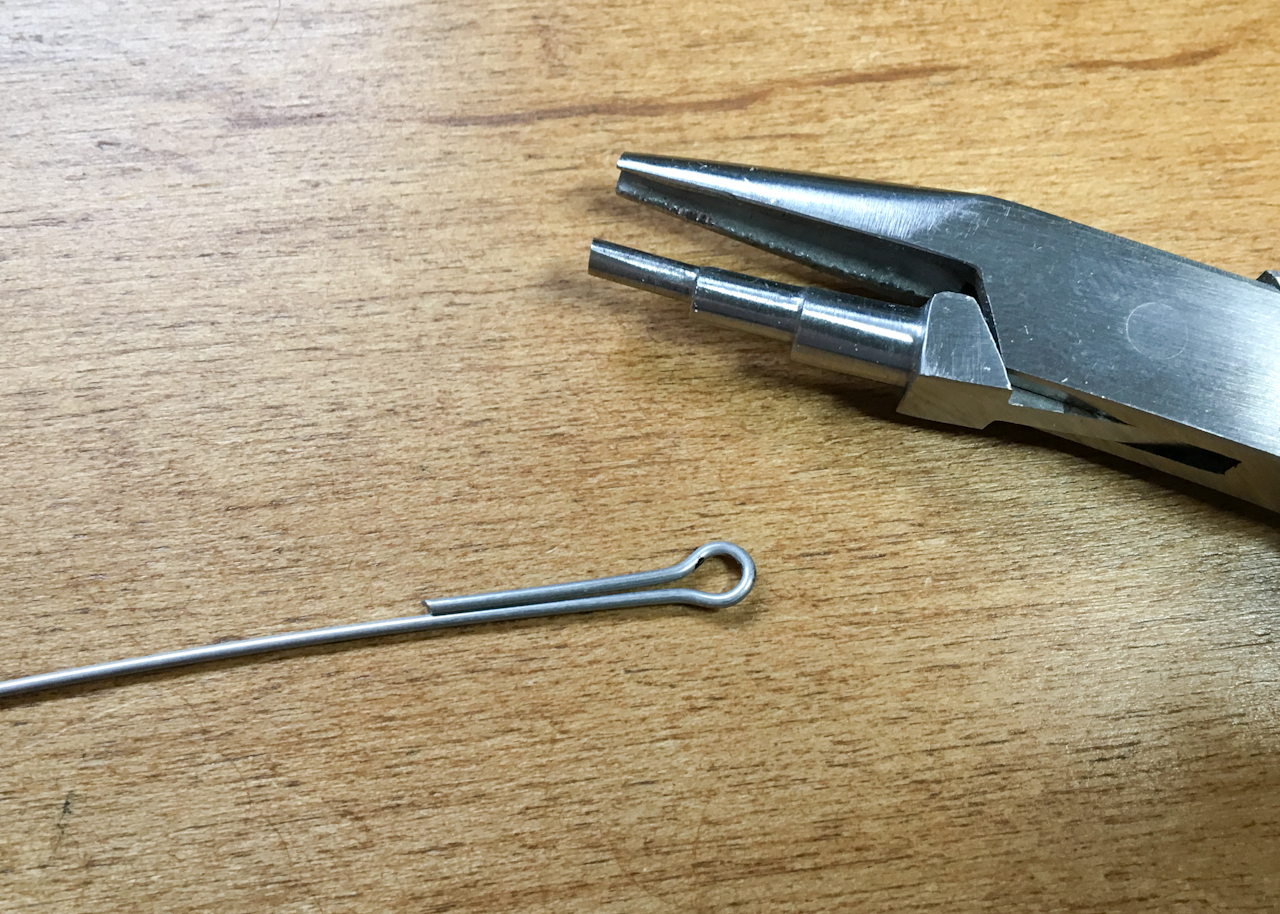
I still use the forming pliers to finish the loop on the front.
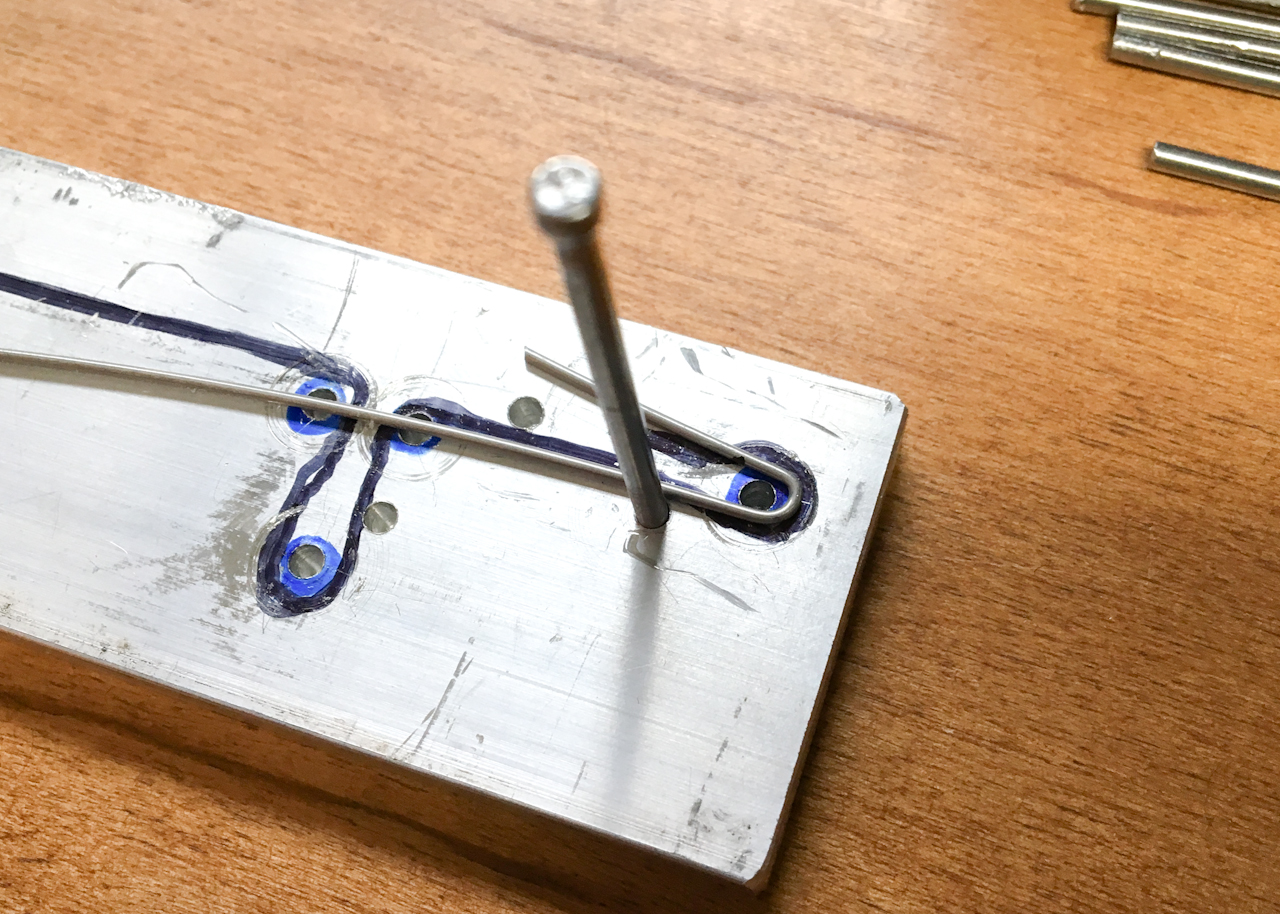
After that the wire goes back to the jig and using more pins I continued to form the wire following the pattern on the jig.
This is the almost finished form on the jig…

…and here is the finished form after finishing the rear loop with the pliers.
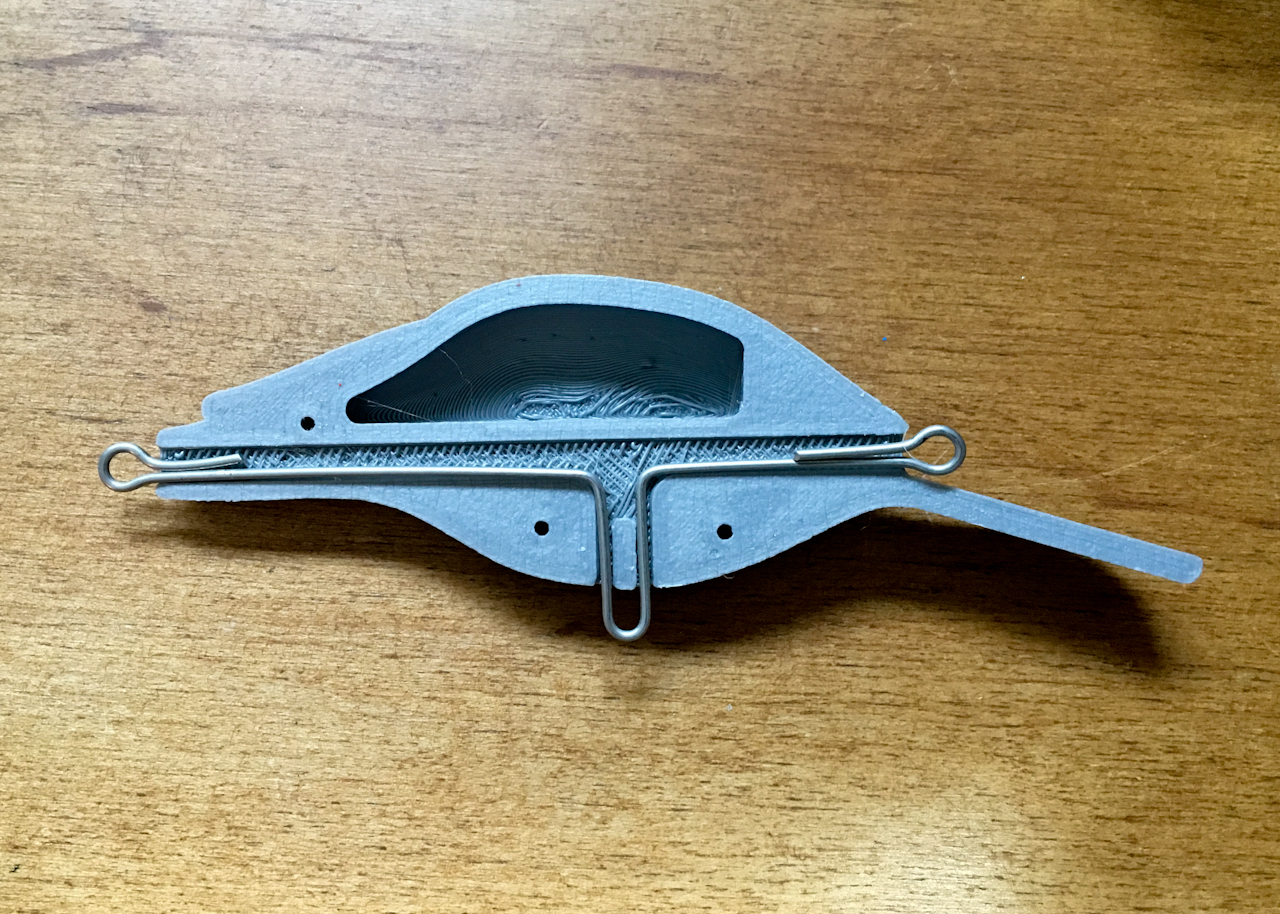
The finished form fits perfectly in my 3D printed blank and took less than a minute to make.
4-19-19 Update – The Engineered Angler just posted a video himself of the making of this tool so go check it out HERE.
![]()
All Information, Pictures, and Material is copyright © 2019 by Stephen Thone and may not be used for any personal or commercial purposes without the consent of the author. All rights reserved. The Author makes no guarantees or warranties as to the accuracy or completeness of, or results to be obtained from accessing and using the Information herein.