Compact Folding Bump Board
July 25, 2022
Compact Folding Bump Board
(STL’s are not yet available for this project.)
This is a 3D printed compact folding bump board that I am working on… the design may change as I progress through the build.

It was designed in five pieces… The Folding Nose Stop, Main Base, Tail Section, and the Extender. The tail section was design in two pieces (a top and bottom) to ease in the 3d Printing of this part, it was then super glued together with the use of some alignment pins.
When folded it measures about 9″ L x 2″ W x .75″ H to easily fit in a tackle box.

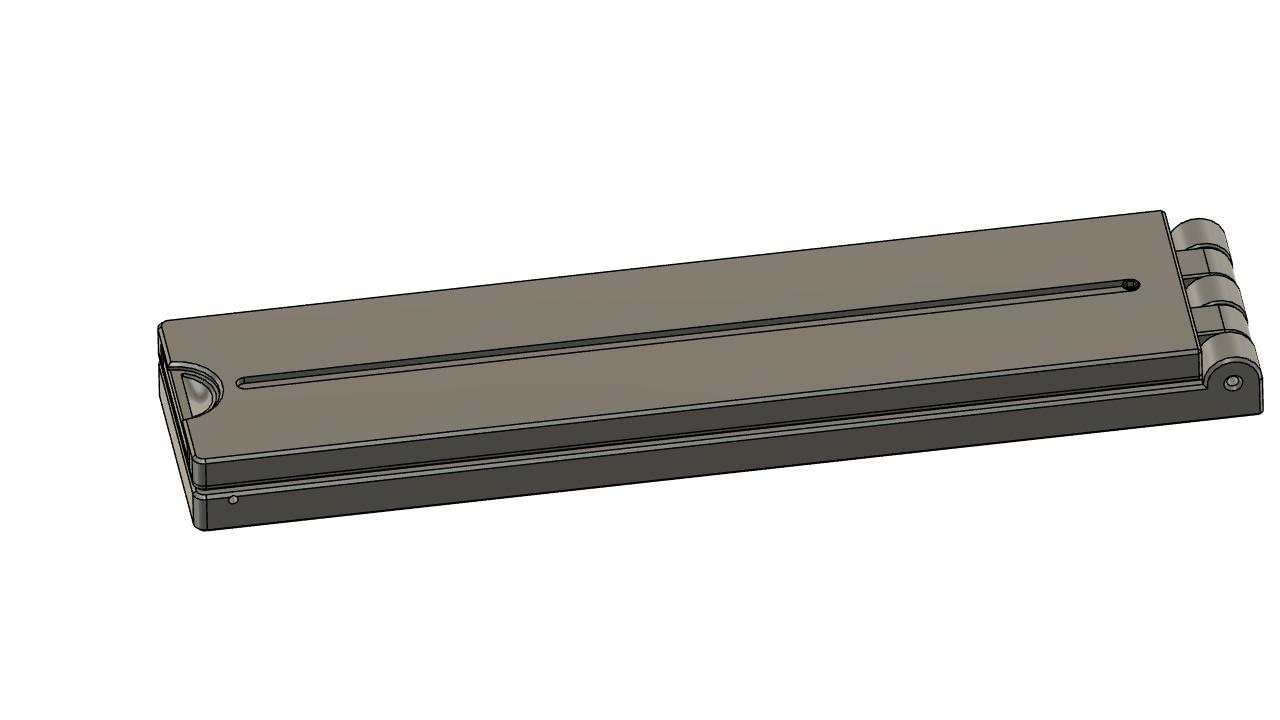
Here it is in it’s folded state.

Unfolded

Perfect for your smaller fish.

as well as your medium fish.
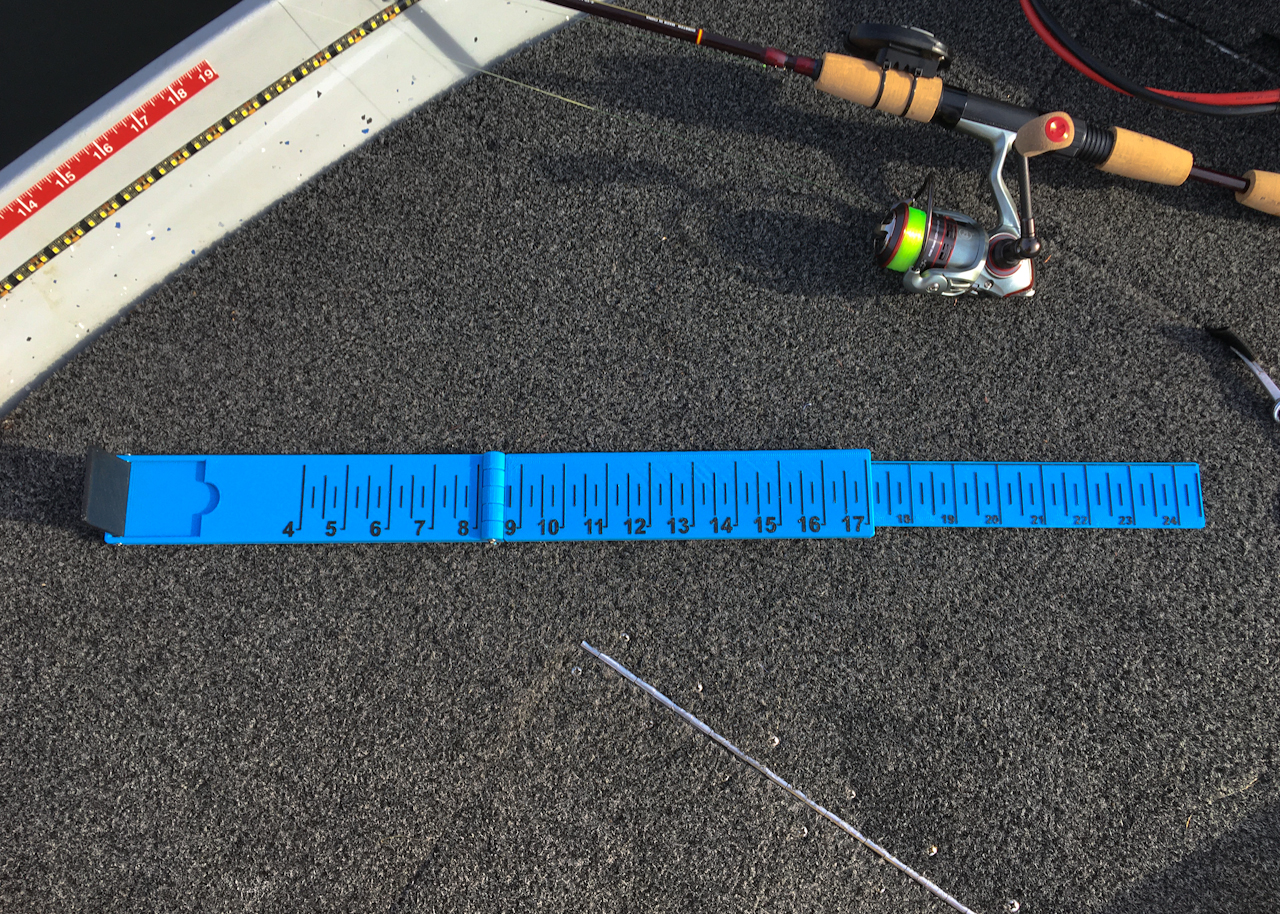
Extended for your larger sized catches.

And here I though 24.5 inches would be plenty big for the stuff I catch.
I did print this in PLA so it gets a little pliable sitting out in the sun all day… I’m in the process of a slight redesign while trying to print in in PETG.

7/1/23 Update – Here is the new design of the bump board that was printed in PETG this time. The overall design is the same but I changed things to make it easier to print so it no longer needed any supports and I also added a few other features to improve things.

I don’t print in PETG a lot so it printed a little rough in spots but the camera always makes 3D printing look worse than it is in person. The overall folded dimensions are 9″ x 2″ x 1″ so it can fit in your tackle box or even in your back pocket when bank fishing.

I did have some slight warpage but at this point all I care about is function. (although because of this the small magnets I used to keep it closed don’t function as intended.)

The design was also broken up into a few more piece to make printing easier. Mainly the top piece of the main base with the numbers was split to make printing faster. By that… I mean if the numbers don’t come out correct reprinting is faster. (yes it took me a few tries with PETG to get it right.)

The tail piece it printed in three pieces and small (size?) magnets are glued in place to keep the tail piece extender in the in or out postilions.

A single magnet is glued into the bottom of the extender piece as seen here.

I same 4-40 set screw is used to keep the extender in the tail piece…

… and that set screw rides in a channel of the end piece. (There is a hole in the side to screwing it in once the top is glued on.)

The top was glued on with superglue using filament pins in the four corners for alignment. The hole in the bottom (top left corner) is a drain for any water that might get in.

The top piece of the main base is also super glued on. The main base in then secured to the tail piece at the hinge with two 4-40 x 1″ Button Head Screw.

The nose stop is secured with (2) 2-56″ screws. (I did tap the holes in the piece before screwing them in.) The magnet seen here is suppose to hold it closed but didn’t work that well.

There is also a drain hole here too.
Overall it came out OK but I’m not totally happy with it and it still could use some improvements (maybe bigger magnets) and better print settings but for now it should be functional enough for some testing. I need to find out if it’s going to be durable enough… Is the hinge going to hold up and are the numbers going to stay on? The numbers would definitely be better recessed but I don’t have time to mess around with multi color printing like that right now. I did end up spraying everything with rattle can polyurethane to hopefully make it easier to clean the fish slime off it but we’ll have to see what happens…. On to the testing phase again.
All Information, Pictures, and Material is copyright © 2022 by Stephen Thone and may not be used for any personal or commercial purposes without the consent of the author. All rights reserved. The Author makes no guarantees or warranties as to the accuracy or completeness of, or results to be obtained from accessing and using the Information herein.