Musky Lure
October 10th 2018
 Musky Lure
This is a work in progress at the moment but it is a lure I designed for someone specifically for Musky fishing. The only difference from all the other lures I have designed is …. it’s FRIGGIN HUGE!
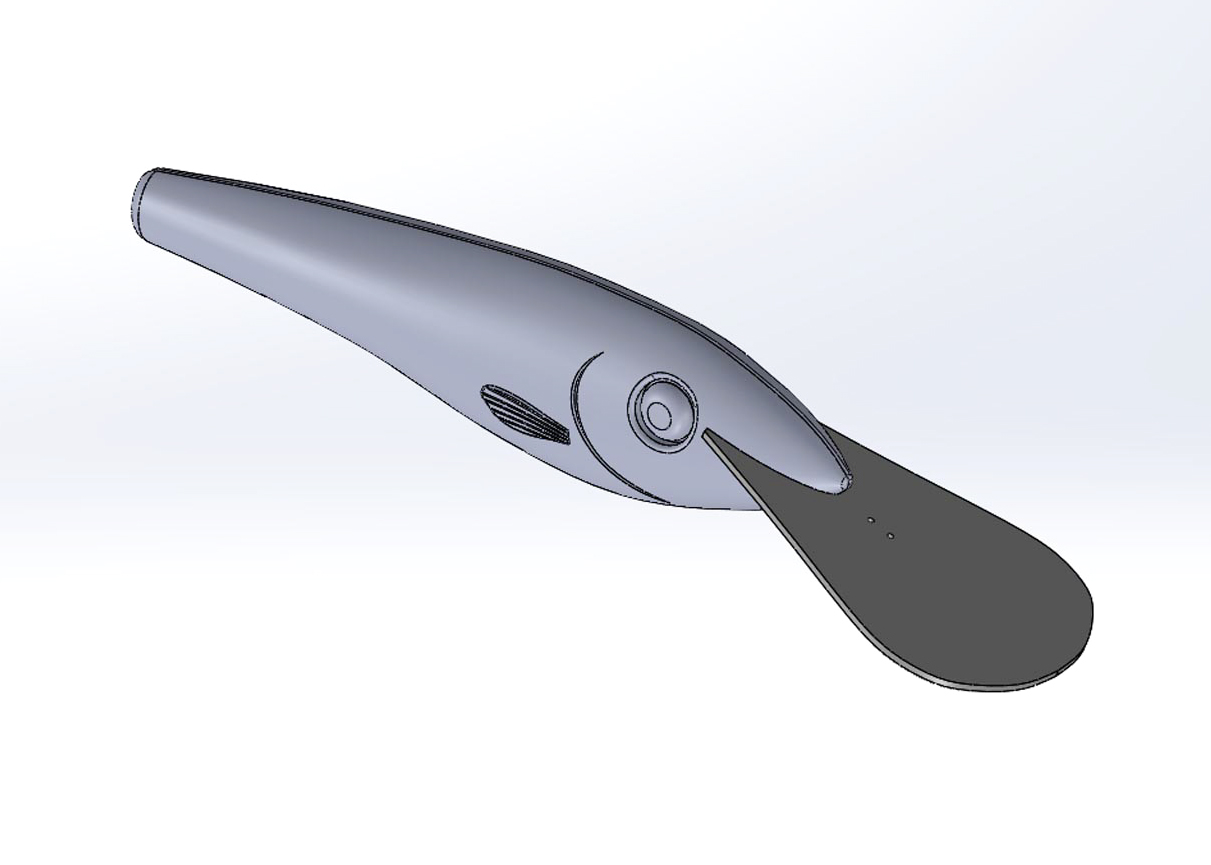
It was designed in a combination of Onshape and Solidworks.
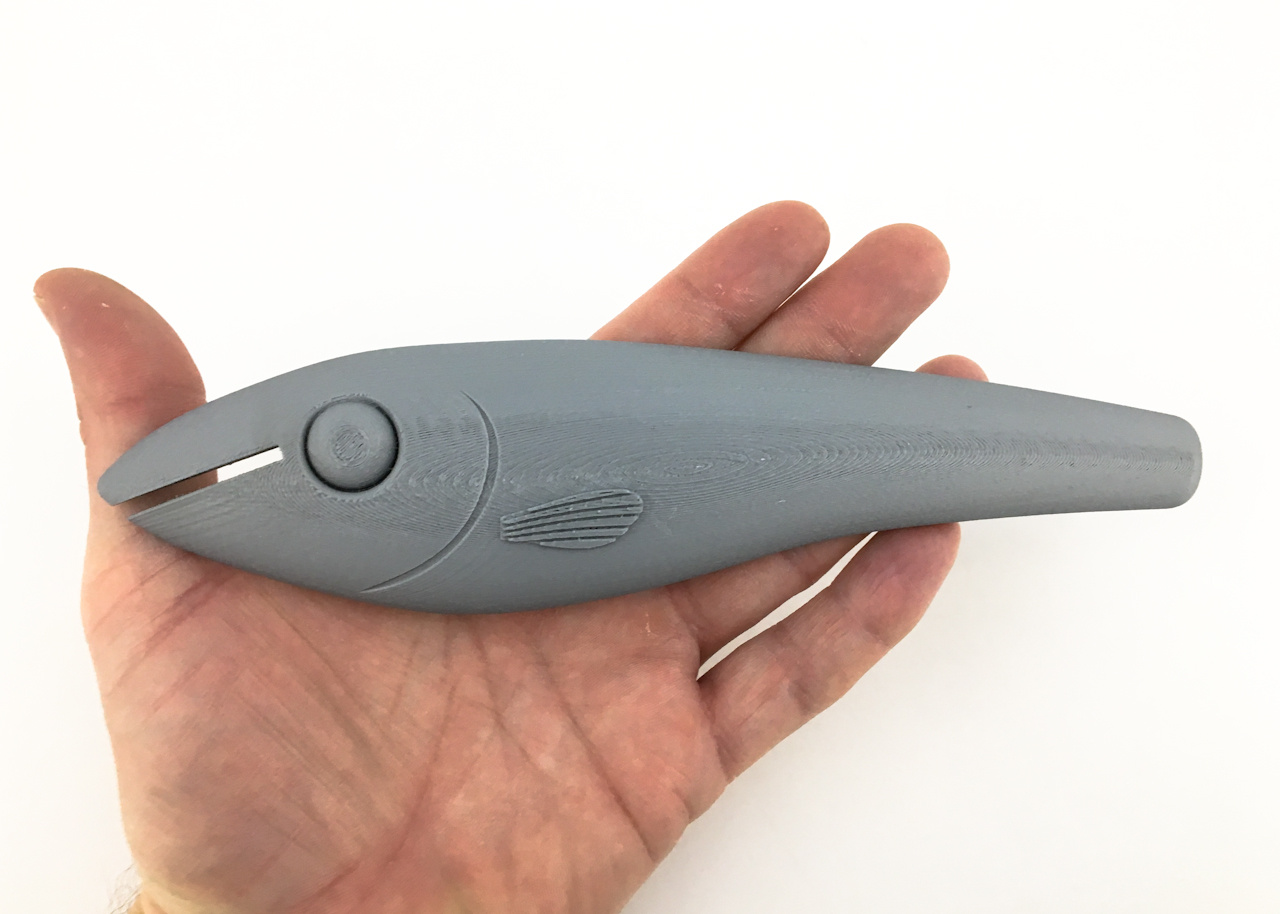
Here is the test print of the left half of the lure, the body is about 8″ in length.
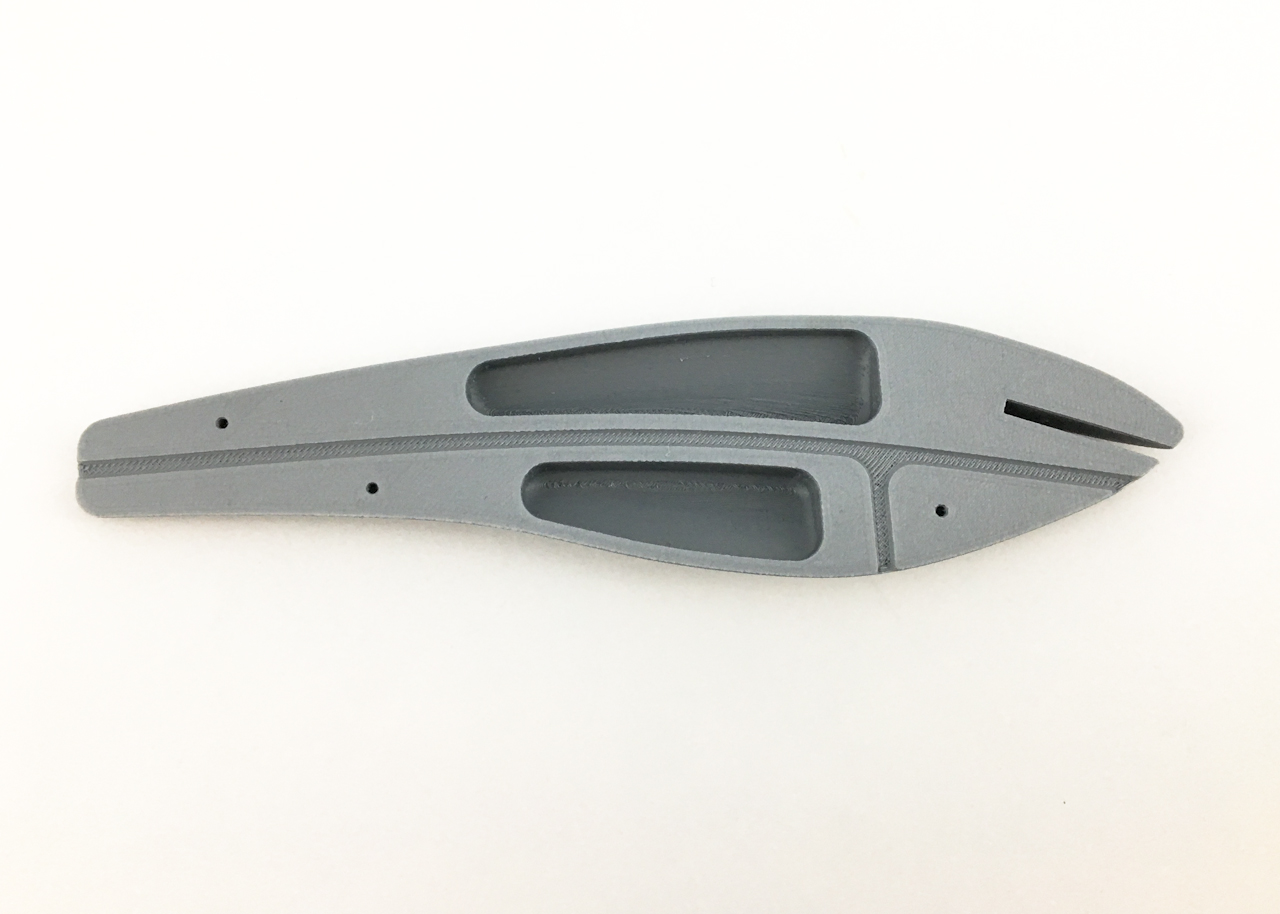
Like my other lures I still added a hollow float chamber at the top of the body and a weight chamber at the bottom and the alignment holes still use 1.75 filament for pins.
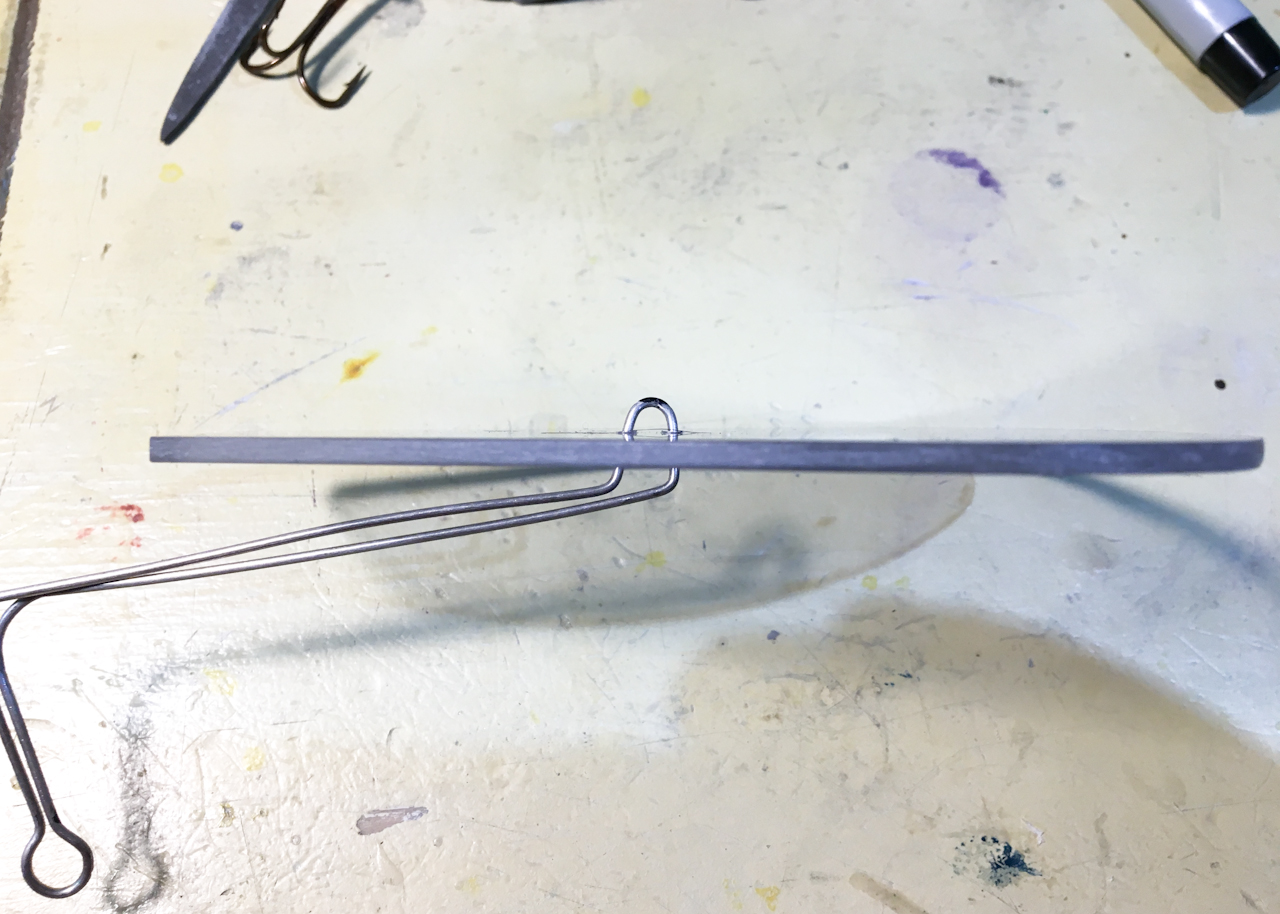
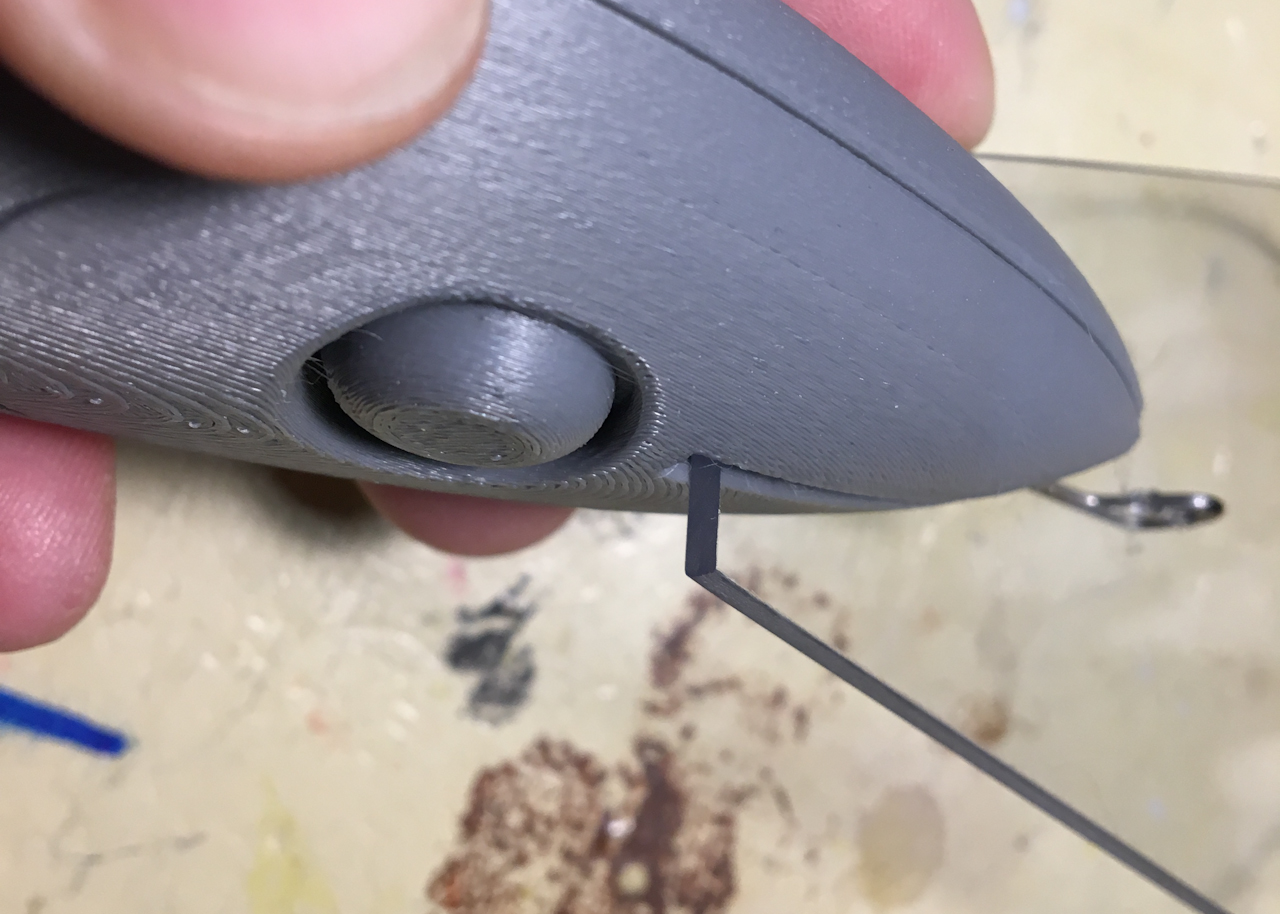
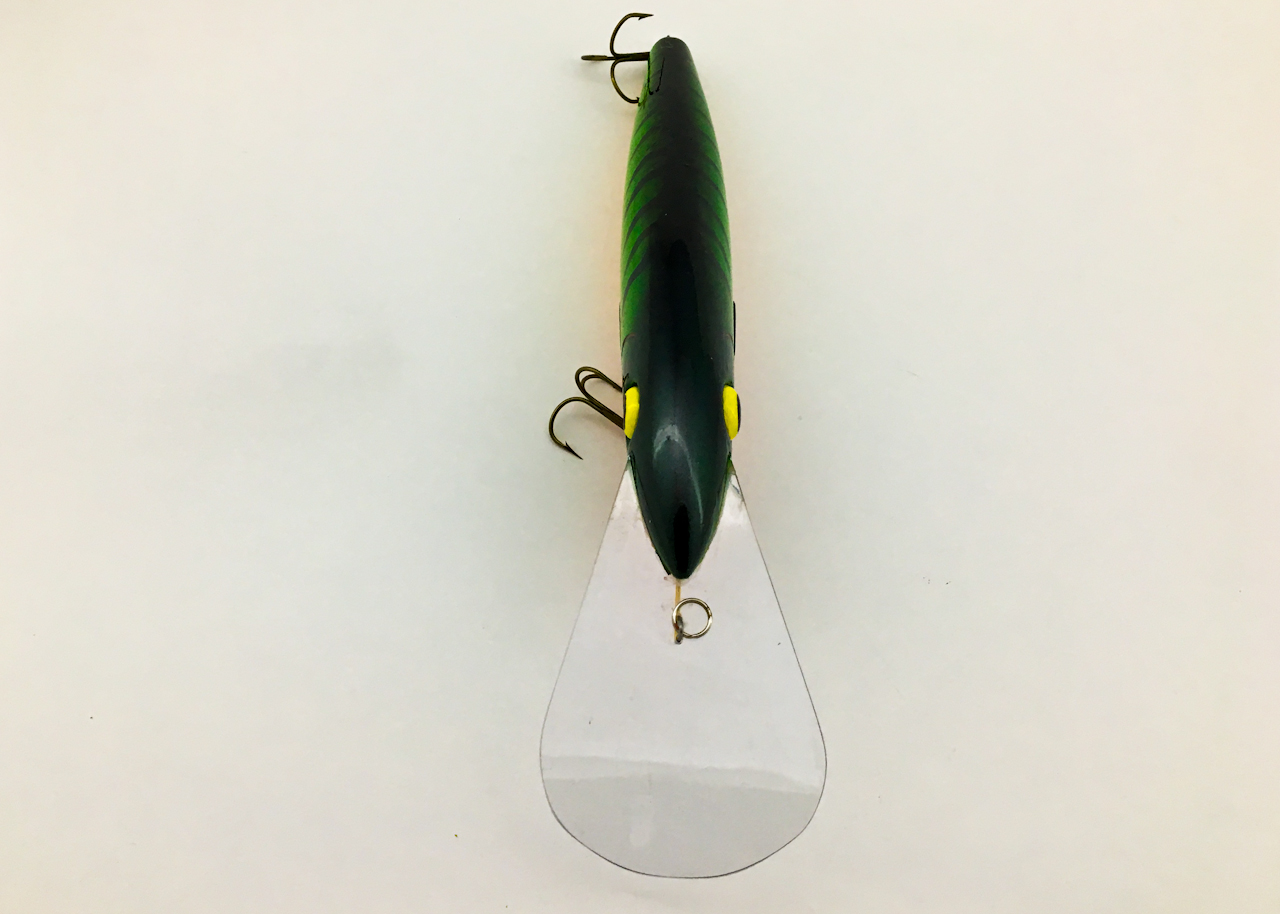
The wire form on this lure is actually formed into the Lip of the lure. (the lip is made from acrylic sheet cut to size using a printed template.)

The finished form takes a bit of bending to get right but using a single piece of wire should be able to handle even that lunker Musky without worry.
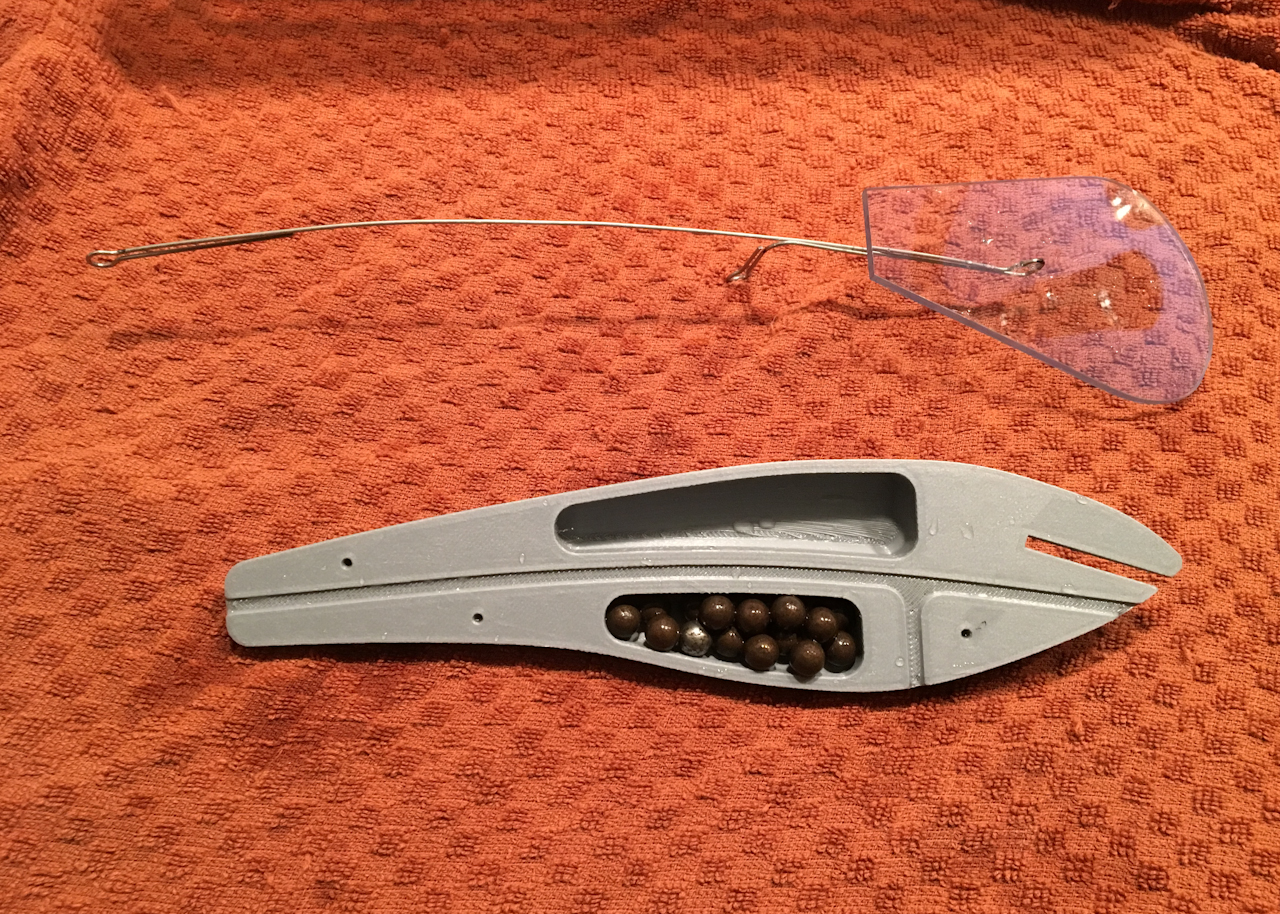
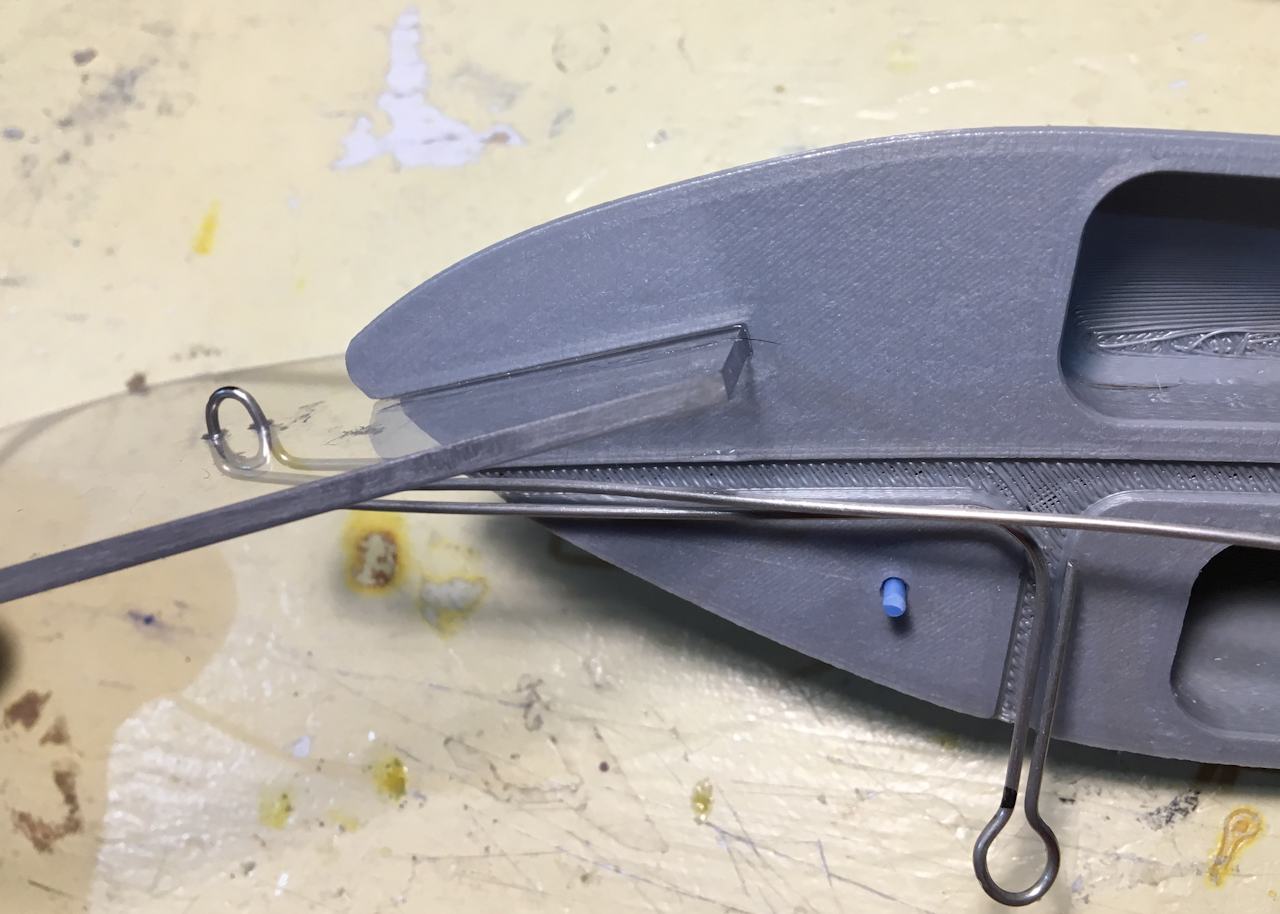
I added about an ounce of weight to the bottom chamber. (these are just steel balls from a cut up ball bearing.)
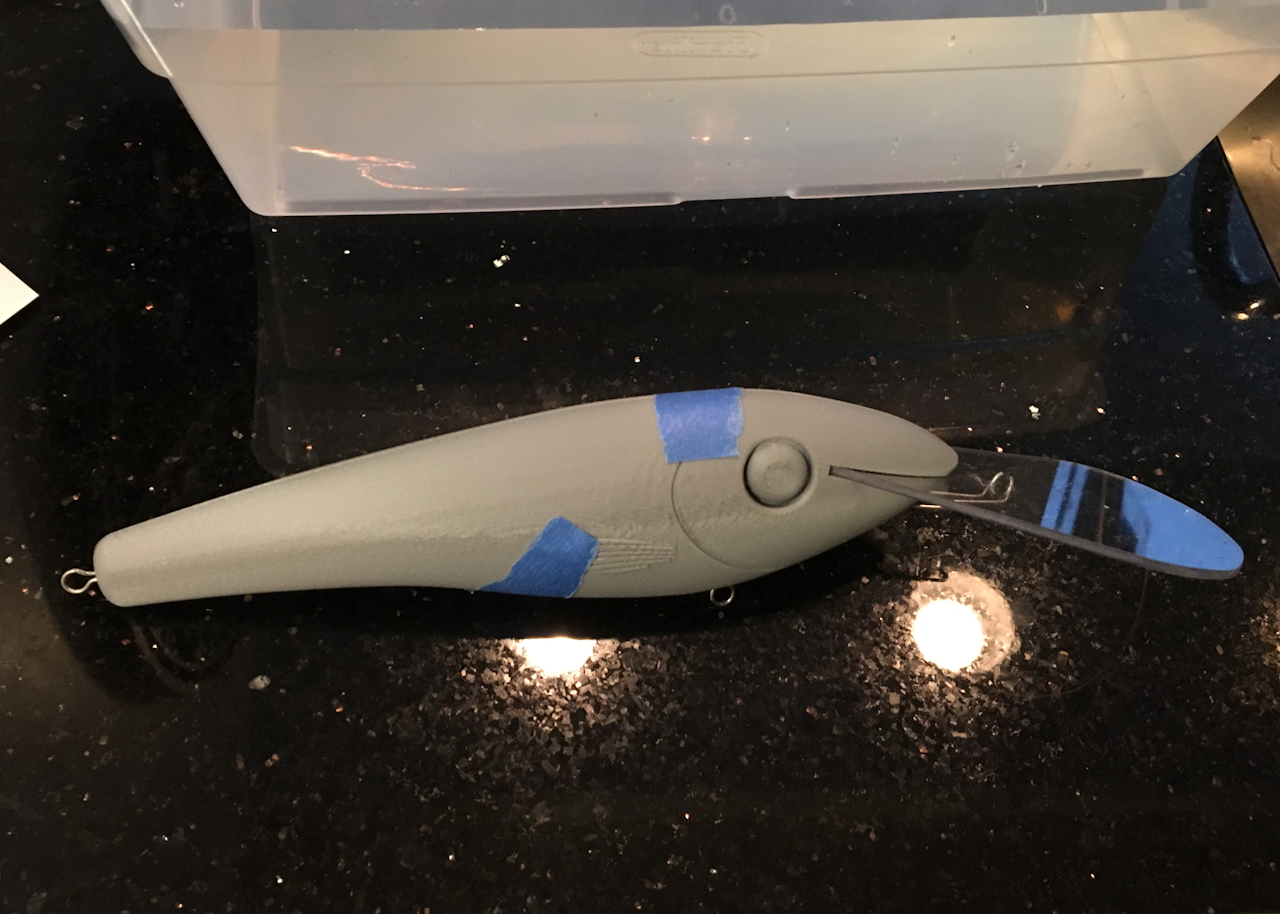
A quick mock up just to do a float test to check the weight and balance. (The wire form sticks out the rear a little to far but it’s good enough for testing.)
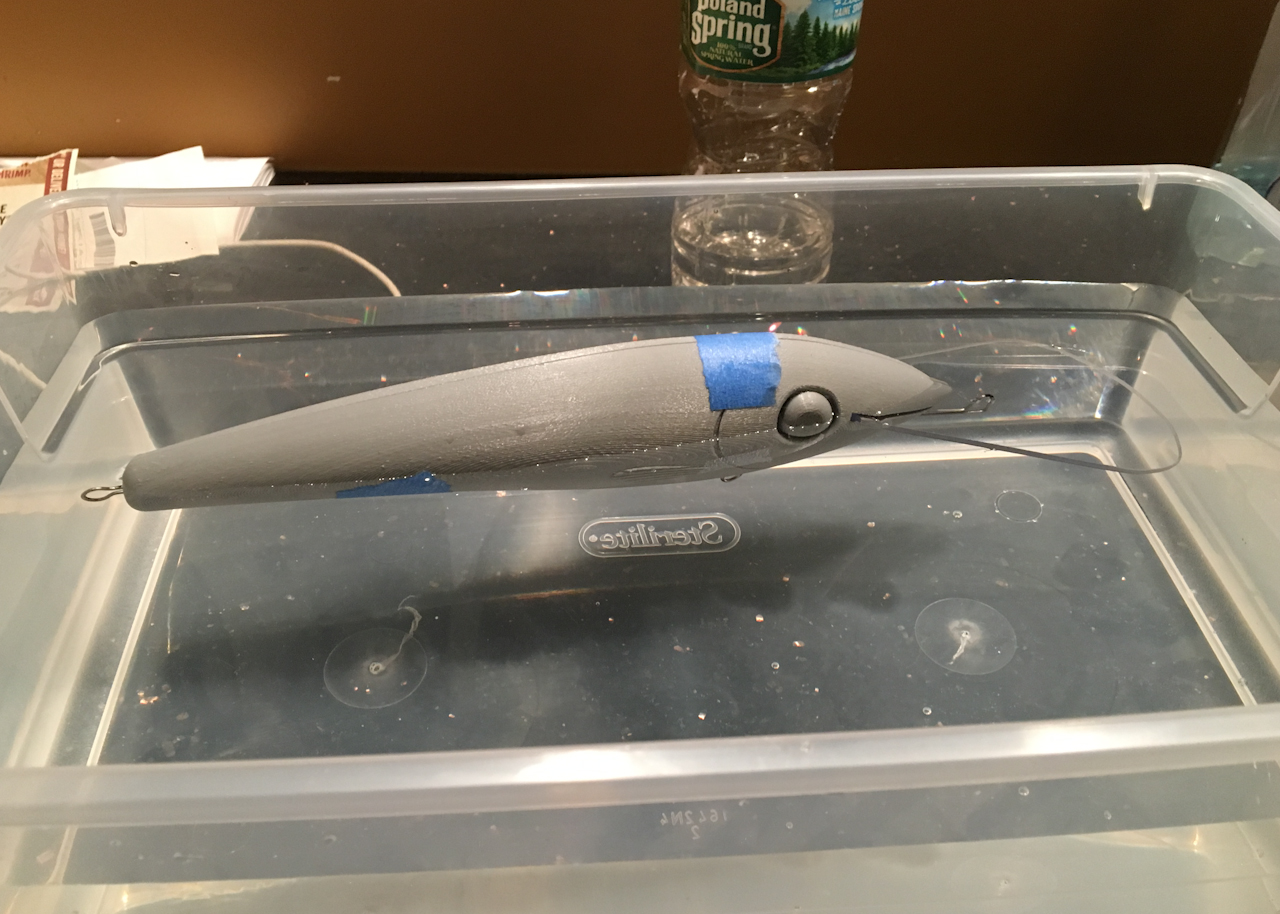
So far it looks good to me but hey I’m no expert lure maker… I use a lot of the T.L.A.R method when designing. (That Looks About Right)
For final assembly I start but putting a drop super glue on just the corner edge of the lip (glue not shown) and then sliding it into place in one half of the lure just to tack it in place.
After it is tacked in place I can flip it over and run some more glue along the entire lip area to full secure it in place.

After that I glued the wire form into the channel along that half of the lure. Then it’s just a matter of gluing on the other half of the body.
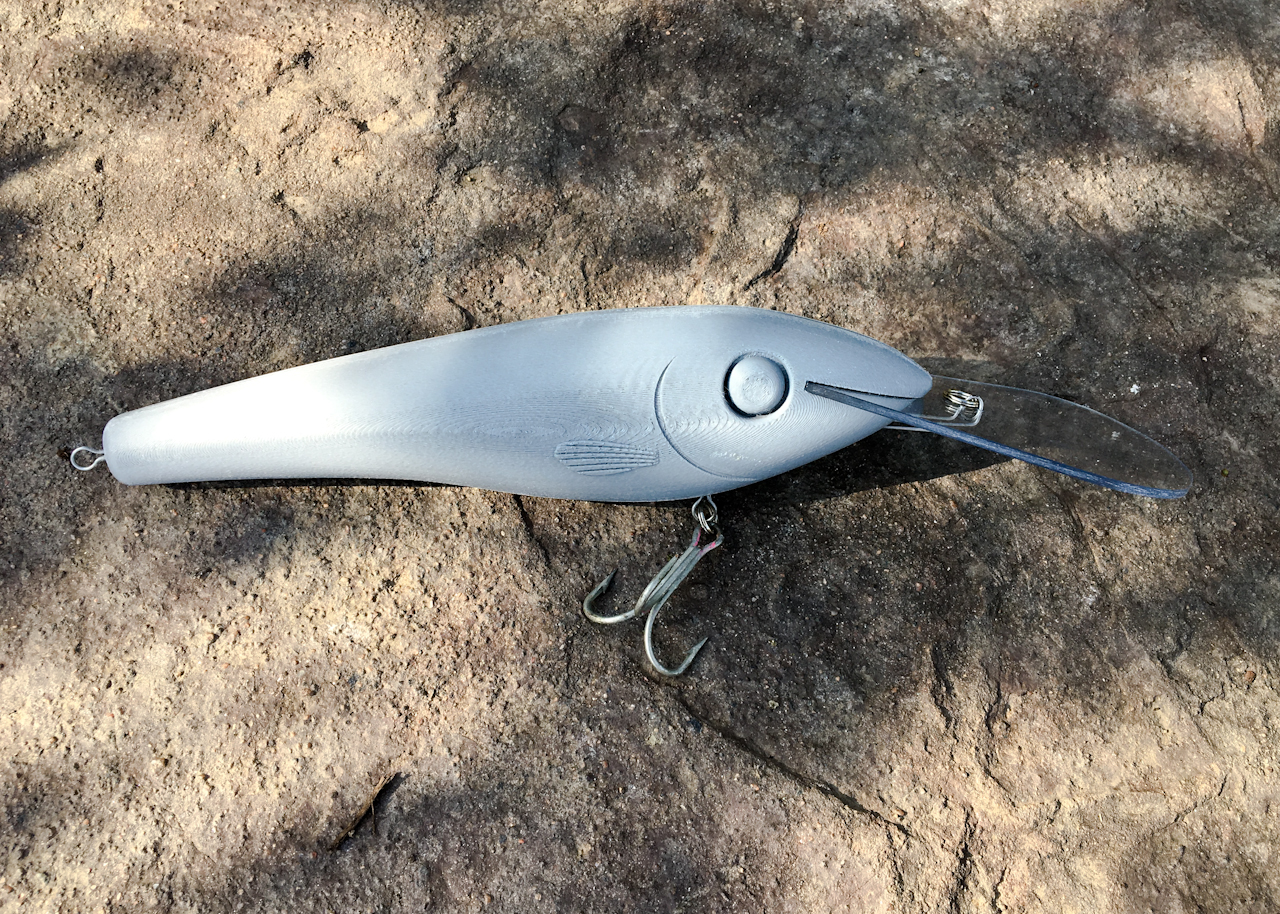
After a quick sanding of the seams it’s off to testing. I gave this a quick test from shore and while it seemed to swim straight enough without tuning the river water was fast, murky, and full of debris that day so I really couldn’t see enough to test it that well. Plus there is the fact that this thing was way to big for my pole so I was afraid to cast it more than 10 feet or so. I have some concerns about the thin lip and whether it with hold a tune but at this point I’m going to pass off the testing and hope for the best.
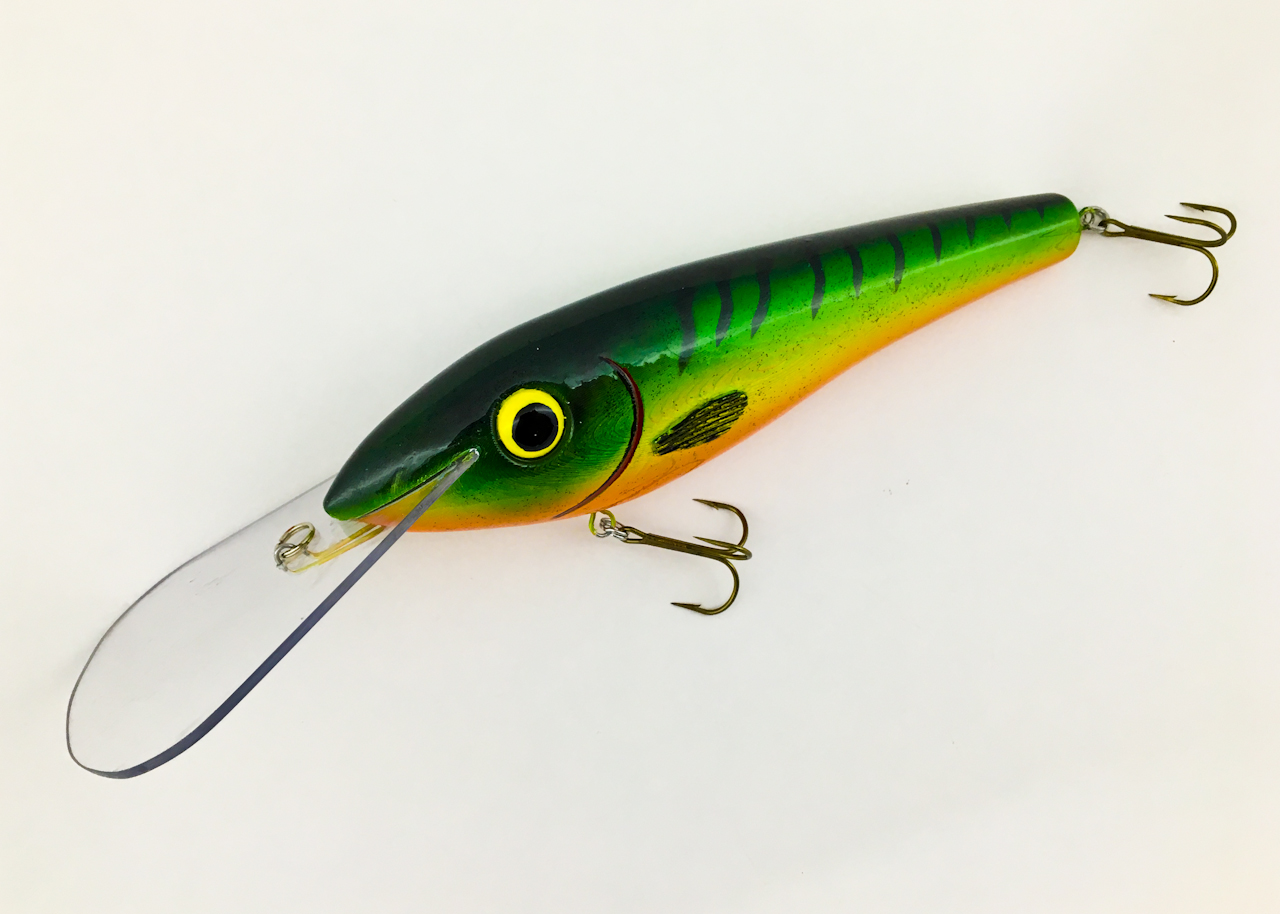
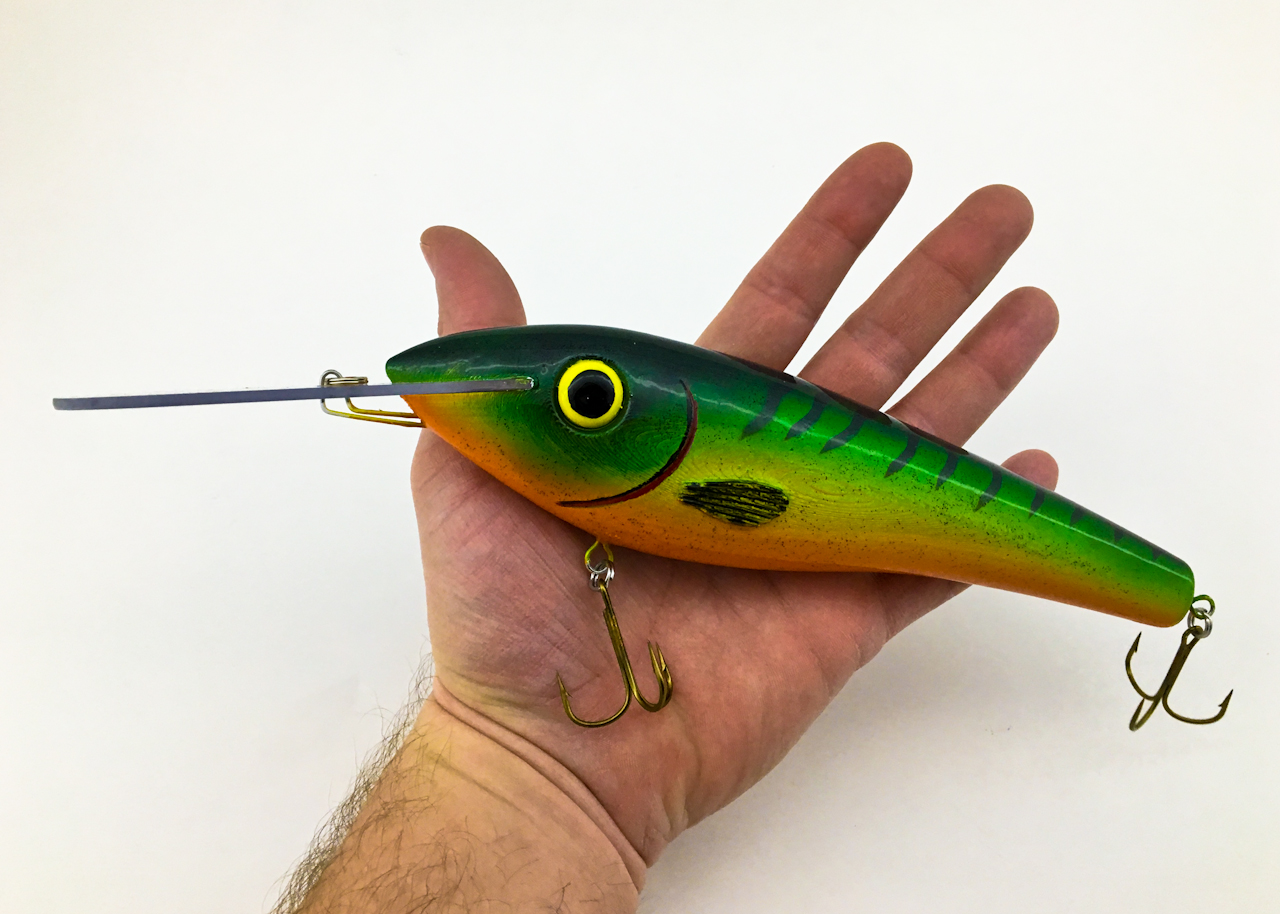
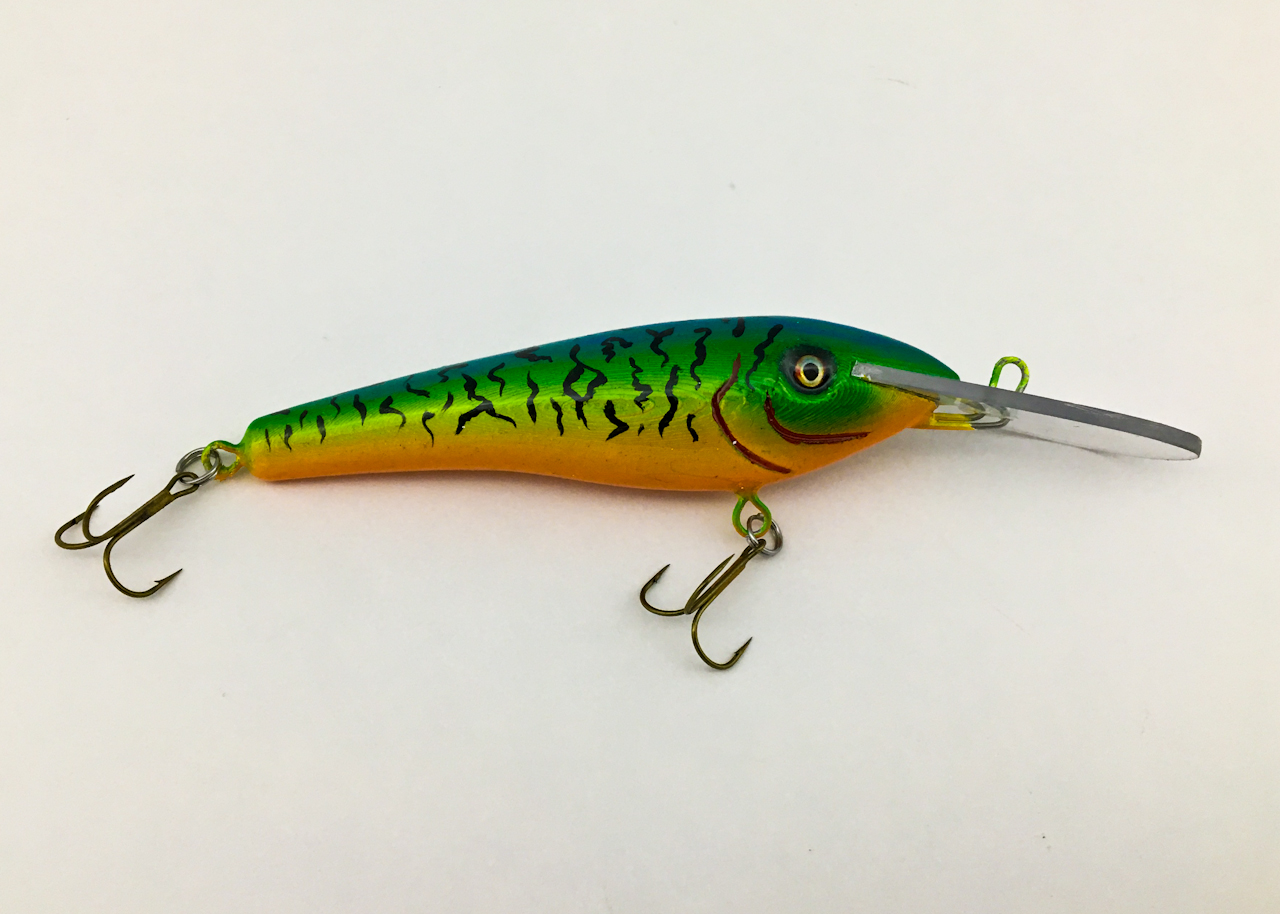
The finished lure was painted in a Fire Tiger Pattern.

This thing turned out to be a monster compared to what I normally fish with… I’m not sure if I’ll ever use it but it came out pretty well I think for a quickie paint job. (minus that little blemish behind the fin I didn’t see before sealing it.)
The lip may be a little big from what I was told and I definitely think it’s a little to thin as it can flex a bit. (I just used a sheet of .093 acrylic from Home Depot as that’s what I had on hand.)
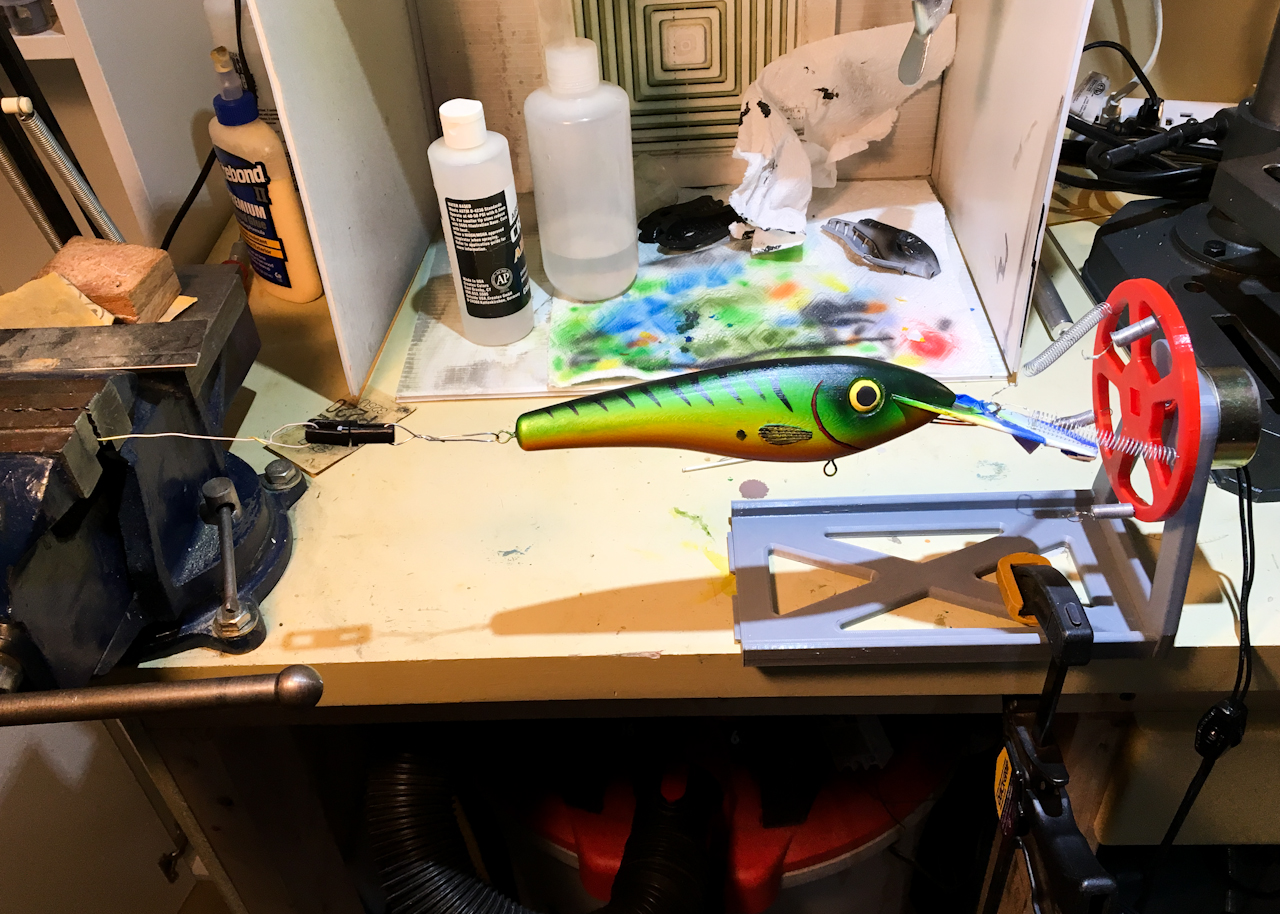
I had to get creative with my Lure Drying Rack for this big of a lure. I took one side of the rack off and clamped it to the bench and then wired the other end of the lure to my bench vise with a swivel in between.
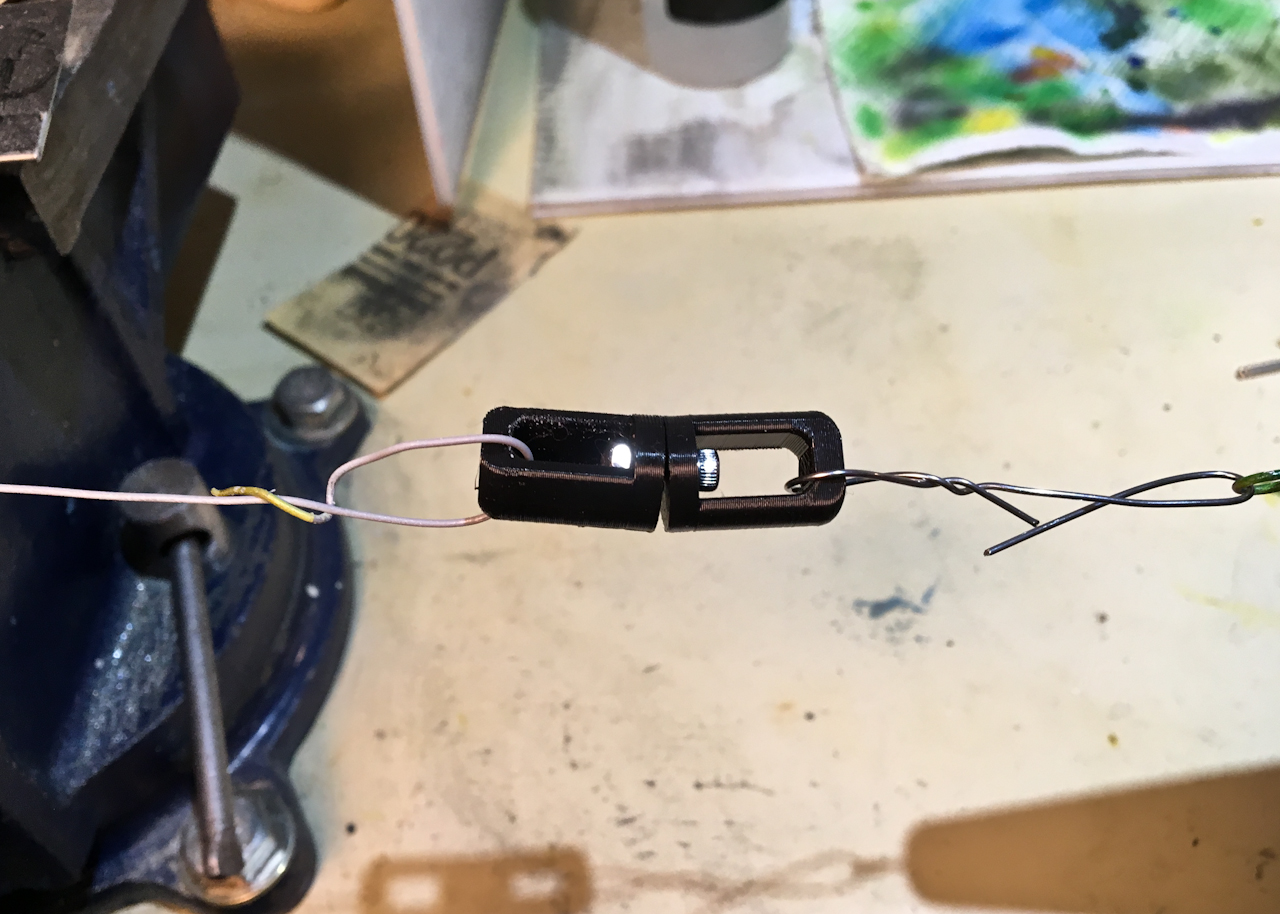
The swivel was just a quick 15 minute 3D printed piece head together with a bolt.
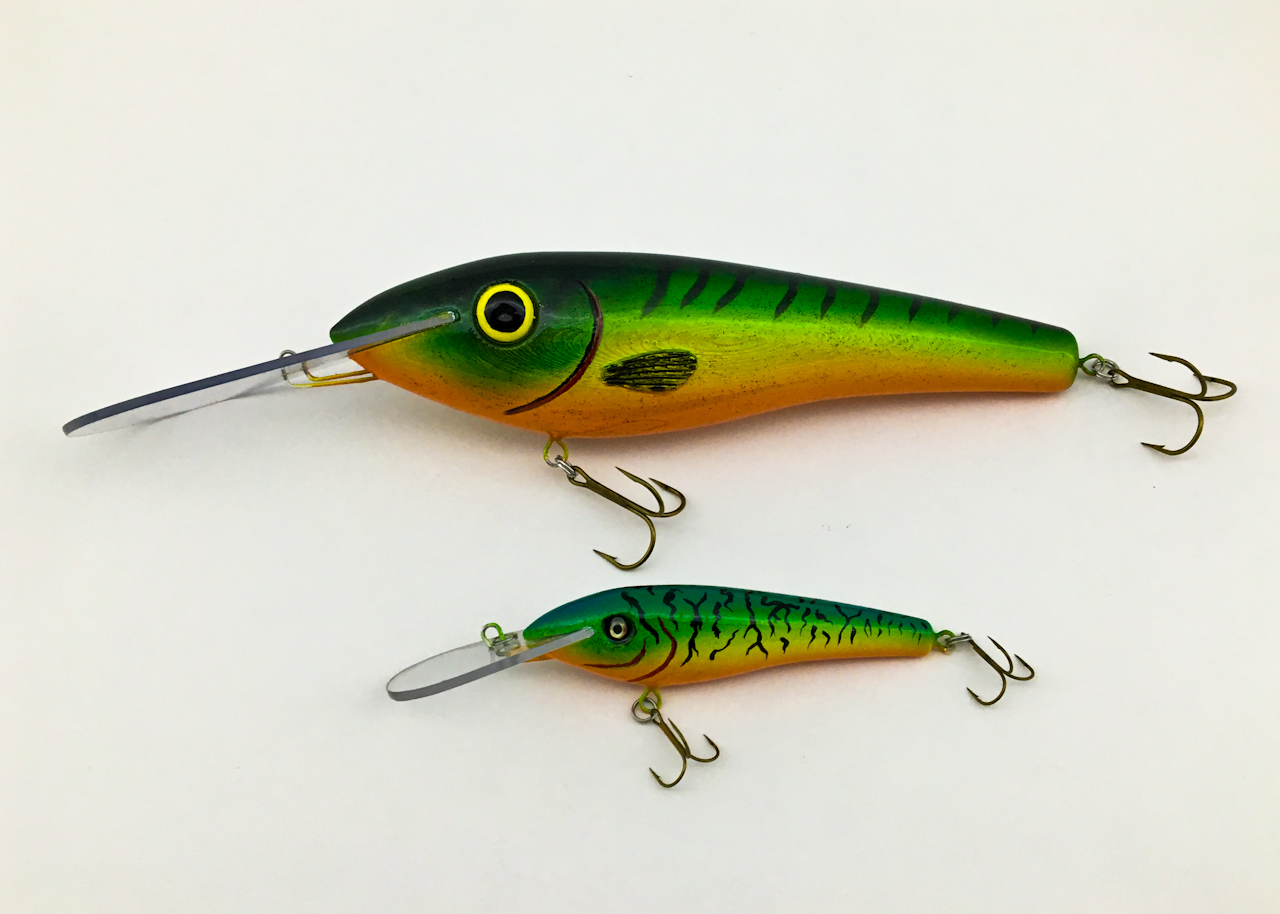
After all the work I put into this I figured I better get some use out of it so I scaled it down to something more along the lines of something I normally fish with.
I did this one in a fire tiger pattern too but added a blue too the top also. (It doesn’t show up to well in the pictures though.)

The smaller version was designed to use stick on eyes which look a lot better than my painted on ones.
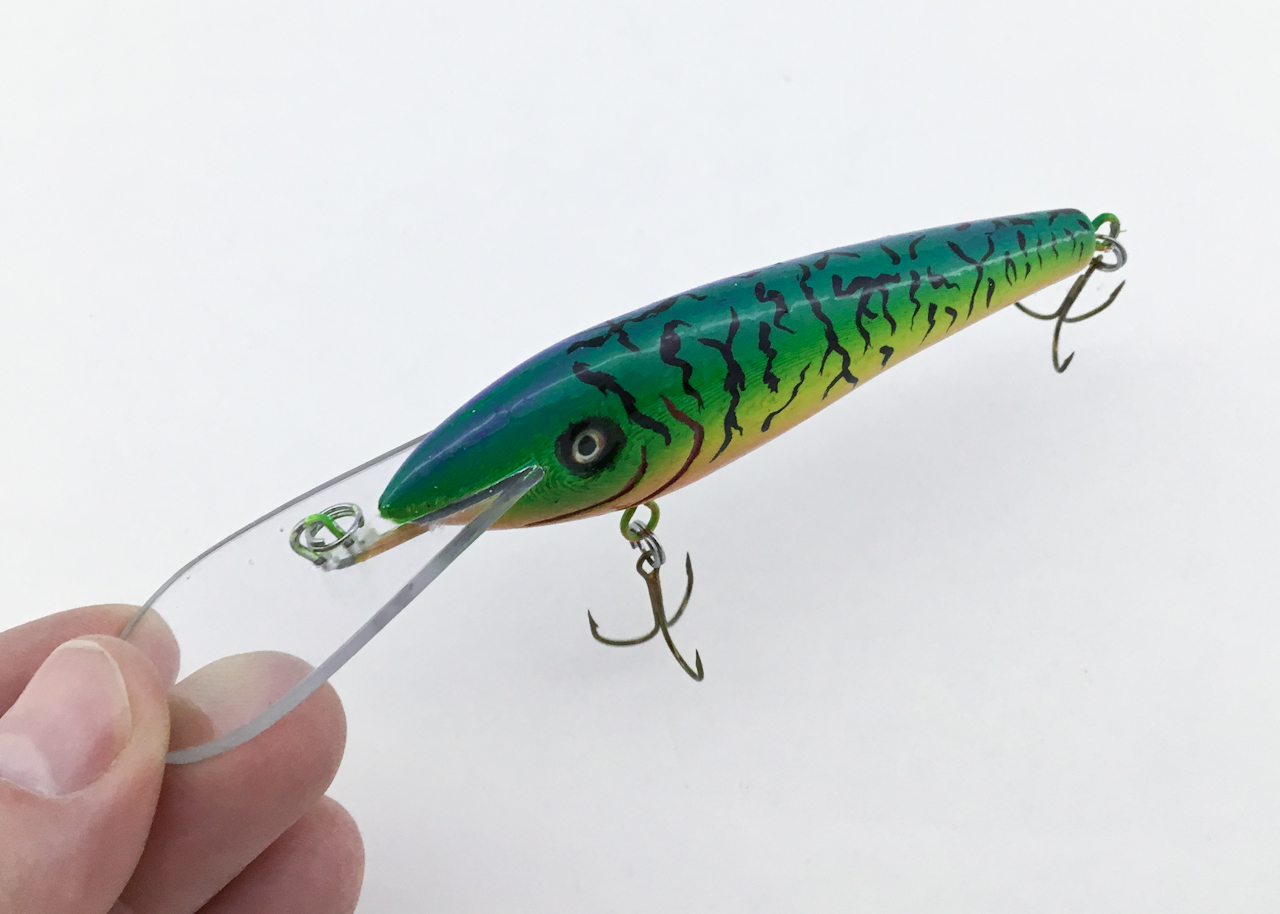
I changed the lip on the smaller one to to be slightly smaller (not as wide). I still need to test these out properly but it probably won’t be until next season as I put the boat away for the year all ready.
Large Musky Lure (STL’s – click to download.)
![]()
All Information, Pictures, and Material is copyright © 2018 by Stephen Thone and may not be used for any personal or commercial purposes without the consent of the author. All rights reserved. The Author makes no guarantees or warranties as to the accuracy or completeness of, or results to be obtained from accessing and using the Information herein.
6 Replies to “Musky Lure”
Love it! What infill?
I did this one a 3 outlines with a 10% infill. I still need to fully test it but I think the lip is going to be too thin. I actually made designed this for someone else (I don’t fish for Musky myself) but I never heard back if they actually made it or not.
Great stuff,
I have printed out a couple of your lures and I am looking forward to trying them out. I just modified the STL for this muskie buster so that I can fit a 3 millimeter plexiglass bill. I am calling the mod 3 Mill Bill. I am printing it out now and will let you know how it works out. Thanks!
That’s awesome… let me know how it works out for you.
Here is a pic of it in it’s almost completed state. I can’t wait to try it out in the water.
https://imgur.com/a/ICKS12U
WOW, Great work and Awesome finish… Not sure how that front line tie is going to work with the lip but maybe you have something else in mind for it.