Tail Spinner
January 11, 2019
Tail Spinner
This is a lipless tail spinner crank bait type lure that I am currently working on. The original design of this lure came from Nate from Marling Baits on YouTube. Nate is incredibly talented at making baits and his videos are very entertaining to watch so I highly recommend checking out his YouTube page. This is going to be my version of his tail spinner lure but 3D printed of course.
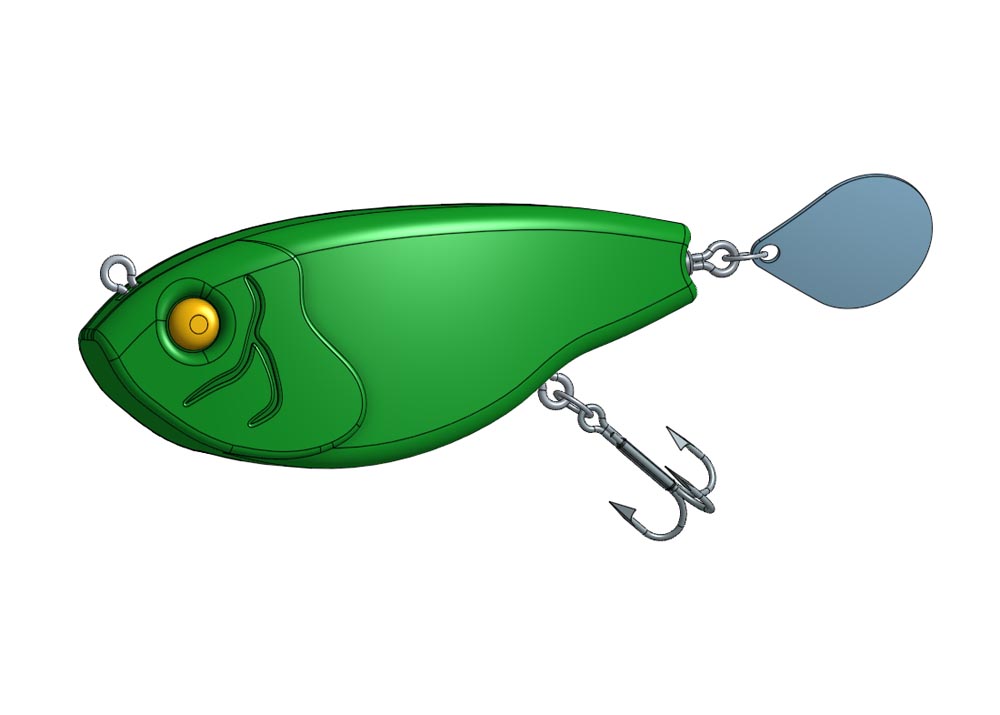

Like all of my lures it is design to be printed in 2 halves and glued together after printing. For tie on points I am using stainless steel sinker eyes that are pinned in place. Those pins also act as alignment pins for keeping the halves straight when gluing them together. A swivel is also pinned in place and attaches the spinner leaf to the rear of the lure. BB’s will be added for weight as needed.
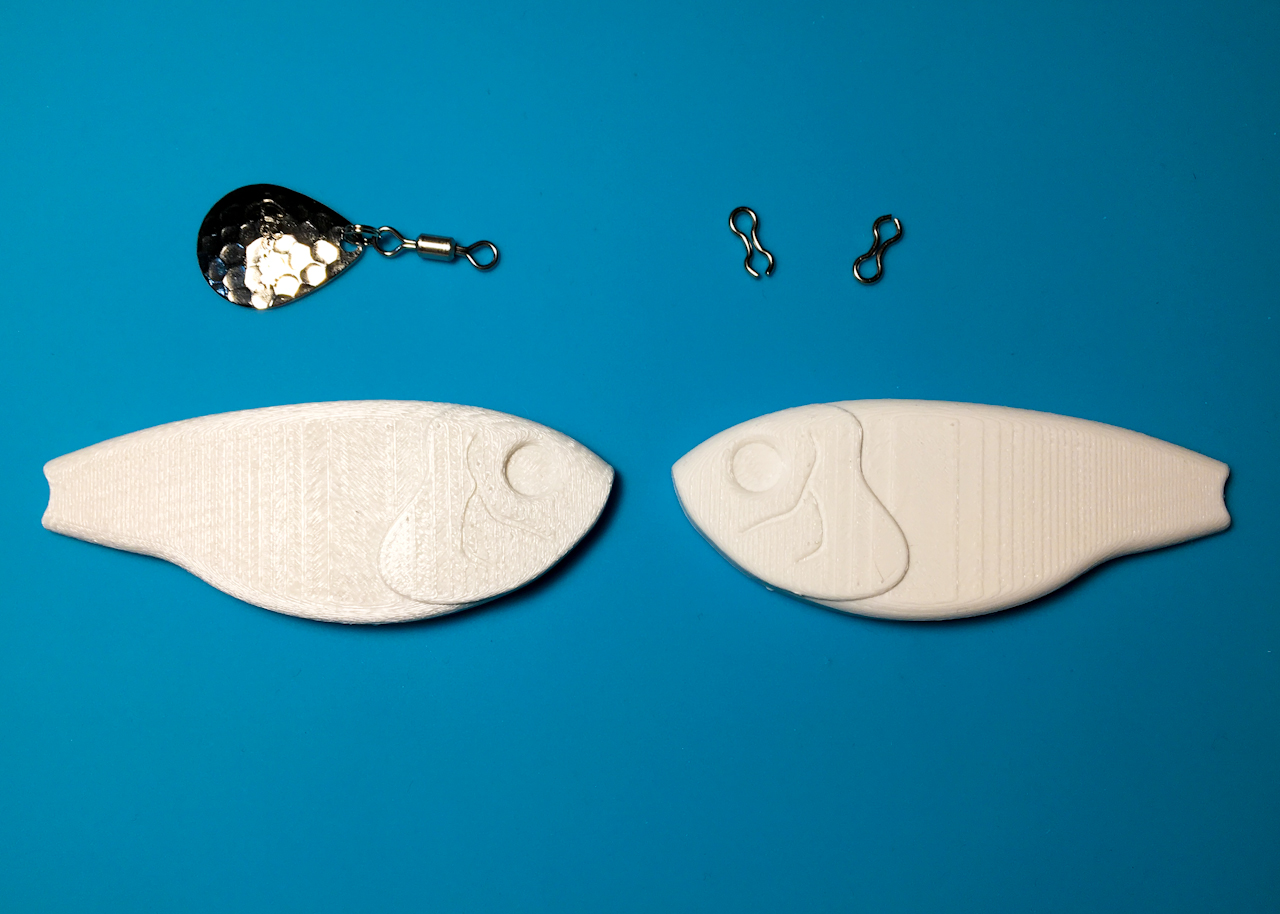
Here the body has been printed and the parts are ready to assemble.
First I needed to clean up the pin holes and sinker eye locations and test fit everything before gluing.
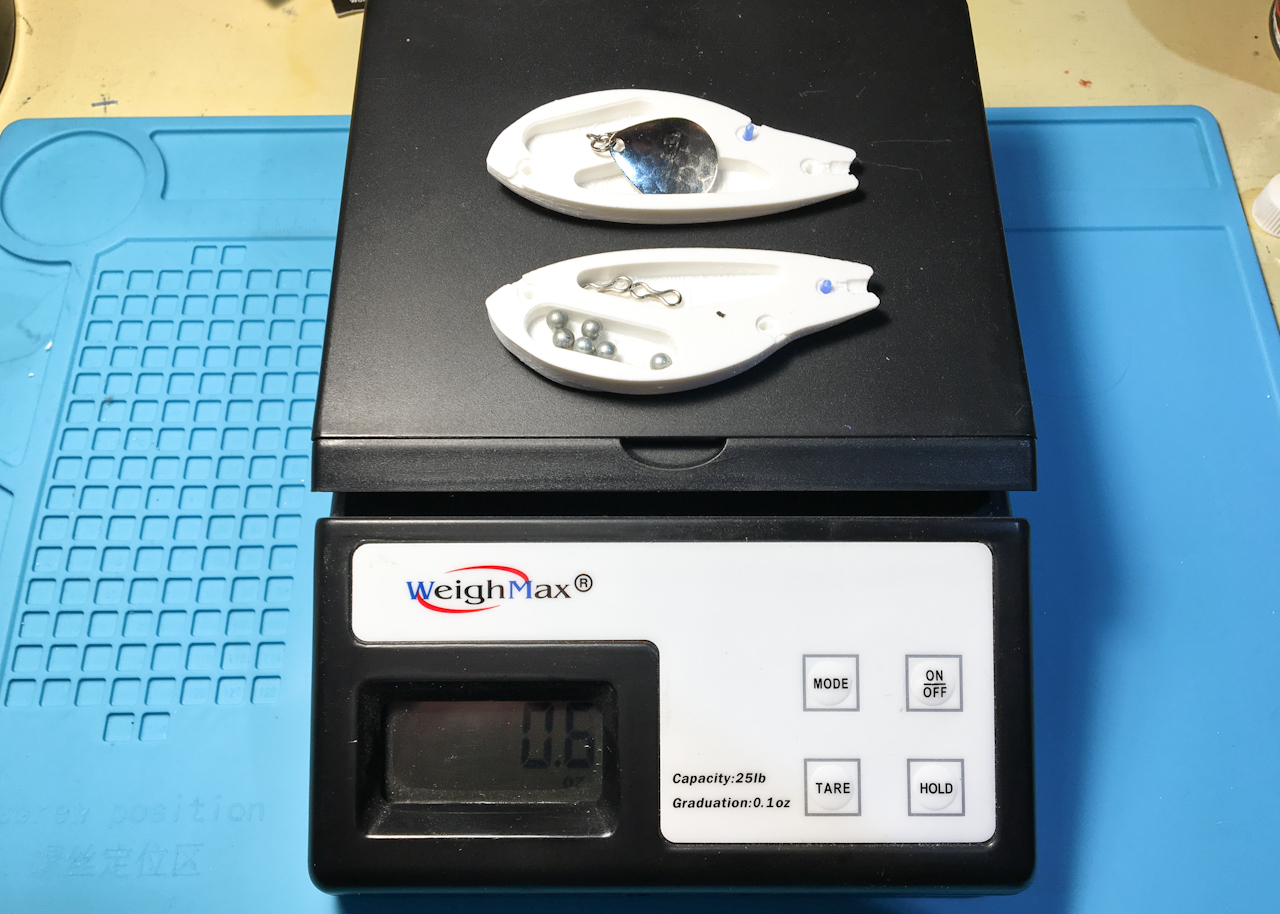
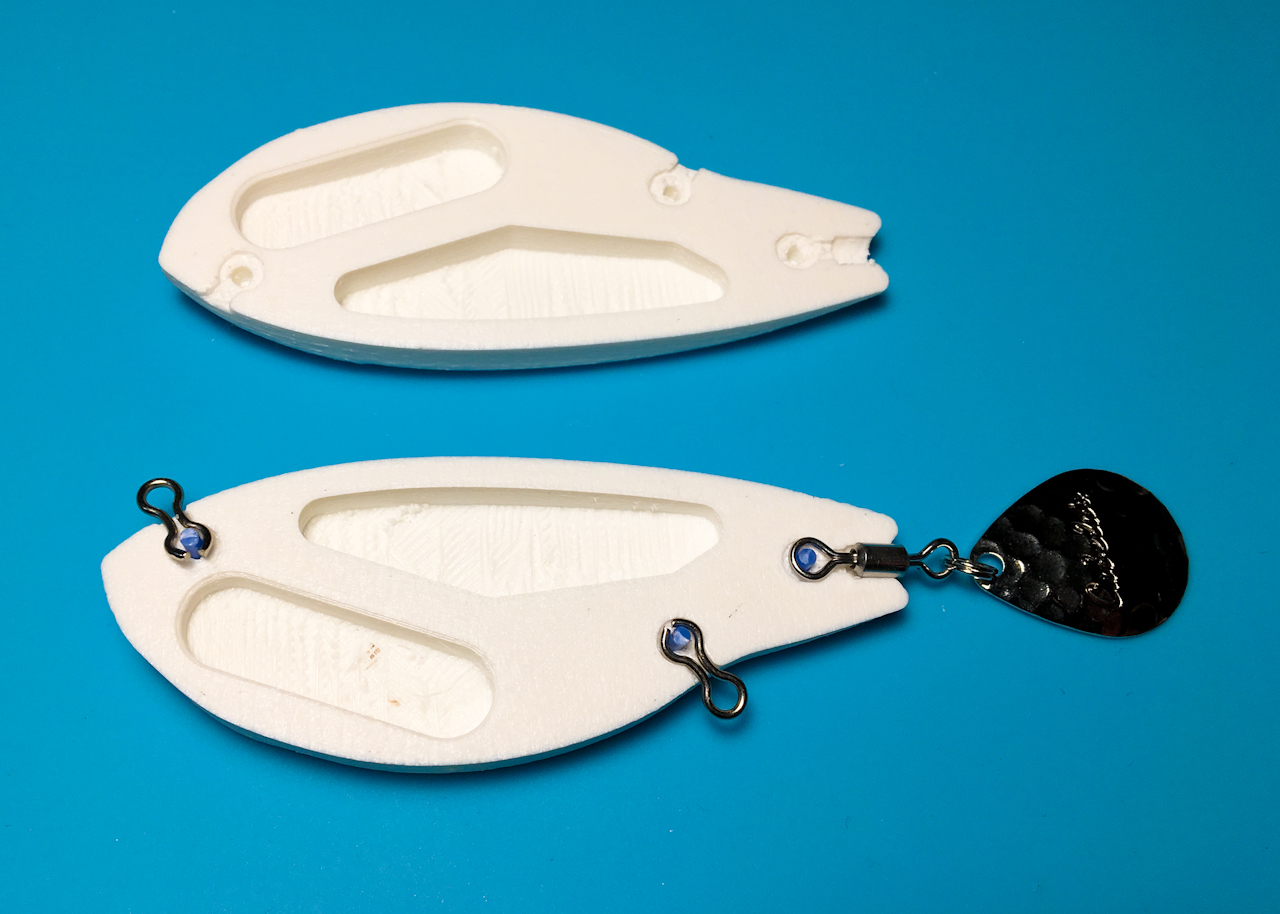
Adding weight is just going to take some trial and error on this one as I’m not sure how the spinner leaf on the back is going to affect things. For the first try I just added 6 BB’s to keep the total lure at about a half ounce and I also wanted some rattle effect out of this too so I left them loose in the chamber. I may have to add a lot more weight though depending on how it swims.
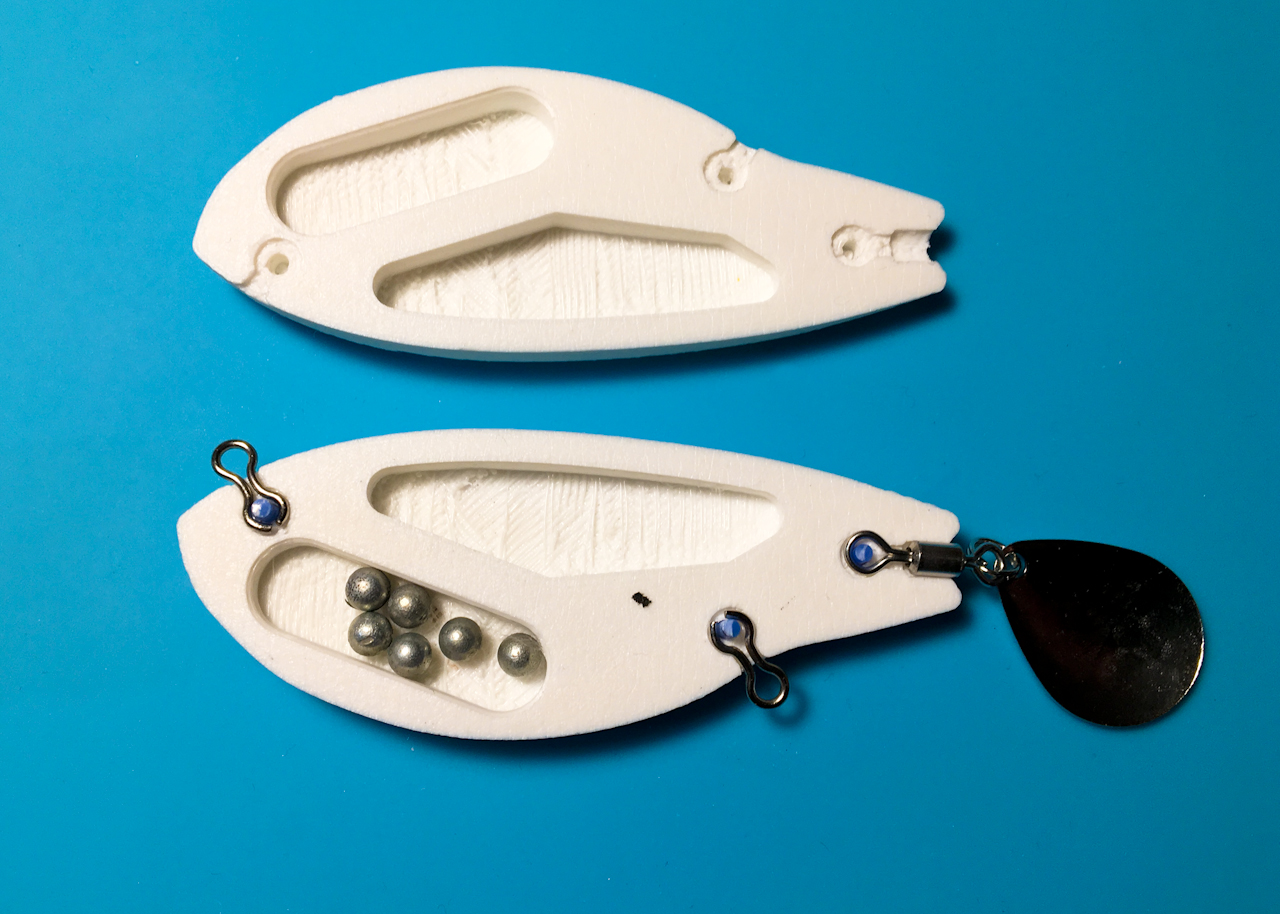
I tack glued the sinker eyes and swivel in place and the halves are ready to be joined at this point.
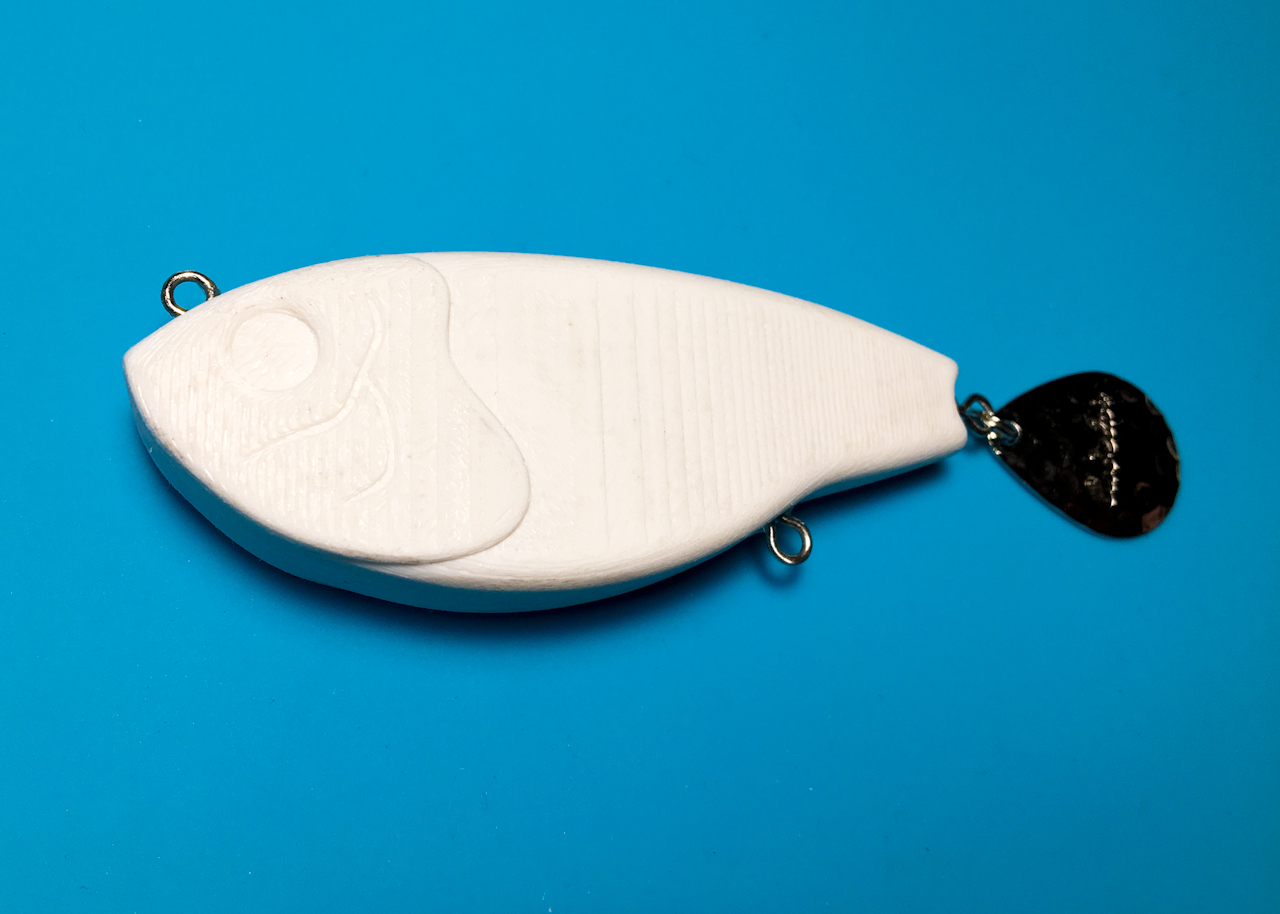
So far everything is looking good. I really need to get out and test the swimming action before I go any further but it’s only about 30 degrees out so…. it might be a bit before that happens. You never know though I might brave the weather this weekend as I have a few other lures to test out too.
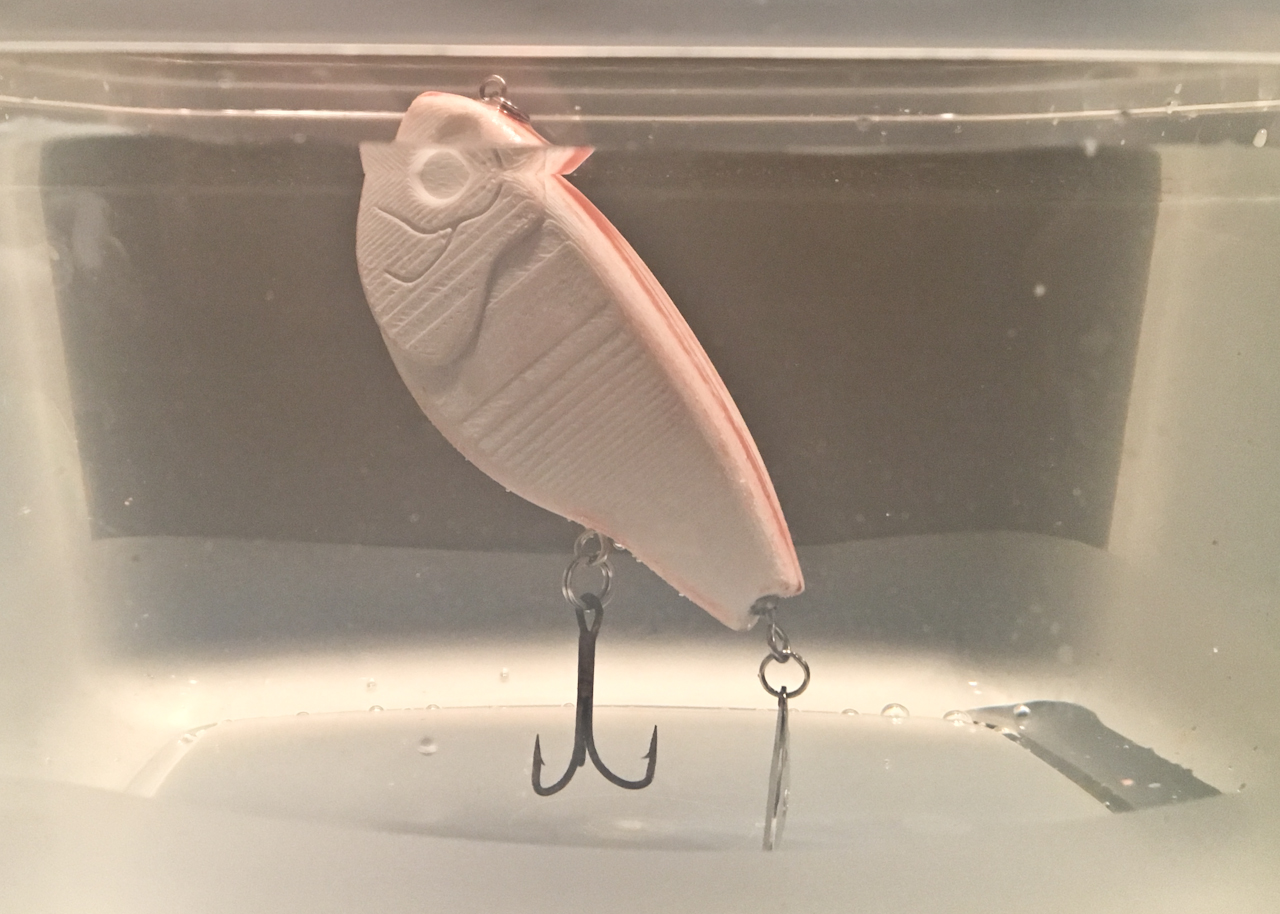
So I braved the weather today and it never dawned on me until the first cast that I never gave this thing a float test inside the house. It would have saved me some frozen fingers because it turns out I didn’t add near enough weight. Even printed at 80% infill and with the few BB’s I added this thing still floats. I guess the air chamber I added is working. I’m just going to try and drill a hole in the bottom now and add some more BB’s.
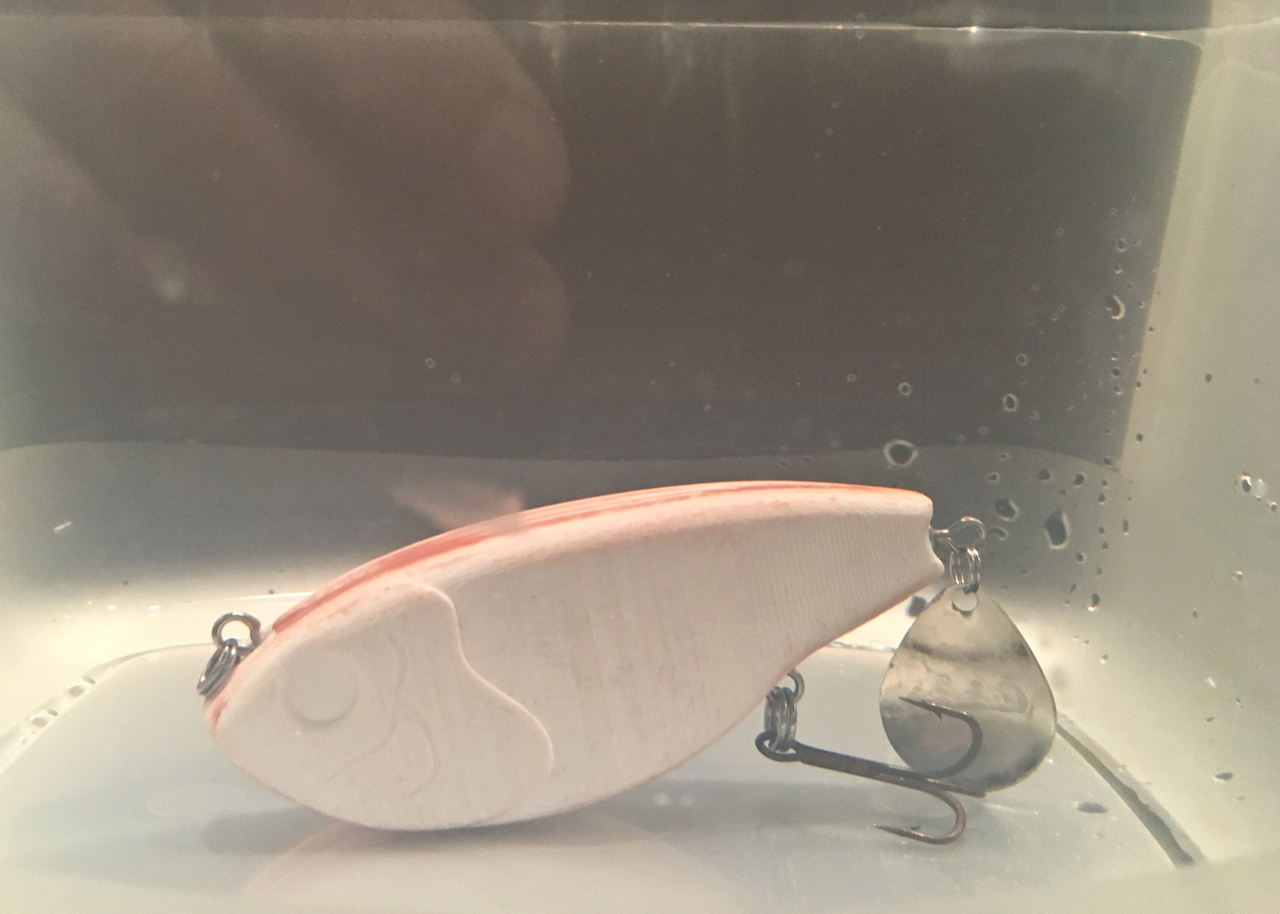
I ended up adding 22 BB’s total and it did the trick. I think I got lucky and it looks like it stays level (or slightly nose donw) too while sinking. (Although it hard to tell in only 3 inches of water.) I just need to test it again now.
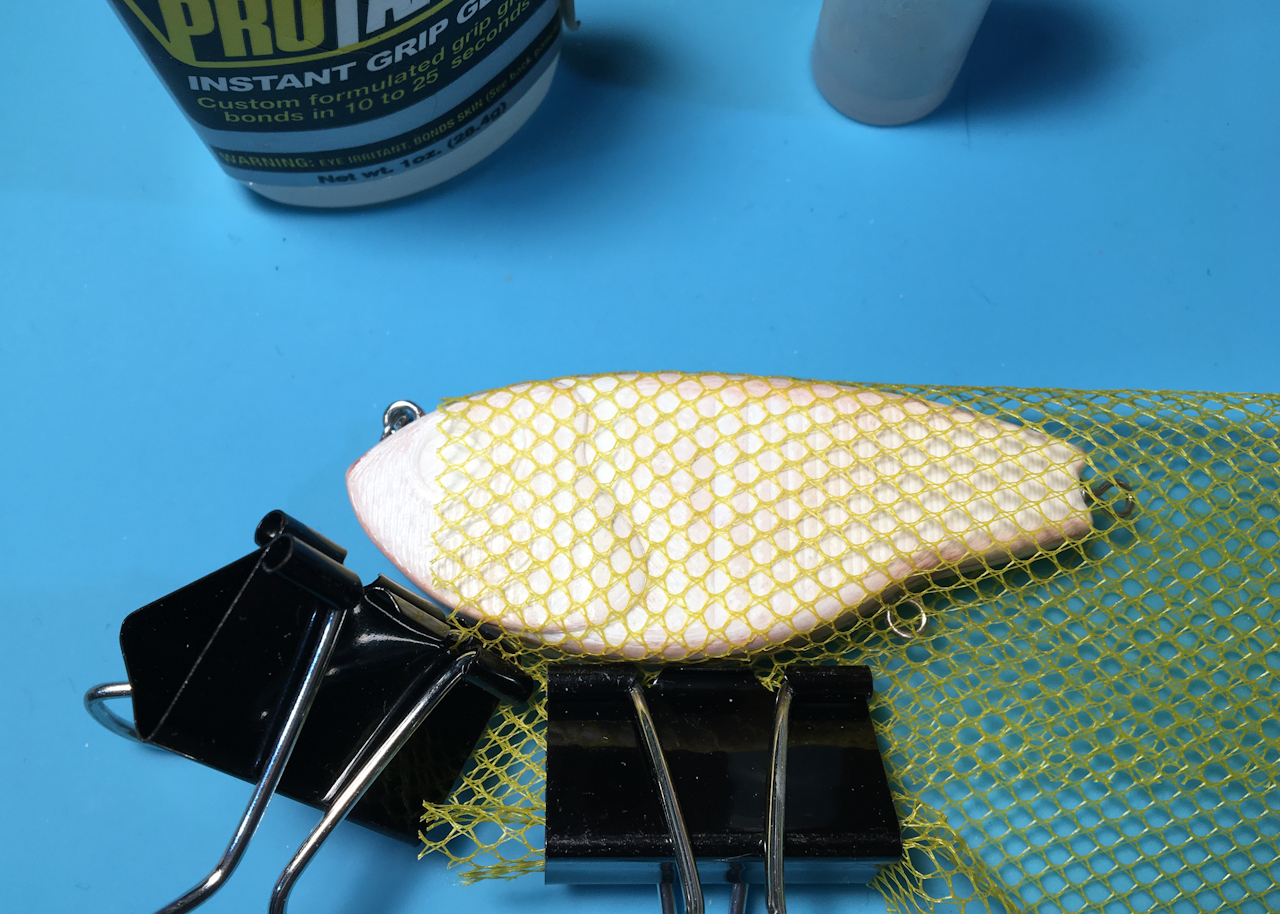
Even though I wasn’t able to test this today I’m still going to move on to the finish because I was to test out the same technique Nate used on his lure. Normally you would just wrap a lure like shown and airbrush through the tulle to get a cool scale look but Nate actually glues the tulle fabric right to the lure to create a raised scale pattern.
It’s pretty easy to do you just stretch the tulle over the blank and use super glue to tack it in place.
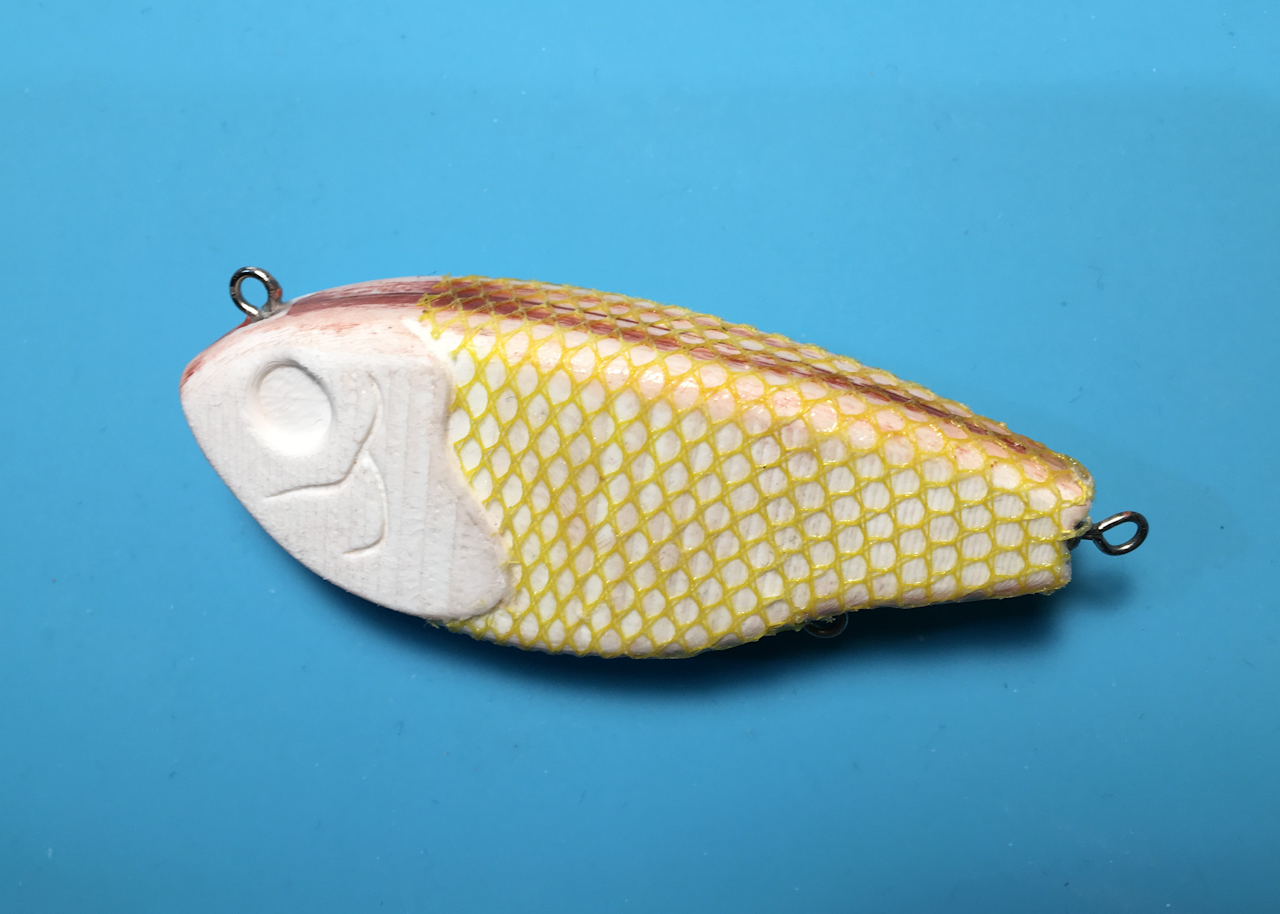
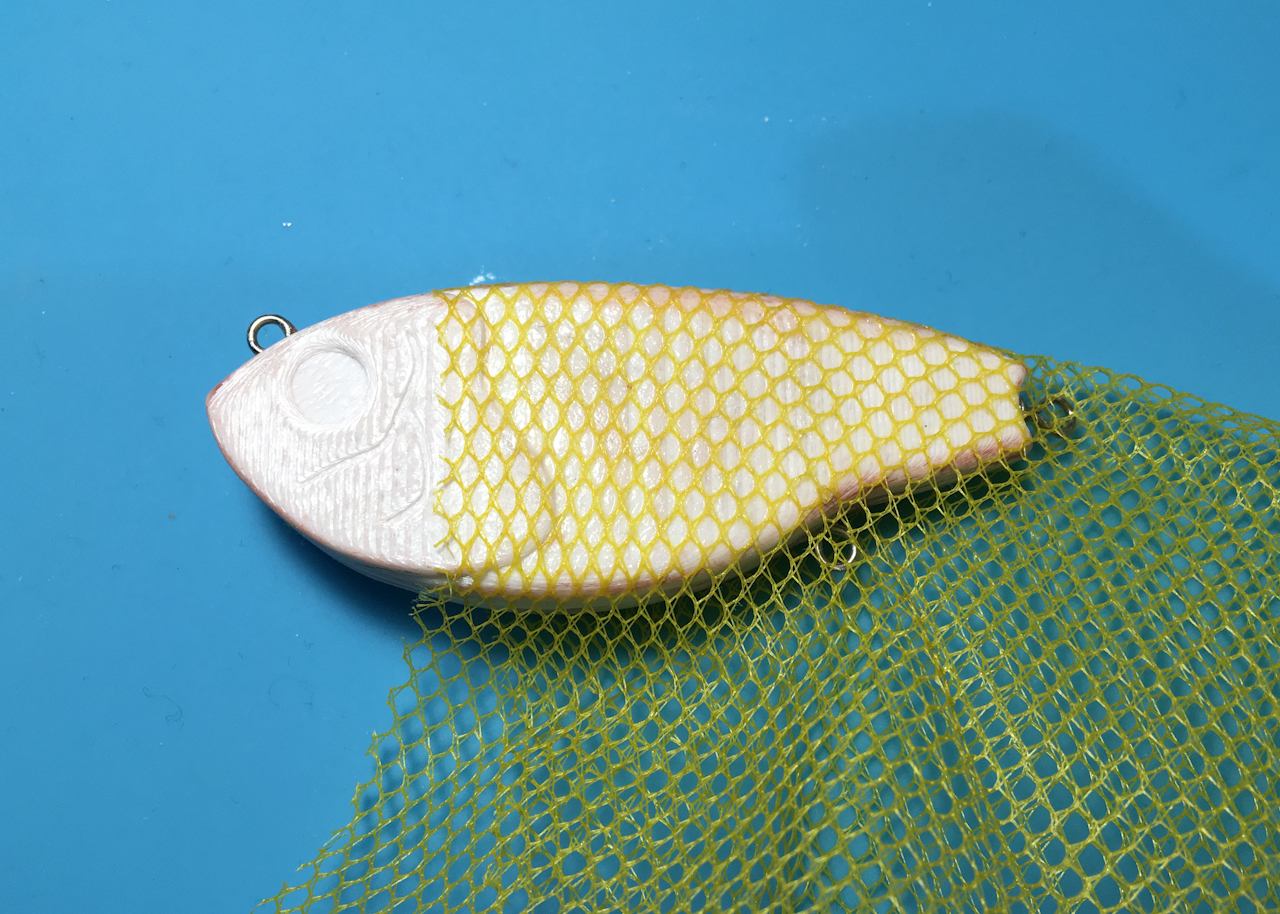
After that I just trimmed of the excess at the gill line and tail.
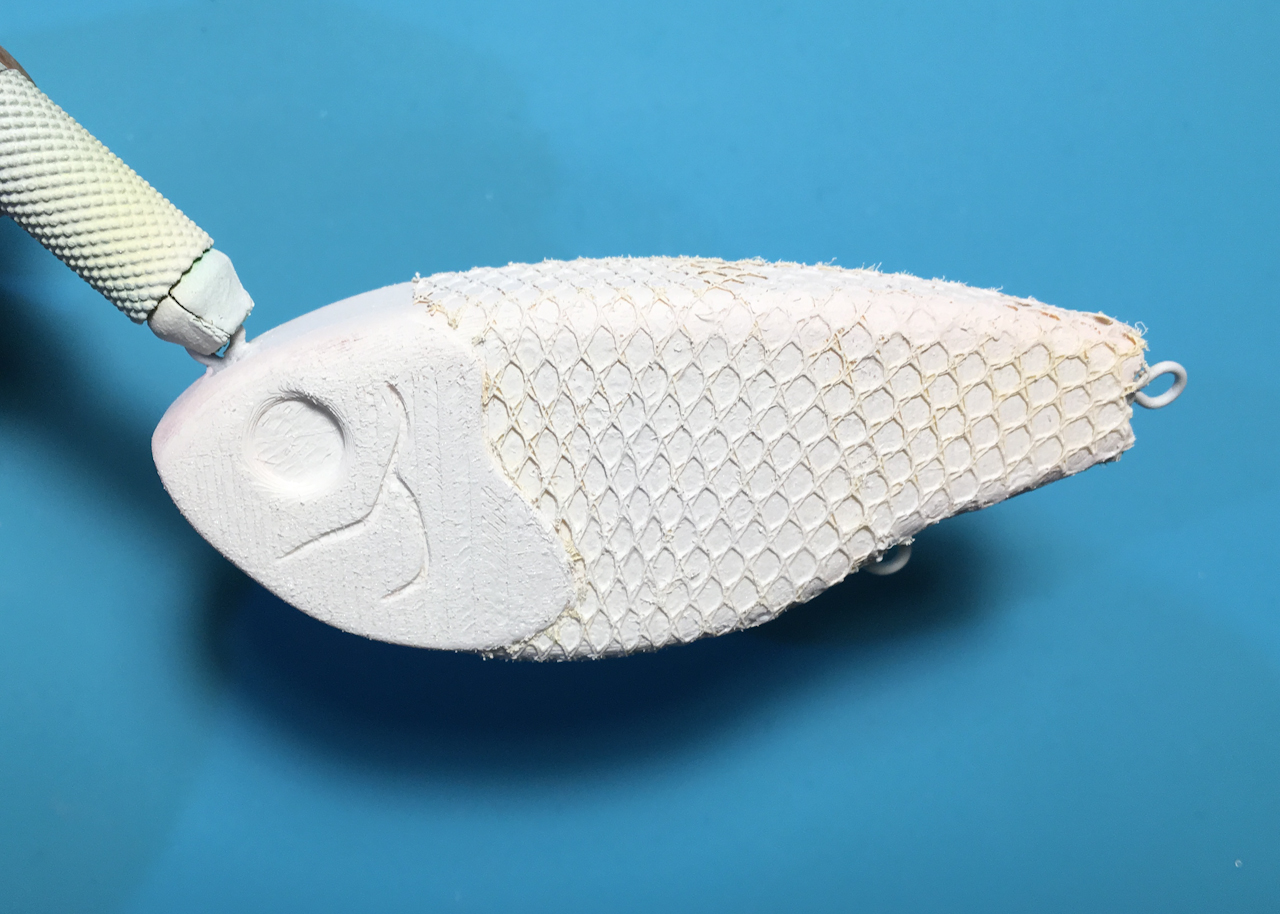
I sprayed a few quick coats of opaque white over everything to get ready to paint on a pattern. I’m not sure what I’m going to do but it will probably be a perch or bluegill pattern because those are what work great for me.
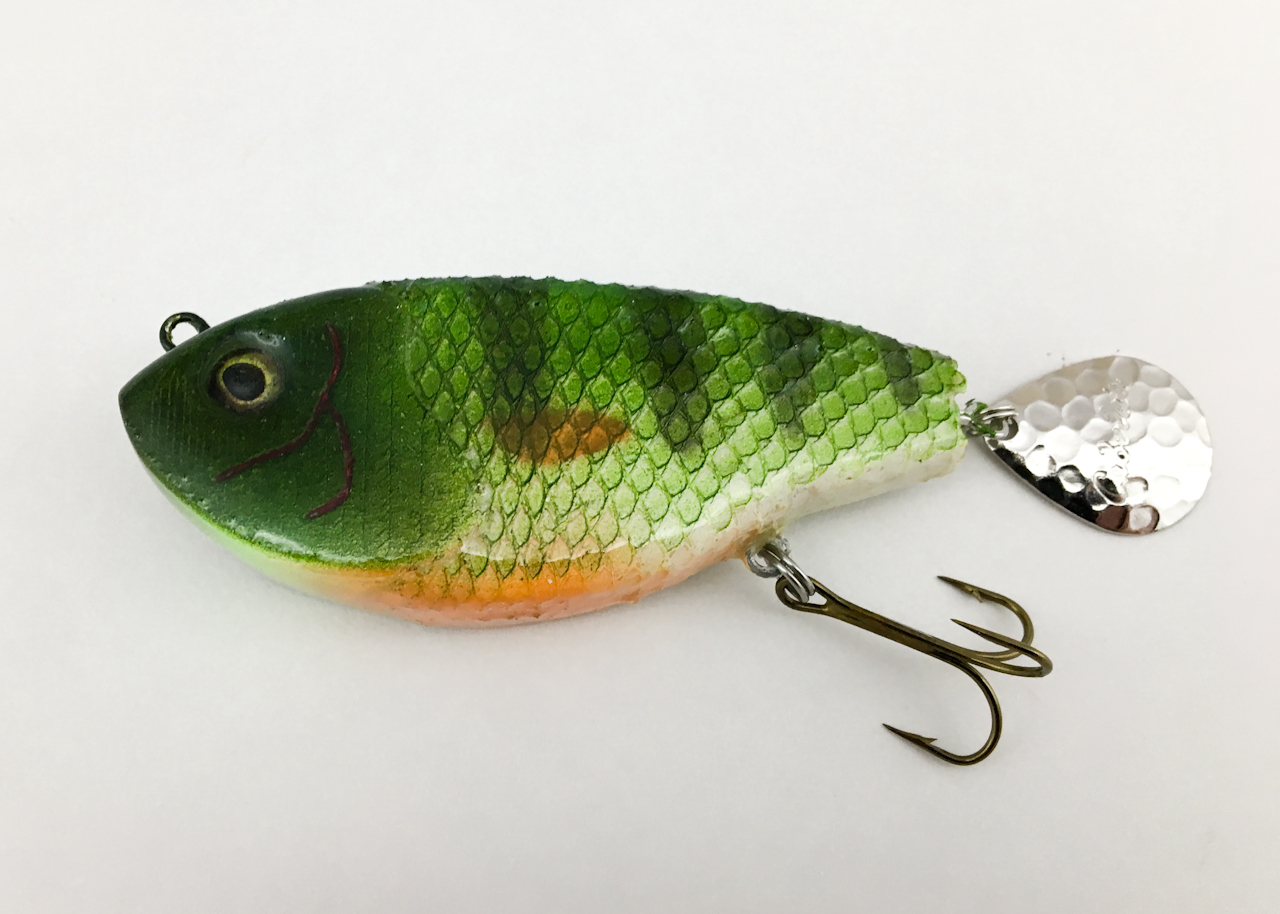
Here is the finished airbrushed lure which I did in my favorite perch pattern.
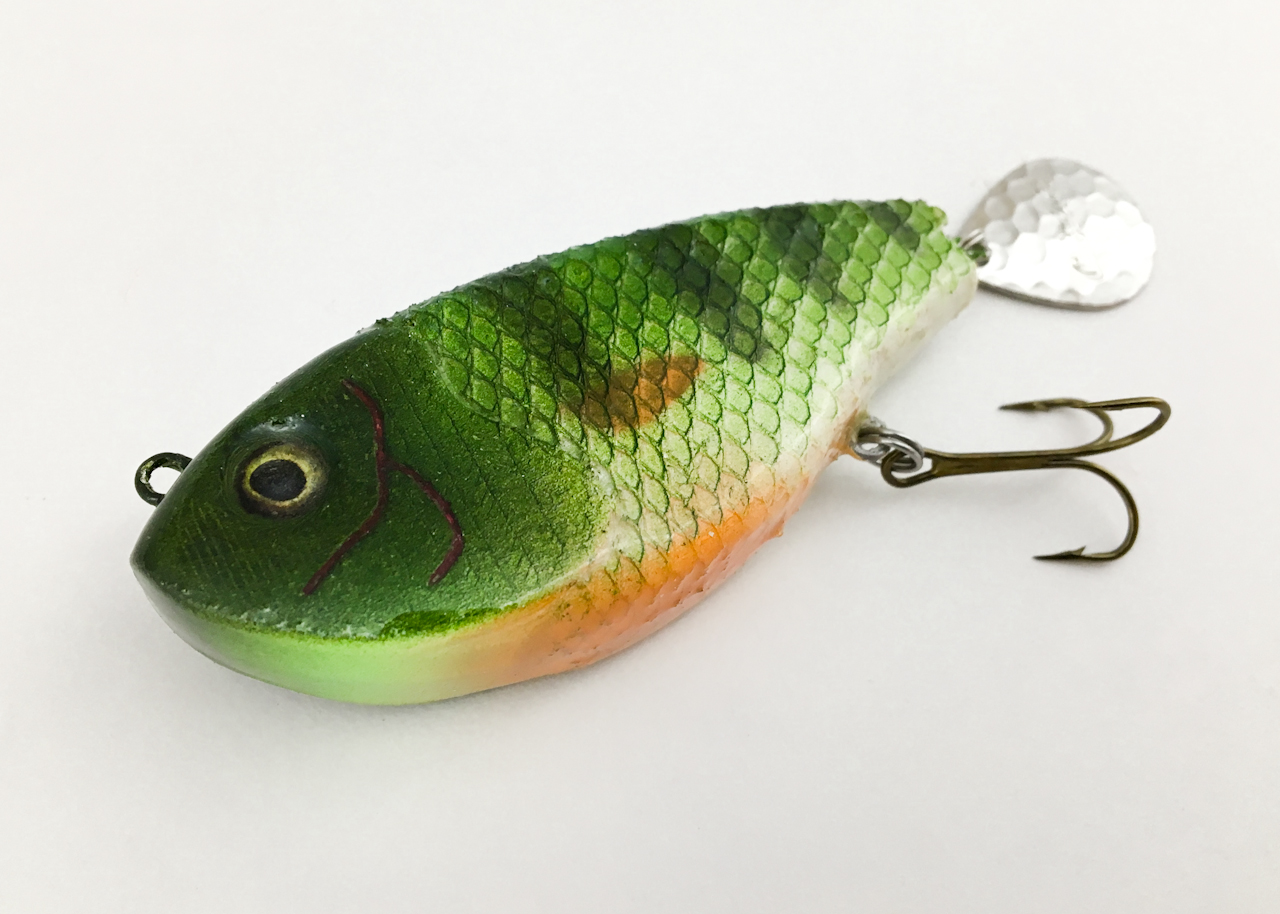
The scale look came out looking pretty cool. It gives it that three dimension look in real life.
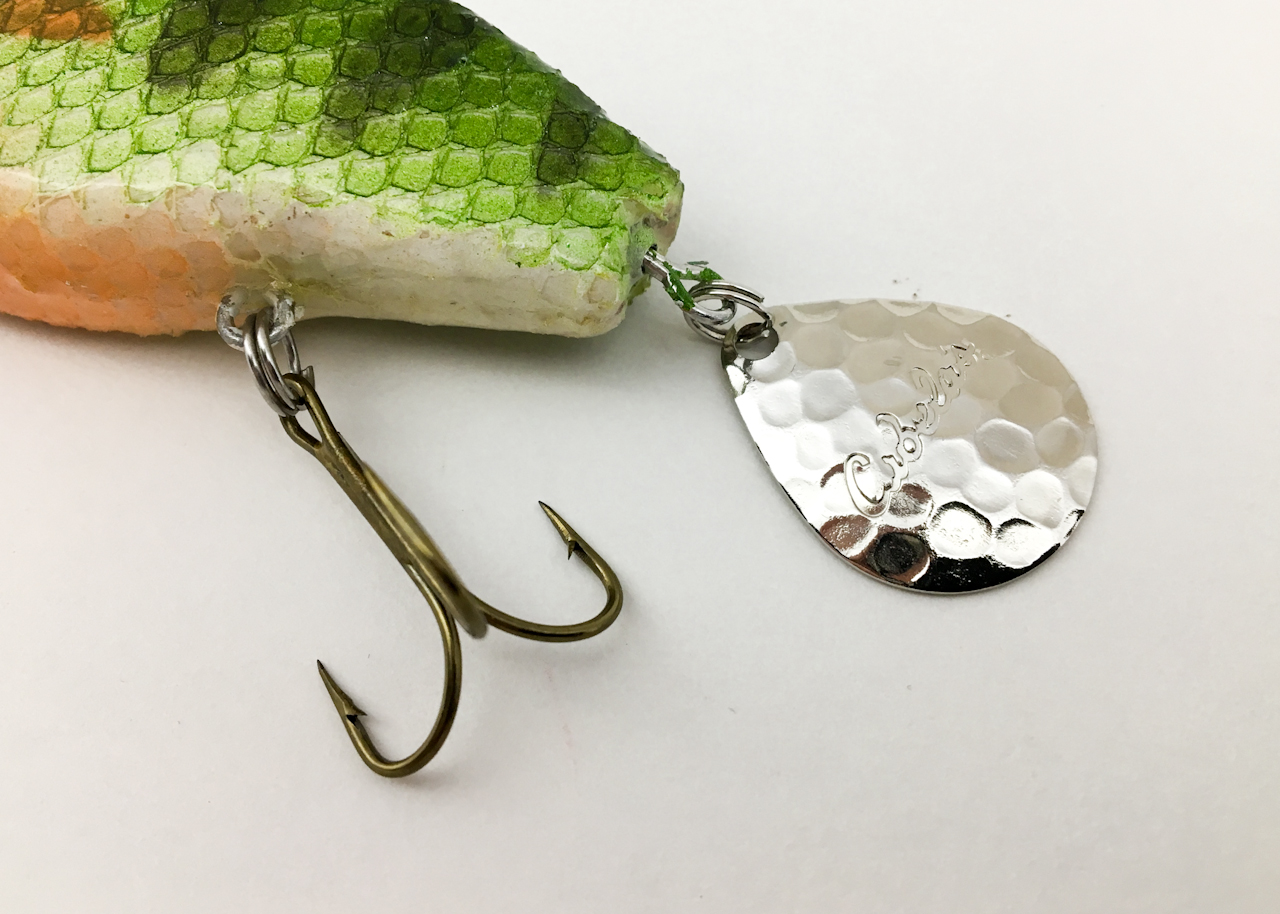
It still needs to be tested so hopefully it swims correctly. If so I’m sure that leaf on the rear will attract some bites and the hook should be right there to hook them up.
![]()
All Information, Pictures, and Material is copyright © 2018 by Stephen Thone and may not be used for any personal or commercial purposes without the consent of the author. All rights reserved. The Author makes no guarantees or warranties as to the accuracy or completeness of, or results to be obtained from accessing and using the Information herein.
6 Replies to “Tail Spinner”
I would love to be able to print this!!!
I need to fix a few issues with the action before I make this available.
Did you ever get this one working? Would love to print one and try it out.
I honestly can’t remember how/if this one worked out but check your email.
have you posted this anywhere to purchase this yet?
I have not… but give me a day or so and check your email.