Fishing

Fishing

MY FISHING PROJECTS

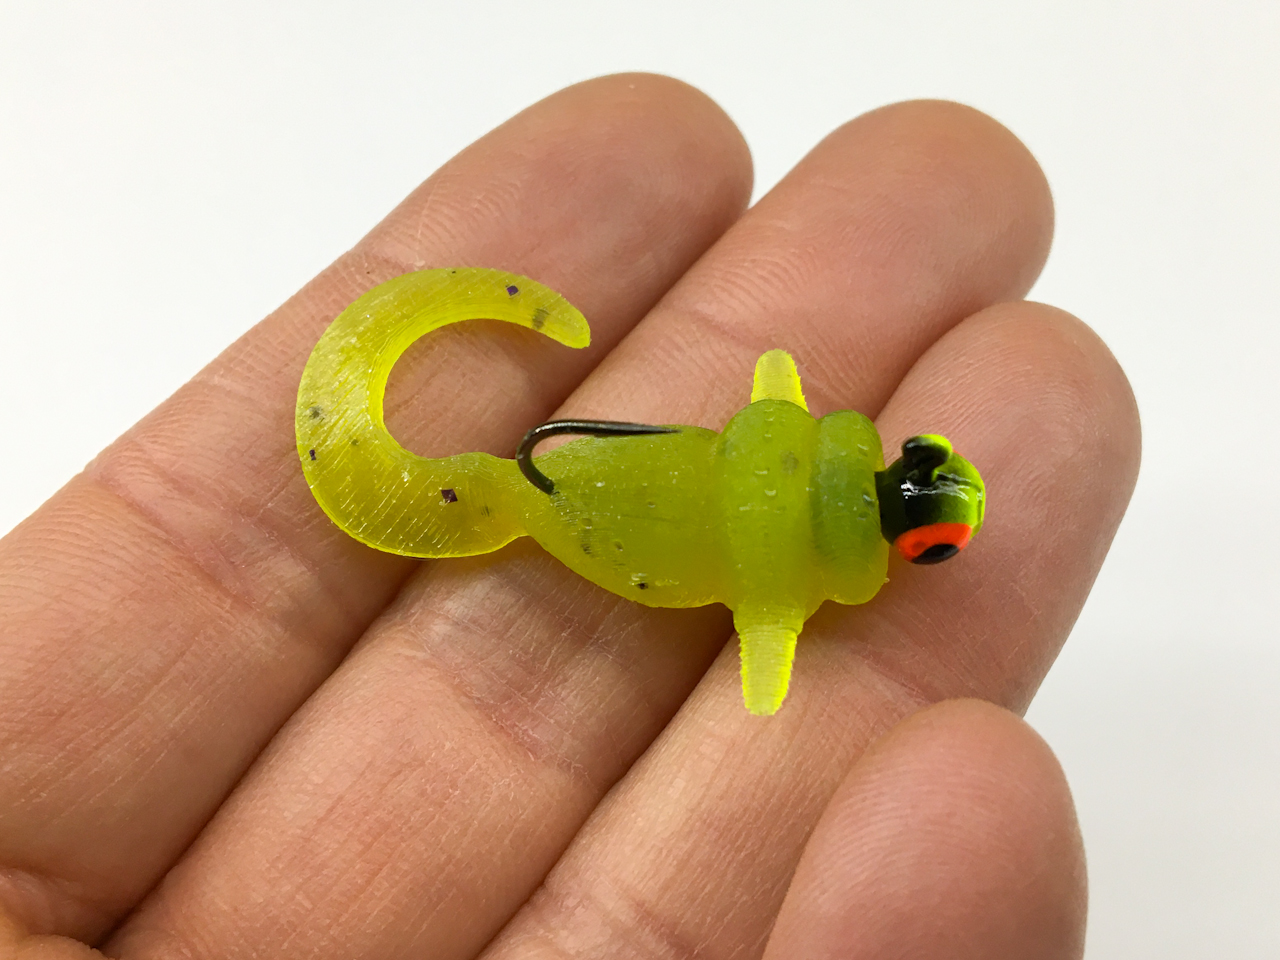
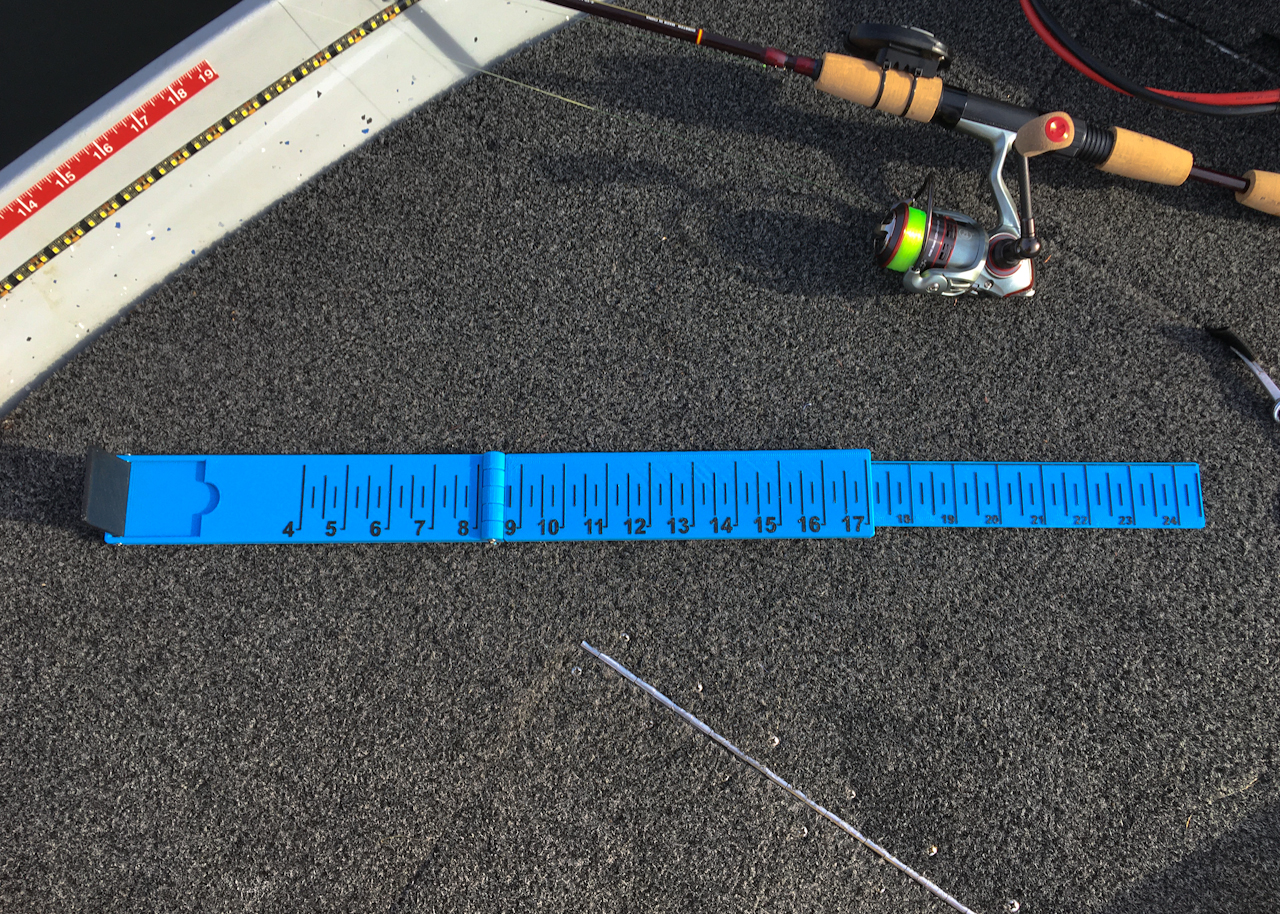
Welcome to my Fishing Projects page here you will find all of my miscellaneous Fishing projects.  I’ve mostly fished for Bass my whole life and just started a little trout fishing in the last few years. Most of the projects here will probably be 3D printed related but I thought they deserved their own page as my neverending list of projects grows.  My latest projects will be listed toward the top of the page.  I’m not a trophy fisherman so you probably won’t find any exciting catch picture here as I just like to catch anything on the stuff I make myself. I may make a lot of different lures but don’t mistake that for being a great bait maker… I kind of just figure this stuff out as I go and not every lure I show here is a good lure, some are a work in progress and others are still not finished… so keep that in mind if you try to replicate anything I do or show on this site.

Images with the YouTube play button have full build videos included.


Mouse Tail Trout Lure

Mouse Tail Trout Lure

December 16, 2024

Mouse Tail Trout Lure

STL’s for this lure are available for purchase from Cults3d.com

This is a 2.5″ Mouse Tail Trout Lure I did for someone by request.  I normally don’t do request but I’ve never heard of one of these and figured it would be worth trying as I’ve been doing a bit of trout fishing myself lately.  (In 2024 trout was the only thing I was able to fish for as life kept me too busy to even take my boat out. I think this is the only bait I made in 2024 also.)

It’s a small 4 cavity mold with each half being only 3 x 3.5″ as it was designed to fit a resin printer build plate.

I will be able to print both halves on my FDM printer at the same time though.

I haven’t printed the actual mold yet but the test print looks good. These things are pretty small, they might make a good pan fish bait too.

I also made a separate 12 cavity  head mold for doing two color baits. This mold is only 3.5 x 1.75″.

I made a little nub on the end of the head for the bait body to join to better.

Once the heads are injected they can be inserted into the main mold…

The body of the bait can then be injected.

In theory… the body should form around the head nub making for a better bond.  (the head mold has yet to be tested.)

Here is the first test mold (resin printed) and the first injection. (Thanks to Tylor for the pictures.)

One of the first baits.  The venting might need to be a little smaller and the denting is just because it was the first injection.

Here is my version (bottom) compared to a store bought.

They seemed to work just fine from the looks of it. I can’t wait to try these things out for myself.


All Information, Pictures, and Material is copyright © 2024 by Stephen Thone and may not be used for any personal or commercial purposes without the consent of the author. All rights reserved. The Author makes no guarantees or warranties as to the accuracy or completeness of, or results to be obtained from accessing and using the Information herein.

40 & 60 Gram Bullet Head Jig Molds

40 & 60 Gram Bullet Head Jig Molds

May 11. 2023

40 & 60 Gram Bullet Head Jig Molds

STL’s for this lure are available for purchase from Cults3d.com

These are a few more custom jig head molds that I am working on for somebody by request.  These are going to be Bullet Head Molds for larger 40 & 60 gram  jig heads which is a size I personally would probably never fish with but I was curious if these types of silicone molds would work for something this big so that’s why I took on the request. (which is something I normally don’t have the time to do.) In this case I’ve already done bullet heads so it was an easy request.

This is the Hook picture that I was sent and will be working from… as you can see it’s a 6/0 VMC hook, although I’m not sure what style it is.

The first thing I did was design the hook and a basic keeper in CAD.

Once the hook was done it was just a matter of sizing the bullet head to get close to 40 Grams.  1.41 oz converts to 40 Grams according to the online calculator I used.  (this is the same method I used when making my other Jig Heads so the CAD program is pretty accurate in my experience.)

After that the Master Mold Box was designed around the Jig Head.  (Note – it will take 3.33 oz of silicone for Each mold Half.)

I did things a little different on this one compared to some of my other designs as far as the hook goes. (example above)  I didn’t design around the actual hook but made a larger box area so other type or styles of hooks my be able to be used… depending on the eyelet to shaft distance.)

Here you can see after a silicone mold would be made there would be a gap in the rear that other hooks or keepers could fit in.

Once the silicone molds are made the hook and keeper are placed in one half of the mold before clamping the two halves together.

In this transparent view you can see how everything would sit before pouring in the lead.

After the lead has cooled this is what you should be left with.

Once the sprue is trimmed off and the head cleaned up you should be left with a nice 40 (or so) gram Bullet Head Jig ready to fish.

I also made a shortened mold to save on silicone.  (Note – it will take 1.77 oz of silicone for Each mold half.)

This would mean the hooks and keepers stick out the bottom so you would have to get clever when clamping the mold halves together.

While I was at it I designed an actual mold too because there is always at least one person who will try 3D printing these in high temp resin. (I hear it works but have never seen it done.)


60 Gram

Next it it’s back to the CAD to make a 60 Gram version for this 8/0 VMC hook.

Here are the dimensions of the 60 Gram head.

The Master Mold Box is pretty much the same exact design just scaled up a bit. (Note – it will take 4.88 oz of silicone for Each mold half.)

Here is a simulated transparent version of the 60 gram Mold.

I also did a shortened mold box for the 60 Gram. (Note – it will take 2.41 oz of silicone for Each mold half.)


Here are some pictures of the printed master mold boxes (Thanks to Nikos for the pictures) …

…the actual silicone molds.

And here we have the actual poured 40 gram Jigheads.

The weight is almost spot on… I did pretty good with the design (well Fusion did well with the calculations I should say.) I’m sure the slight weight difference is because of the lead shrinkage during cooling.

Overall they came out great and they should work out as intended… I hope they help catch some big fish…  I’ll post some updates if I hear that the were successful.

To Be Continued…


All Information, Pictures, and Material is copyright © 2023 by Stephen Thone and may not be used for any personal or commercial purposes without the consent of the author. All rights reserved. The Author makes no guarantees or warranties as to the accuracy or completeness of, or results to be obtained from accessing and using the Information herein.

Storm Lightning Shad Replica

Storm Lightning Shad Replica

March 1, 2023

Storm Lightning Shad Replica

STL’s for this lure are available for purchase from Cults3d.com

This is a Replica of a discontinued Storm Lightning Shad that I am trying to bring back from the dead.  I very rarely take requests but George reached out to me to in September 2022 to see if I can make one of these because it was the only lure George and his uncle were having luck with while pike fishing over the summer. Again I normal don’t do requests because of my lack of spare time but I always loved the Storm Wiggle Wart so this Storm Lightning Shad really intrigued me and thought it would be a good challenge because of the lip design so I told them I’d at least give it a shot although it might take some time…

George found a used Shad on eBay and had one sent to me to work off of.  Lucky it’s kind of a transparent one so that helps. These Storm lures were not the best quality (this one has some dents where the hangers are) but hey if they work they work… right?  I know people hate this saying but…. I’m more about catching fish, then catching fireman.

I don’t know what size these are considered but the size is right up my alley and what I normally fish with so that was a plus.

About a month later I finally found a bit of spare time (on my lunch breaks at work) to start in on the design and this was the initial design done in Fusion 360’s sculpt environment… unfortunately I didn’t get to far into it because my work computer doesn’t like the sculpt environment so much and I couldn’t find any other time to work on the project because I had larger projects going on at home that consumed my time.

Well about 4 months later I finally finished what I was working on at home… at least enough to get back into this so I cleaned up the design a bit.

I tried to match the internals as close as I could with the stock lure.

I designed two different versions when it came to the eyes.  The first just like the original and the second to take .25″ eyes.

The first test print.

Notes

Layer Height = .10
Top Solid Layers = 4
Bottom Solid Layers = 2
Perimeter Outlines = 2
Infill = 80%

Normally I don’t print with supports but in this case I did use them for the internal body cavity, but not where the hook hangers go as its to much of a pain to clean up afterwards.

Supports removed.

Before I went any further I weighted the stock lure and it came out to 15.18 grams.

Trying to match the original (with what I have on hand) I used (3) #6 hook hangers & filament pins, (2) .1875 & (3) .125″ Stainless Steel Balls.

With all of the pieces and parts mine weights in at 12.11 grams so far.

After super gluing the two halves together (but before sanding) it’s up to 12.39 grams.  Paint and epoxy sealer will hopefully make up the difference.

So far this is where I am at.  (as of 3-1-23) I’m not sure how close I got the lip but I’ll have to see how the actions compare before I get to crazy. I haven’t even see the original in the water yet.

After a little sanding with 80 & 220 grit sandpaper it was ready for a quick paint job.

I kept the pattern like the original because I really do well with perch type patterns where I fish and I could bang it out in like ten minutes.

After paint and clear it was just a little shy of the originals 15.18 grams weight.

The dressed original weighs 17.90 grams…

… while my replica comes in at 15 grams. (I did use smaller #4 hooks though.)

Here is the finished lure. It was cleared with a 2 part epoxy with a heavy coat of glitter mixed in.  (it really shines in person)

It should really have some added flash in the water too.

Over all it’s not to bad for a quick finish job.

the lip isn’t a perfect match but we’ll have to see how it works.

Top view

Compared to the original.

Kind of a top view comparison.

On to the float test…. the original sits with a nose down attitude.

While mine sits a bit more horizontal.  I may make the front ball chamber a slight bit bigger to take a .25″ ball to see if I can match the original. Other that that the rattle sound is different of course too because of the different type of plastic used.  Next I need to do some action comparisons before I go any further.

3/26/23 – I did give it a quick swim test and it seemed to swim well with a good action but I still haven’t compared it to the original or figured out what depth it swims at yet.

To be Continued…


All Information, Pictures, and Material is copyright © 2023 by Stephen Thone and may not be used for any personal or commercial purposes without the consent of the author. All rights reserved. The Author makes no guarantees or warranties as to the accuracy or completeness of, or results to be obtained from accessing and using the Information herein.

Crappie Grub

Crappie Grub

Crappie Grub

After the failure of my last try at a crappie bait I decided to make something simple thats tried and true…. a grub.  I wanted something small to target crappie with so the overall design is about 2″ long with a 7/8″ body.

While it’s mainly a basic grub the body shape is not your typical design and I did two versions where one has little fins or wings on it (just to be different) and you never know they might have  little action.

Here’s the mold design in a 2 cavity test version just to speed up printing times.

There are some weird side vents for the little wings on this version.

This would be the full 8 cavity mold if all goes well.

The first test mold after printing.

The first injection… So far so good.

Here they are after clean up.

Overall size.

Ready for testing… I just have to get it in the water as soon as it warms up outside.

To be Continued…


All Information, Pictures, and Material is copyright © 2023 by Stephen Thone and may not be used for any personal or commercial purposes without the consent of the author. All rights reserved. The Author makes no guarantees or warranties as to the accuracy or completeness of, or results to be obtained from accessing and using the Information herein.

NED Tail Shaker

NED Tail Shaker

February 18, 2023

NED Tail Shaker

This is just another weird NED type bait that I am working on that has a rattle in the tail. A little sound can always add to attracting a bite.

This is the basic design of the bait. Overall it’s about 3″ long.

The interesting part is the Rattle embedded into the tail.

The overall mold design. (Transparent View.)

Solid View.

Here we have the actual 3D printed mold.

Before injecting I have to make some rattles.  I will be using these tiny 3/32″ Balls.

The print is paused right before it’s finished and the balls (3 for testing) are dropped into the print before it’s restarted to finish.

The finished test rattles.

For being so small they actually have a good rattle sound.

There is a tiny indent on the bottom which will sit onto a small pin.

This pin will be part of the mold to help keep the rattle in the center of it while injecting the bait.

Here is how it sits in the mold.  This might not be practical if making a ton of baits so later on I might just make a solid plug that can be injected around and then the rattle put into the bait after injecting.

The first injection went well.

Although the pin did come out with it.

I also did a clear test bait with a black rattle chamber just to see how it sits inside the bait.   It looks pretty centered anyway.  I still need to try injecting a few without the pin to see if just dropping the rattle in the mold would work well enough.

Here’s how it will sit in the water.  The only concerns I have right now is if the rattle will say water tight. I may have to seal them with UV resin.

Just waiting on Testing now.  To be Continued…..


All Information, Pictures, and Material is copyright © 2023 by Stephen Thone and may not be used for any personal or commercial purposes without the consent of the author. All rights reserved. The Author makes no guarantees or warranties as to the accuracy or completeness of, or results to be obtained from accessing and using the Information herein.

Double Tail Grub

Double Tail Grub

February 6, 2023

Double Tail Grub

STL’s for this lure are available for purchase from Cults3d.com

By request… this is a double tail version of my triple and four tail grubs.  I figured this would round out the grub line and it was a simple request to make with only a few changes to the original design.

Compared to the 3 and 4 tail grub this mold is a basic flat design and a 2 cavity at that.

It printed well and injected perfect.

Here are the first test baits… now I just have to wait until spring time to test them… but I have no doubt that they will work just as well as the 3 and 4 tail versions.

Here is the full line up.


All Information, Pictures, and Material is copyright © 2023 by Stephen Thone and may not be used for any personal or commercial purposes without the consent of the author. All rights reserved. The Author makes no guarantees or warranties as to the accuracy or completeness of, or results to be obtained from accessing and using the Information herein.

The SHIRKER

The SHIRKER

February 4, 2023

The SHIRKER

This is just kind of a small creature type bait a designed at lunch one day. It’s suppose to be for crappie but we’ll have to see how it works as it’s still a work in progress….. It was a Failure..

I did a double design on it because I’m not sure if the legs (or are these arms?) forward swept design will have the right action or not.

Being a prototype I just designed small single cavities to begin with.

I printed up one of each design for testing.

The first design was the legs forward design. I kinda wanted to try the legs forward so if I stopped the bait while swimming it the legs would move back toward the front of the bait causing action in the pause. Will this work… only time and testing will tell.

Just in case that didn’t work I also designed  a more traditional design (not that this bait is traditional) with the legs to the rear.  This was as simple as just flipping one sketch in CAD.

The first test bait ready for testing.

Again…I’m not sure these swept forward legs/arms will have the right action or not.

The first “just in case” other design.

This version should work… in theory anyway.

In the hand for size reference.


FAILURE

This was pretty much a failure.  Like someone pointed out on Instagram the forward swept legs version didn’t have much action because the body interfered with the leg.  The other one had a bit of action but still had some interference and the long legs tended to get tangled in the hook. It also like to spin if that happened.  Shorter legs may work but I’m not really interested in perusing this design any further but will leave it up as a learning experience for others.


All Information, Pictures, and Material is copyright © 2023 by Stephen Thone and may not be used for any personal or commercial purposes without the consent of the author. All rights reserved. The Author makes no guarantees or warranties as to the accuracy or completeness of, or results to be obtained from accessing and using the Information herein.

Marker Buoy Deployment System

Marker Buoy Deployment System

August 22, 2022


Marker Buoy Deployment System

This is “The Depth Charger” it is a deployment system for dropping fishing marker buoys. It should make for quicker and more accurately placement of buoys when used in conjunction with a fish finder/chart plotter. My fish finder is on the front of my boat while the transducer is at the rear so this allows me to drop the buoys right over what the transducer is showing. Is this overkill? Absolutely…. but I can, therefore I ̶d̶o̶ Make Things.


Full Build Video


For those to lazy to watch the video this project started out by designing new Marker Buoys which are seen above.

The new Buoys were printed in to halves out of ABS and then glued together.

Then to make sure they never would sink the where filled with expanding foam.

After that everything was cleaned up and Caps were glued on to finish off the buoys. I could then move on with the rest of the project.

This is the main design of the Buoy deployment system.

All of the parts were printed in PETG to hold up to the Sun and everything took about 38-40 hours to print.

Heatset inserts were used where strength for threads would be needed.

The first part to install was the Buoy Retainer… this piece holds the buoys in place if the boat hits any waves.

Next was the Base piece of the buoy pusher.

After that the original fingers were attached to the base piece.

The geared motor, limit switch, and deployment switch were then wired.

The motor and limit switch were then mounted to the main base.

Next the Cam Lobe was mounted to the Cam Disc. (The Lobe is adjustable.)

The next step in the mechanism was to mount the Cam Disc to the motor and the connect the Push Rod.

The mounts were then attached to the base.

The Buoy Magazine was the last piece to be attached.

After initial testing the Fingers needed to be upgraded.

Here is the Depth Charger mounted to the back of my boat.

The system in action.


Updates 8/23/22

I made a few updates after shooting the video. I adjusted the back side of the cam lobe so it contacts the button a little longer.  Occasionally if there weren’t any buoys in the system (less resistance) and I hit the button the motor would keep spinning just long enough after hitting the limit switch that it would by past it and the motor would continue on another rotation. (This had to do with upgrading to a 15 RPM motor)  This new Cam Lobe should fix that problem.

I originally designed the Cam Disc to have a separate machined coupler but just decided to combine them and print it as one piece. Unfortunately I designed it to accept a 6/32″ heatset insert for the setscrew that holds it to the shaft but I screwed up and installed a 4/40 insert so it pulled out after awhile of use. I was able to superglue it back in place on the water to make it work but decided to fix it right so did end up machining a aluminum coupler to insure it lasts this time.

While I was fixing things I redesigned the Buoy Pusher base so the screw for the push rod mounts from the top so I would not have to remove the fingers again if any other changes or fixes needed to be done.

I also cut down a 1 inch 4-40″ screw so it would basically be a shoulder screw so I could fully tighten the connection to from the push rod to the cam disc… this way I never have to worry about it backing out from the rotation.

There’s nothing ground breaking with these fixes but they should make for a more reliable system.


All Information, Pictures, and Material is copyright © 2022 by Stephen Thone and may not be used for any personal or commercial purposes without the consent of the author. All rights reserved. The Author makes no guarantees or warranties as to the accuracy or completeness of, or results to be obtained from accessing and using the Information herein.

Compact Folding Bump Board

Compact Folding Bump Board

July 25, 2022

Compact Folding Bump Board

(STL’s will be available for sale soon.)

This is a 3D printed compact folding bump board that I am working on… the design may change as I progress through the build.

It was designed in five pieces… The Folding Nose Stop, Main Base, Tail Section, and the Extender.  The tail section was design in two pieces (a top and bottom) to ease in the 3d Printing of this part, it was then super glued together with the use of some alignment pins.

When folded it measures about 9″ L x 2″ W x .75″ H to easily fit in a tackle box.

Here it is in it’s folded state.

Unfolded

Perfect for your smaller fish.

as well as your medium fish.

Extended for your larger sized catches.

And here I though 24.5 inches would be plenty big for the stuff I catch.

I did print this in PLA so it gets a little pliable sitting out in the sun all day… I’m in the process of a slight redesign while trying to print in in PETG.

7/1/23 Update – Here is the new design of the bump board that was printed in PETG this time.  The overall design is the same but I changed things to make it easier to print so it no longer needed any supports and I also added a few other features to improve things.

I don’t print in PETG a lot so it printed a little rough in spots but the camera always makes 3D printing look worse than it is in person.  The overall folded dimensions are 9″ x 2″ x 1″ so it can fit in your tackle box or even in your back pocket when bank fishing.

I did have some slight warpage but at this point all I care about is function. (although because of this the small magnets I used to keep it closed don’t function as intended.)

The design was also broken up into a few more piece to make printing easier. Mainly the top piece of the main base with the numbers was split to make printing faster. By that… I mean if the numbers don’t come out correct reprinting is faster. (yes it took me a few tries with PETG to get it right.)

The tail piece it printed in three pieces and small (size?) magnets are glued in place to keep the tail piece extender in the in or out postilions.

A single magnet is glued into the bottom of the extender piece as seen here.

I same 4-40 set screw is used to keep the extender in the tail piece…

… and that set screw rides in a channel of the end piece. (There is a hole in the side to screwing it in once the top is glued on.)

The top was glued on with superglue using filament pins in the four corners for alignment. The hole in the bottom (top left corner) is a drain for any water that might get in.

The top piece of the main base is also super glued on. The main base in then secured to the tail piece at the hinge with two 4-40 x 1″ Button Head Screw.

The nose stop is secured with (2) 2-56″ screws.  (I did tap the holes in the piece before screwing them in.)  The magnet seen here is suppose to hold it closed but didn’t work that well.

There is also a drain hole here too.

Overall it came out OK but I’m not totally happy with it and it still could use some improvements (maybe bigger magnets) and better print settings but for now it should be functional enough for some testing.  I need to find out if it’s going to be durable enough…  Is the hinge going to hold up and are the numbers going to stay on?   The numbers would definitely be better recessed but I don’t have time to mess around with multi color printing like that right now.   I did end up spraying everything with rattle can polyurethane to hopefully make it easier to clean the fish slime off it but we’ll have to see what happens…. On to the testing phase again.


All Information, Pictures, and Material is copyright © 2022 by Stephen Thone and may not be used for any personal or commercial purposes without the consent of the author. All rights reserved. The Author makes no guarantees or warranties as to the accuracy or completeness of, or results to be obtained from accessing and using the Information herein.

The Crappie Kicker

The Crappie Kicker

July 20, 2022

The Crappie Kicker

Last year I was introduced to Crappie fishing by a fellow bait maker Crappiehyjinx who I met through a secret bait trade guild on Instagram.  Mike was gracious enough to take me out on his boat and put me on some big fish. Now I’ve caught a few crappie over the years but nothing like what Mike catches. (check out his Instagram if your into Crappie or his website if you’re looking for some baits). I caught several 13.5″ and my now PB 14″ Crappie that day and after that I was hooked. (no pun intended .. but yeah)  He also introduced me to Garmin chart plotters and I picked myself up a Garmin 93Sv this year and it has really improved my catching (especially finding the Crappies) so I figured I try to make my own crappie bait.  I wanted something that would kind of work like a jig, could also be swam, but be weird at the same time so went with three leg kicker design kind of like my Triple Tail Grub.

The first version was just pretty basic because I wanted to try something different with the mold.

I’m trying a two piece mold but with an insert so I can still get a three leg design.

This is how it should work with the plug separating the legs while still allowing it to be removed from the mold.

The single cavity printed test mold.

The plug.

This is how the plug fits in the mold.

This is the first test bait and everything seemed to work but the dimensions on the plug were a little tight so it needed to be removed with pliers.

I also designed up a 4 cavity mold but will have to circle back around to this later…..

I wasn’t overly impressed by the bait body so I went back and designed something similar to my NED Hex Wriggler for Version 2.

I also added some legs up front for more action and they will also act as vents for the mold.

Just to get some baits ready I also went with a three piece mold like on my Triple Tail grub but may still go back to the two piece design once the bait is finalized because the three piece mold design tends to flash a lot after continued use.

The three printed pieces of the new mold are ready to go at this point.

The mold is held together with simple pipe clamps.

I did design a simple base to make things safer to inject but haven’t printed it yet.

The first injection went well with only minimal flashing (so far).

After a little clean up they look pretty good so far.

I have high hope for these already.

I have even higher hopes after rigging them up in the test tank.

Front View

Rear View

Quick video of the jigging action…. still need to test it out swimming.

If I use a bunch more clamps and angle them with the screw hitting the table top I probably won’t need to print the base after all… plus this should help with any flashing problems too.

The flashing looks better… now I just have to see if it holds up well to a few dozen more injections.

Even before testing I changed a few subtle things in the design… little thicker feet and added balls to the front legs.

Well it works… This was the first cast with the new bait on a new rod and a new reel….

… and this was the second cast.

Nothing to get excited about but any fish while testing is a good sign.

I only caught one Crappie this day but I’ll keep at it.

Again nothing huge but this is pretty average crappie for this lake.

As for the bait… I was kind of disappointed with the swimming action as the legs really didn’t kick too much but it does have a good subtle action on the drop (as seen in this 4 second video) and with a stiffer plastic the legs spread back out when the bait stops.  I’m going to make some changes and try again.

I’m going to try a version with the feet turned around… maybe this way they will have a better kicking action. I think maybe the feet where just hitting each other in the other version, with the feet in this orientation hopefully they will kick away from each other.

to be continued.


All Information, Pictures, and Material is copyright © 2022 by Stephen Thone and may not be used for any personal or commercial purposes without the consent of the author. All rights reserved. The Author makes no guarantees or warranties as to the accuracy or completeness of, or results to be obtained from accessing and using the Information herein.