Jointed Topwater Minnow
January 11, 2019
Jointed Topwater Minnow
STL files for these Lure w/stencils can be purchased from CULTS3d.com
This is a jointed topwater lure a did. It is modeled after a common jointed Rapla Lure and these are the equivalent of J-7 and J-9’s for size.
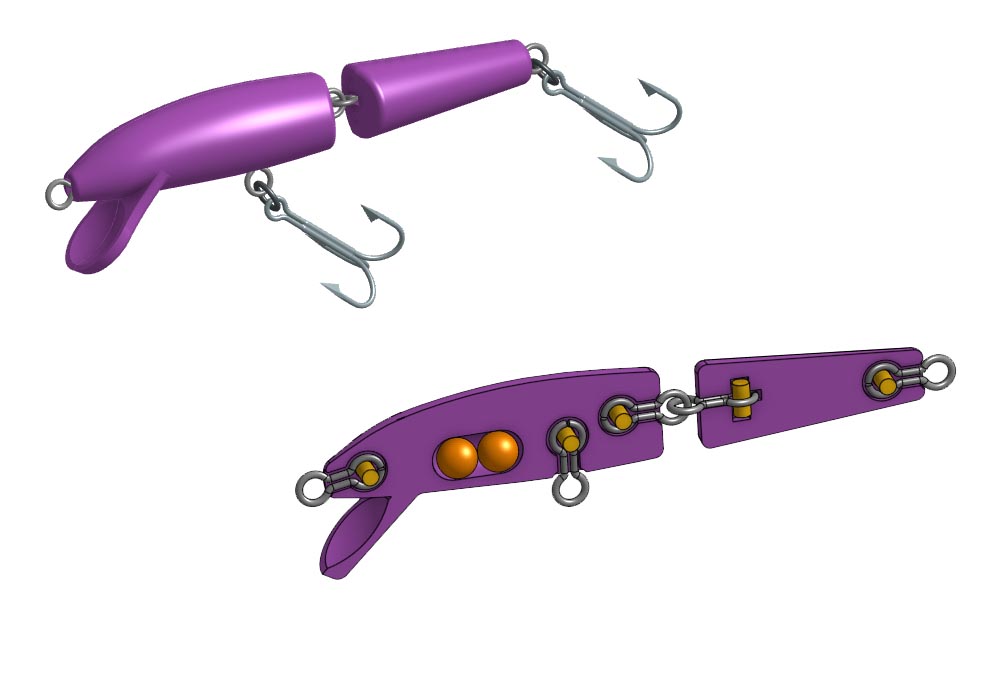
It’s the same typical design I always use and this one also uses sinker eyes for attachment points just like my last lure. I’m starting to like these eyes because they save a lot of time over bending custom forms from wire. This is a relatively small lure too so it will probably be a little challenging to print and assemble.

It printed pretty well actually.
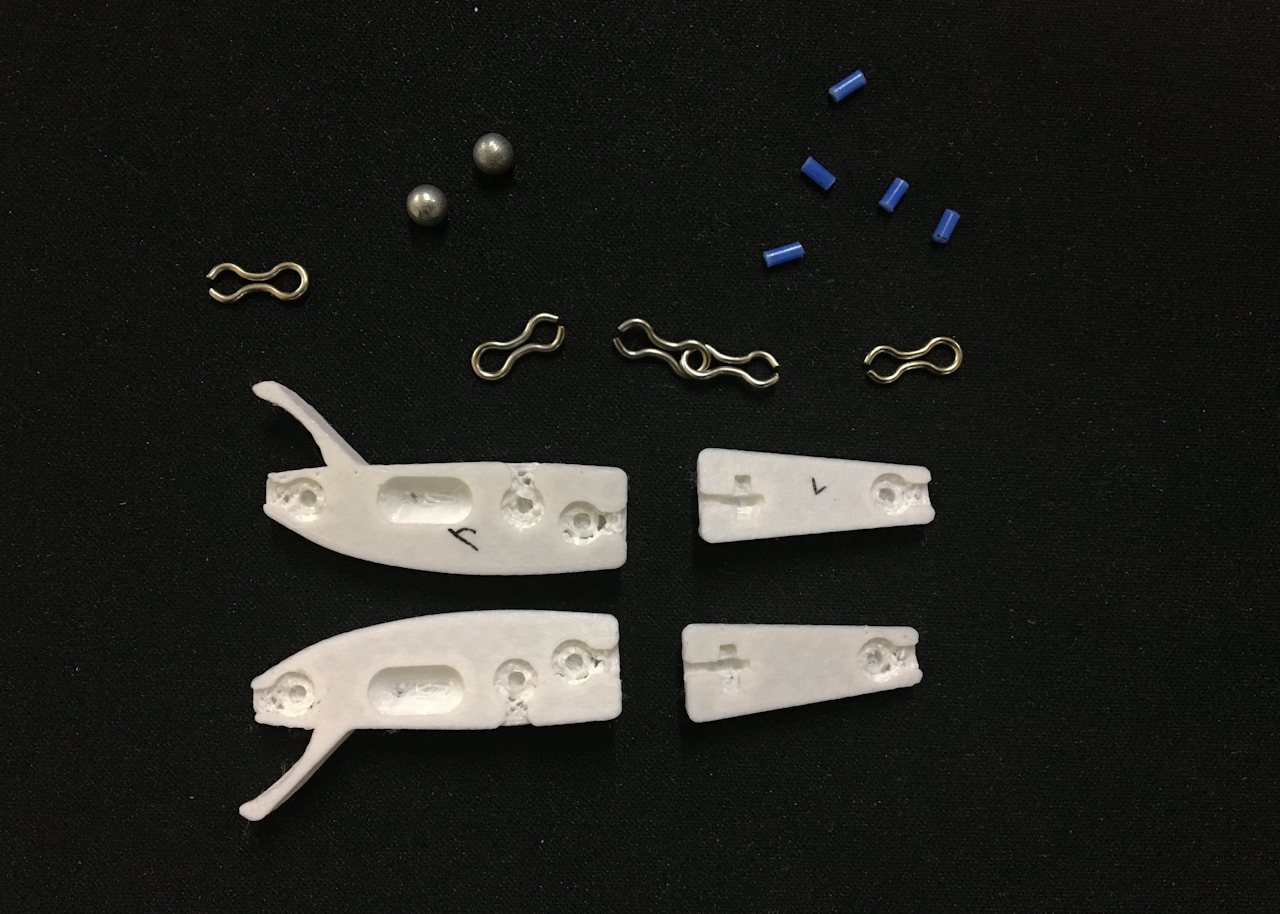
Lots of bits and pieces to this one.
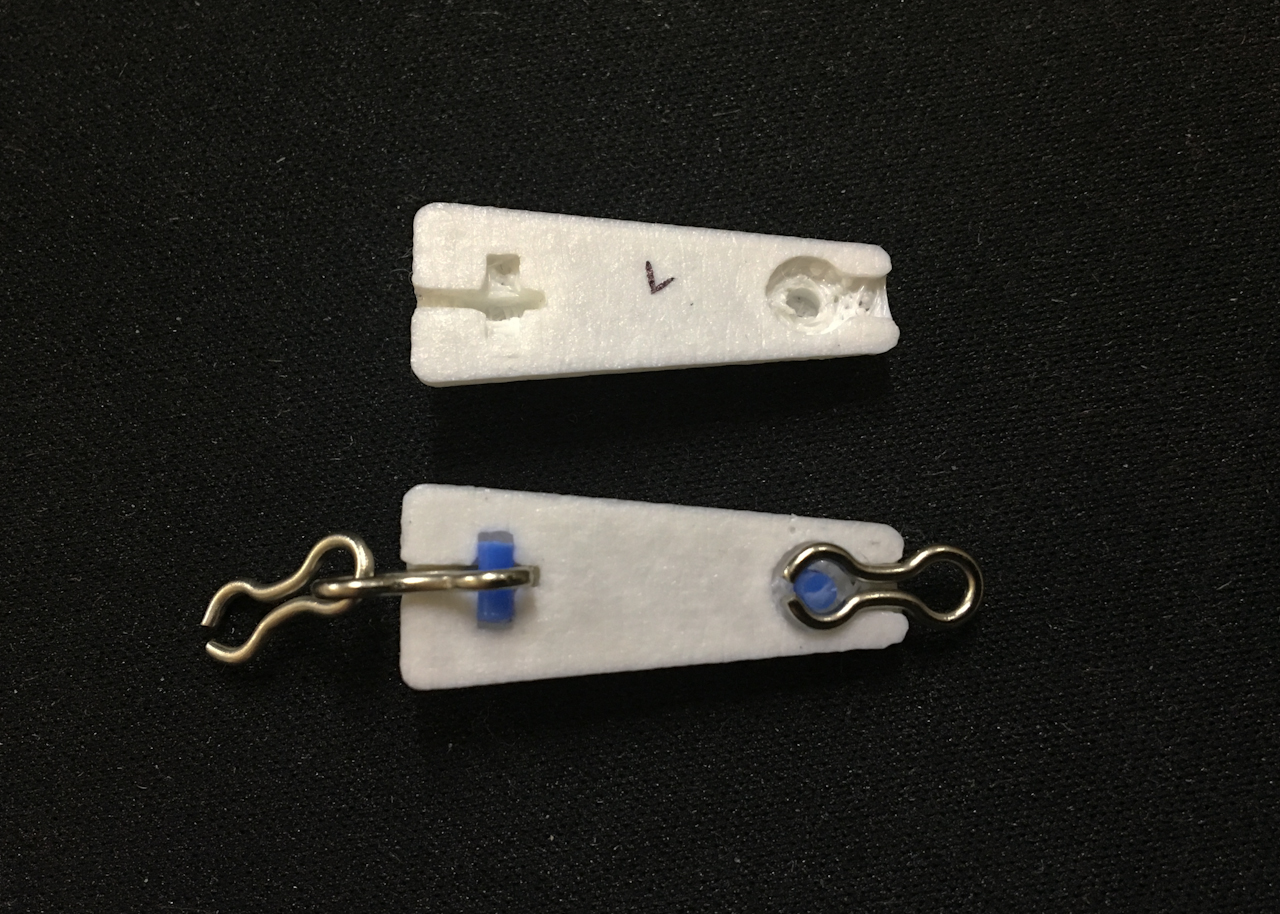
I started with the rear section because it should be easier to start with.
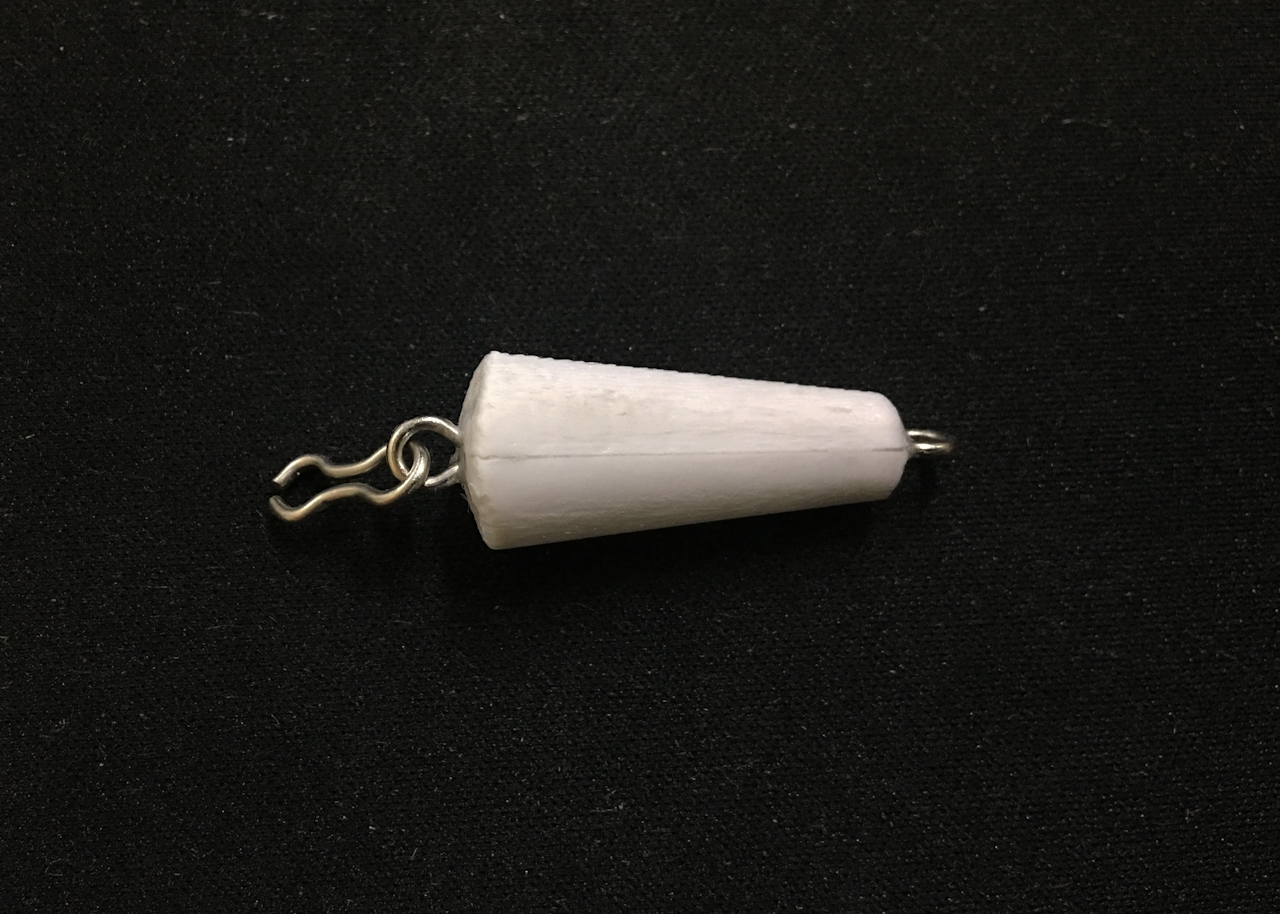
That part wasn’t too bad, here it is after a little sanding to clean up the joints.
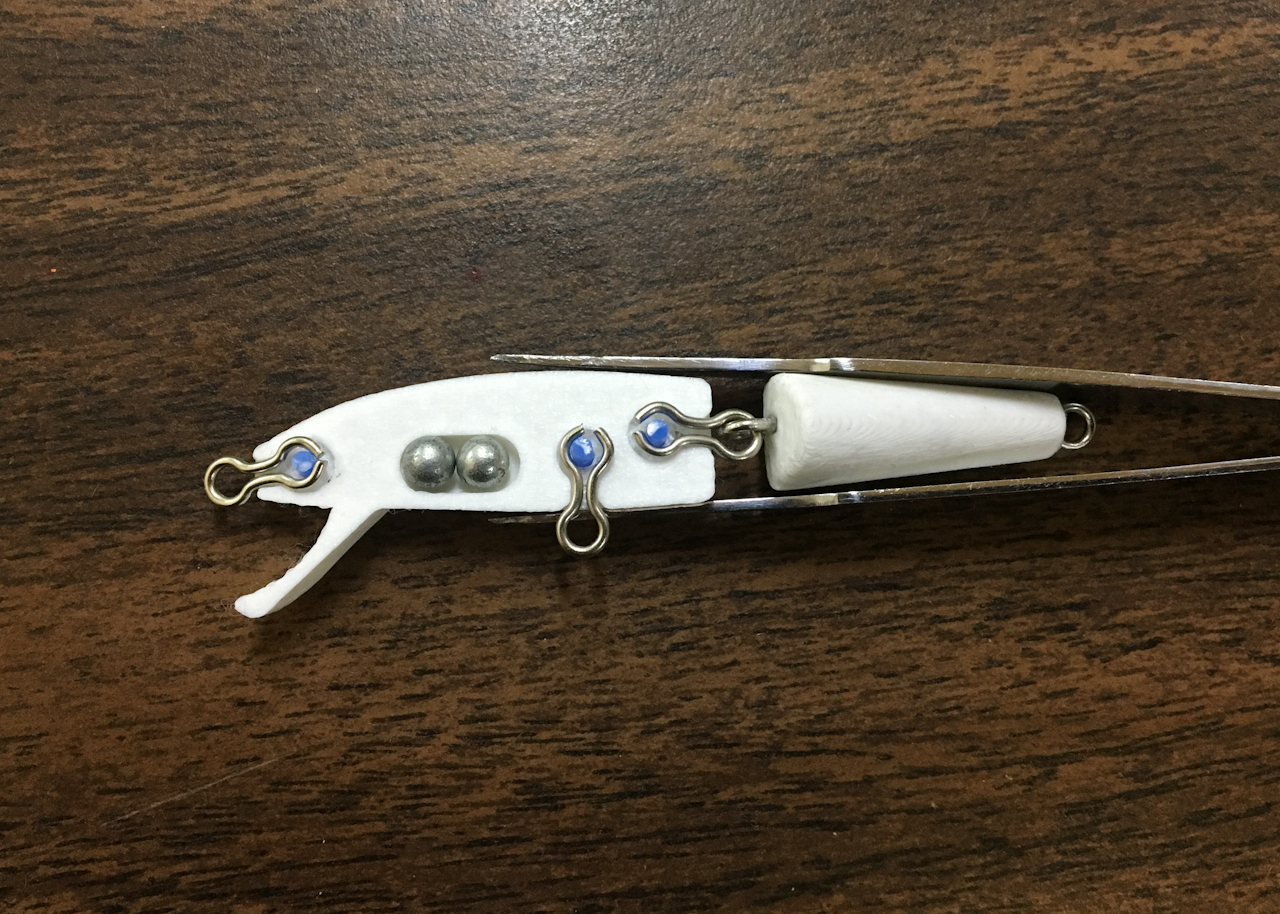
The front half is a little trickier to work with so I used tweezers to hold everything aligned.
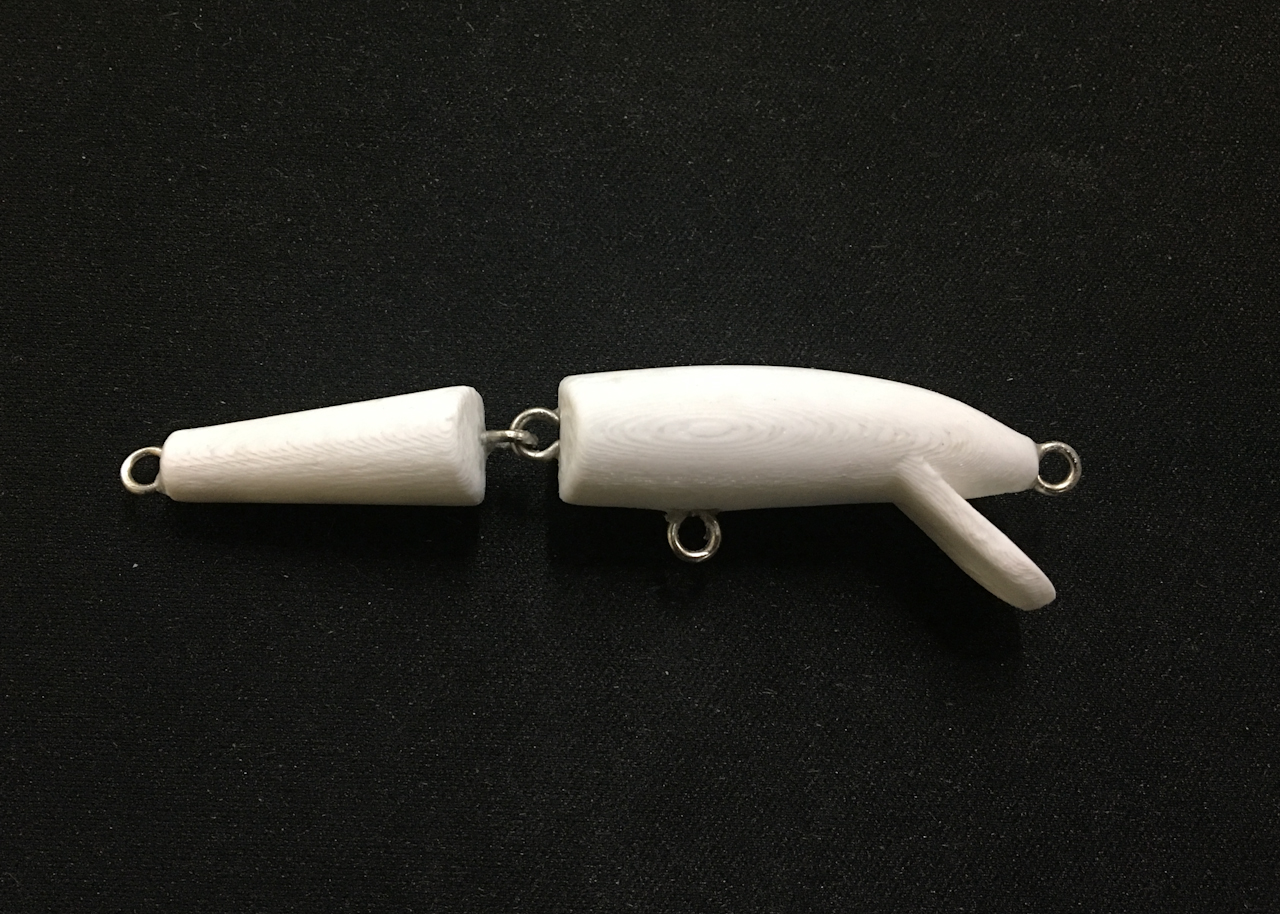
I did glue my fingers to this one but after a little clean up it looks pretty good. The gap is a little big so I’ll have to go back and fix that on the next one.
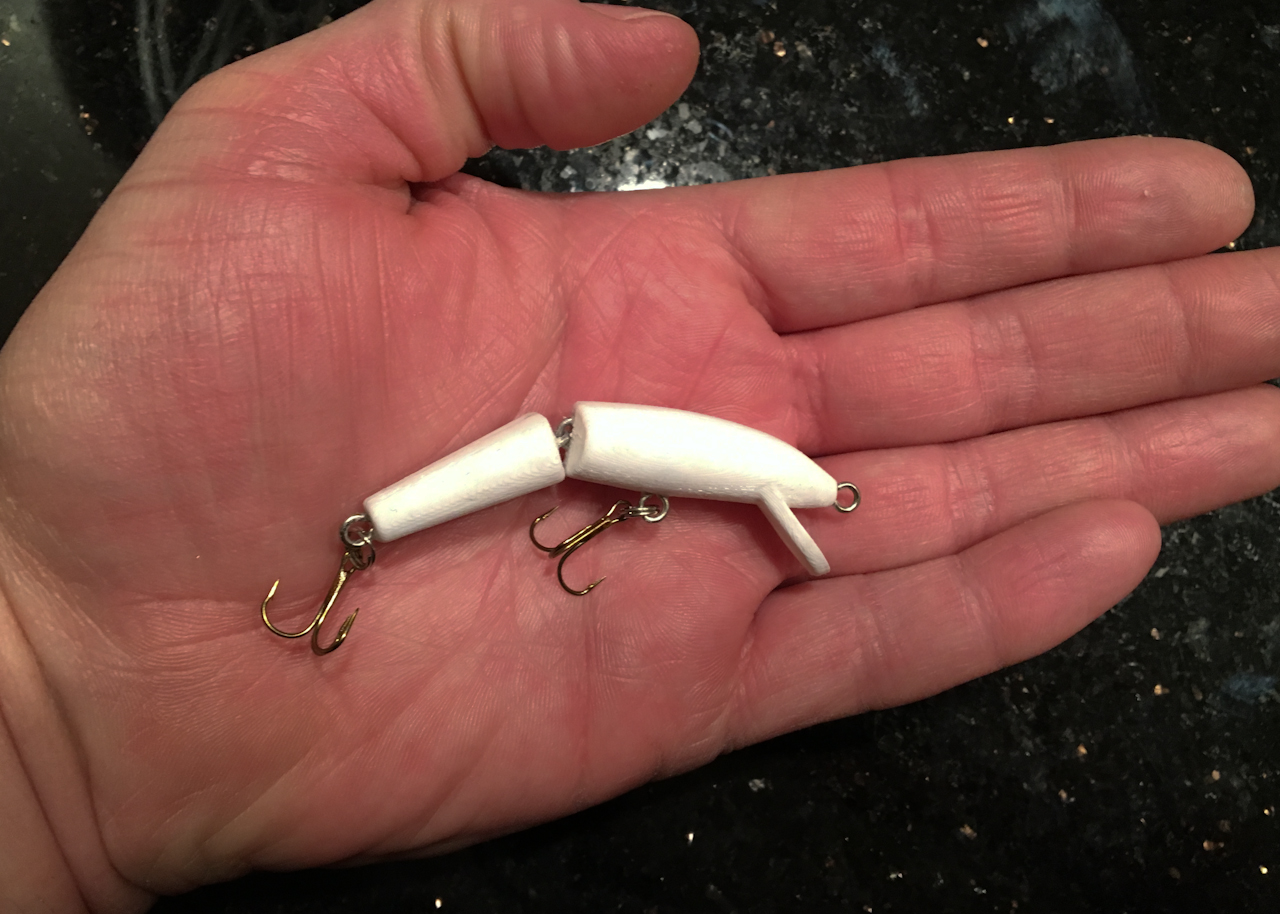
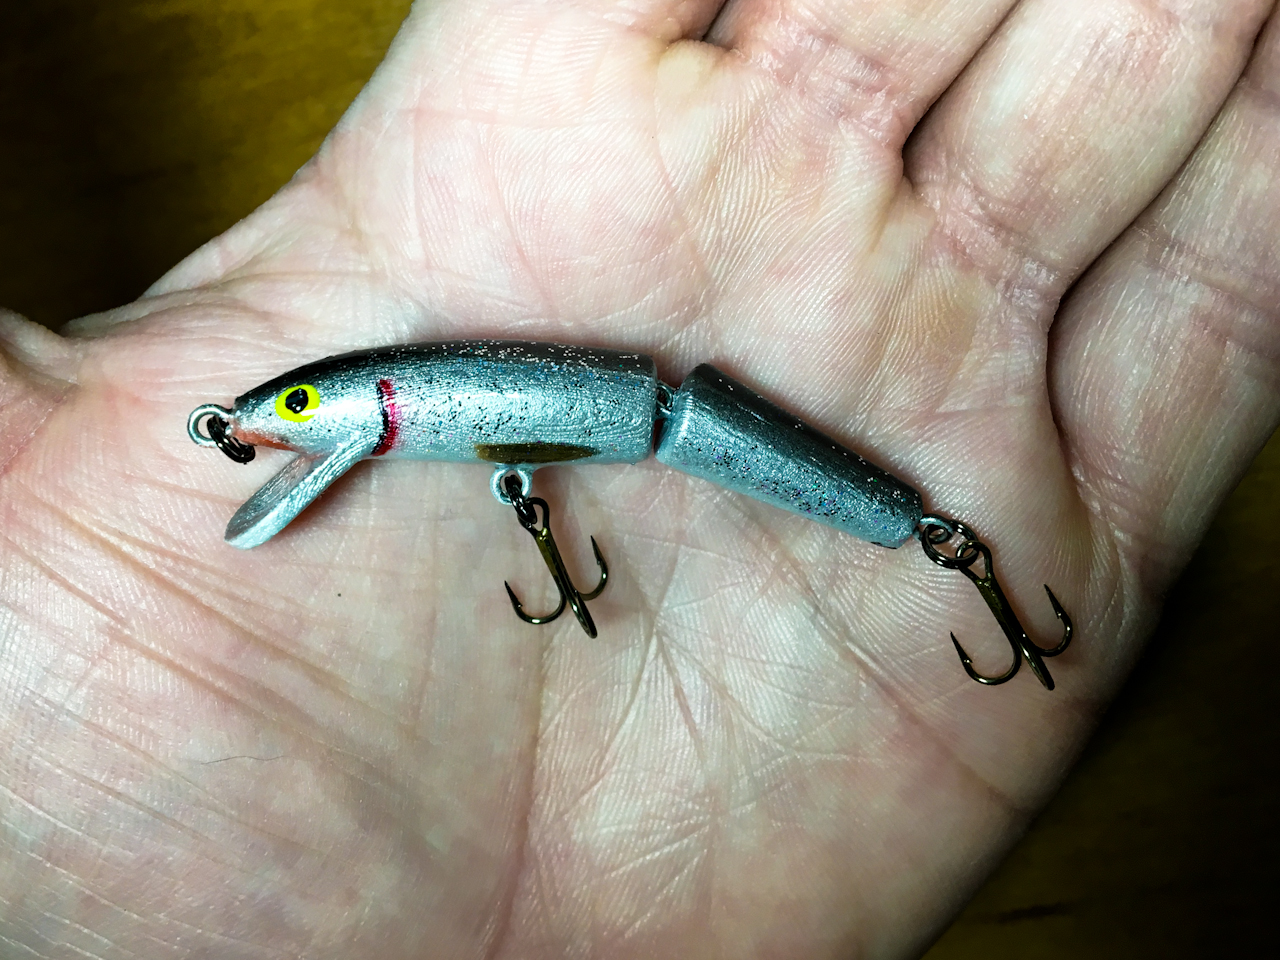
Here it is for a size comparison to my hand… it’s pretty small.
Another comparison to the J-7 size lure it was modeled after.
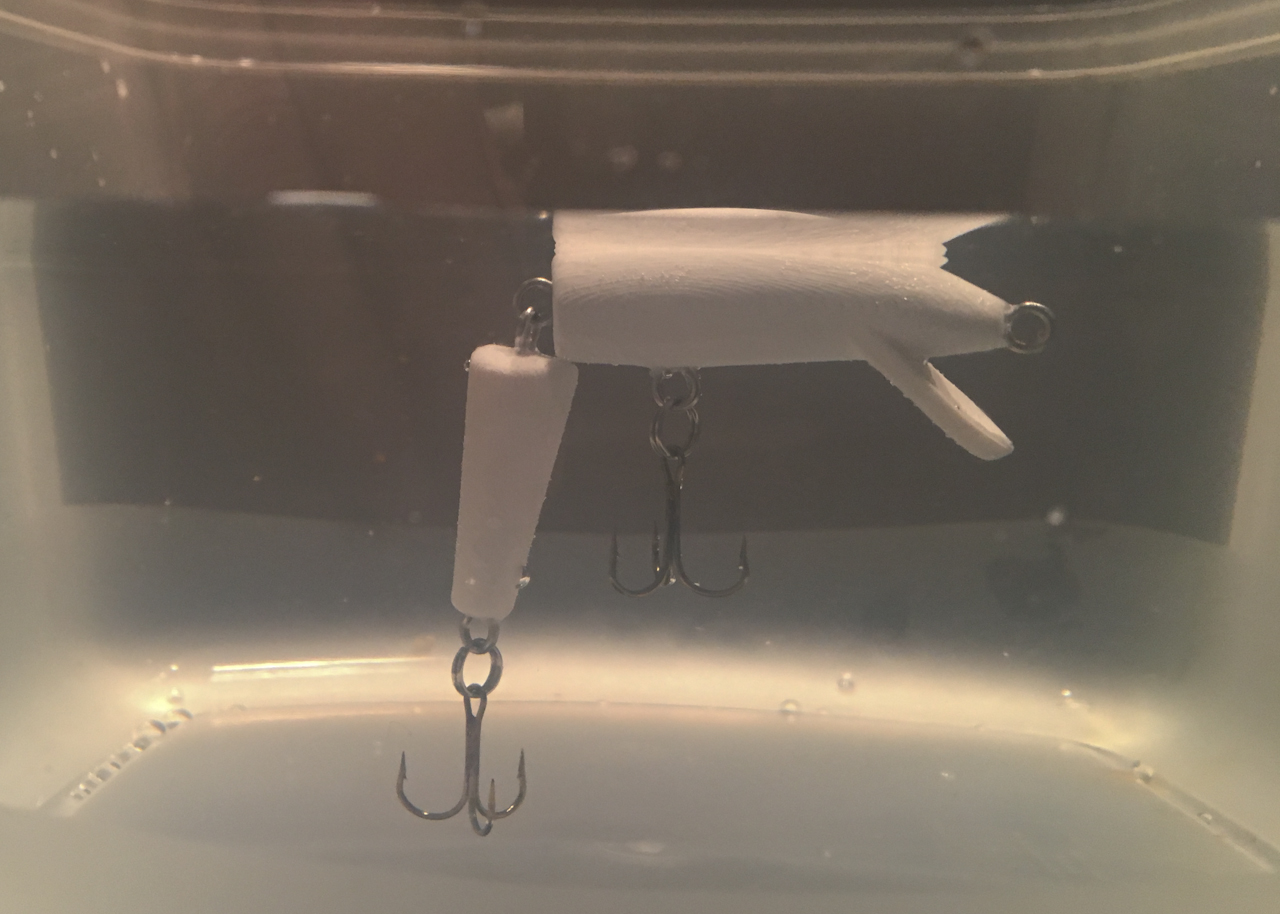
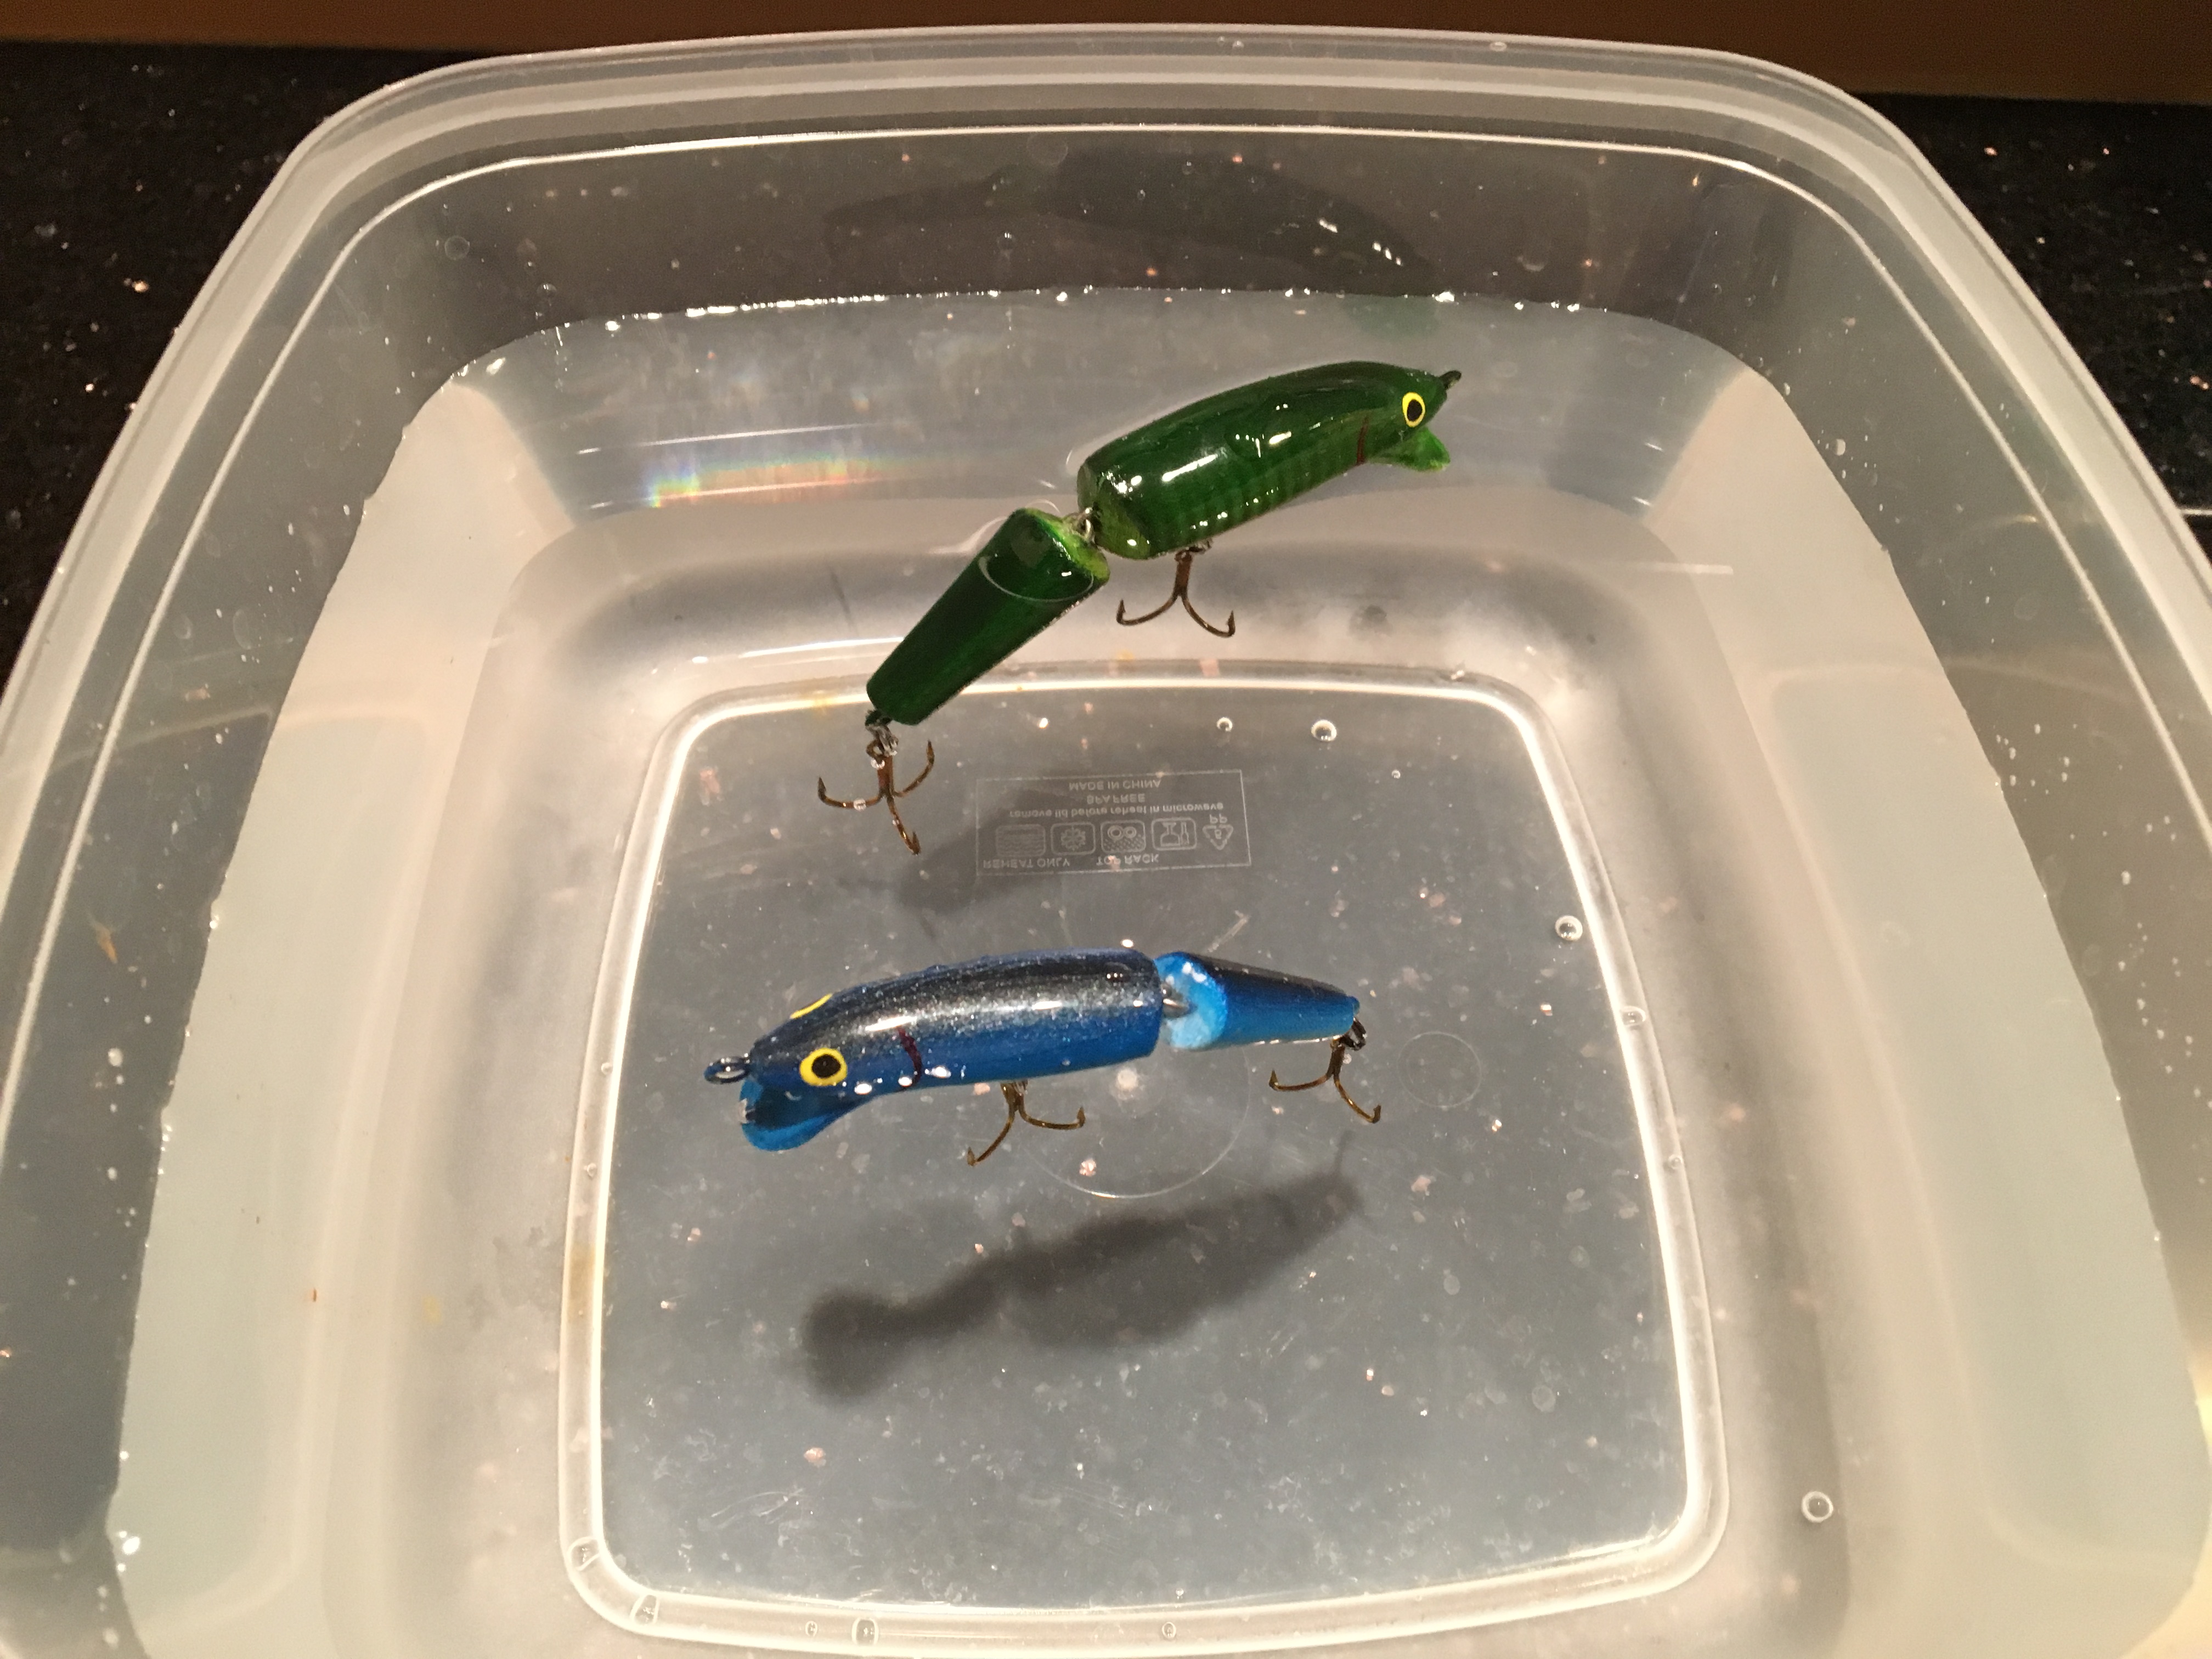
The tail hangs to low and it also floats a little low in the water….
… compared to a factory lure.
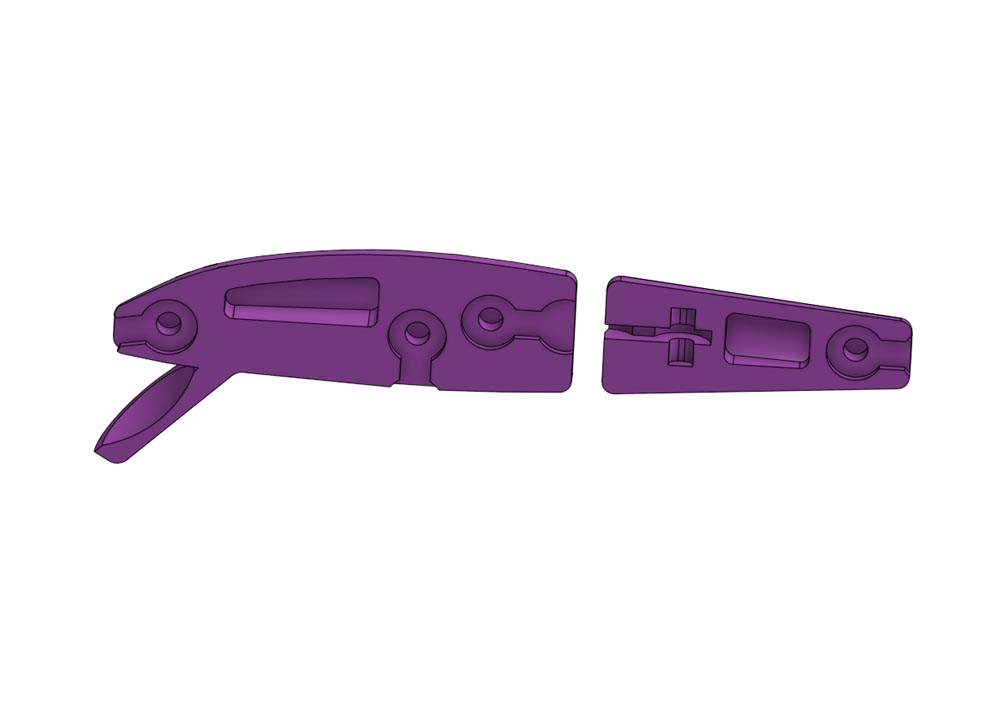
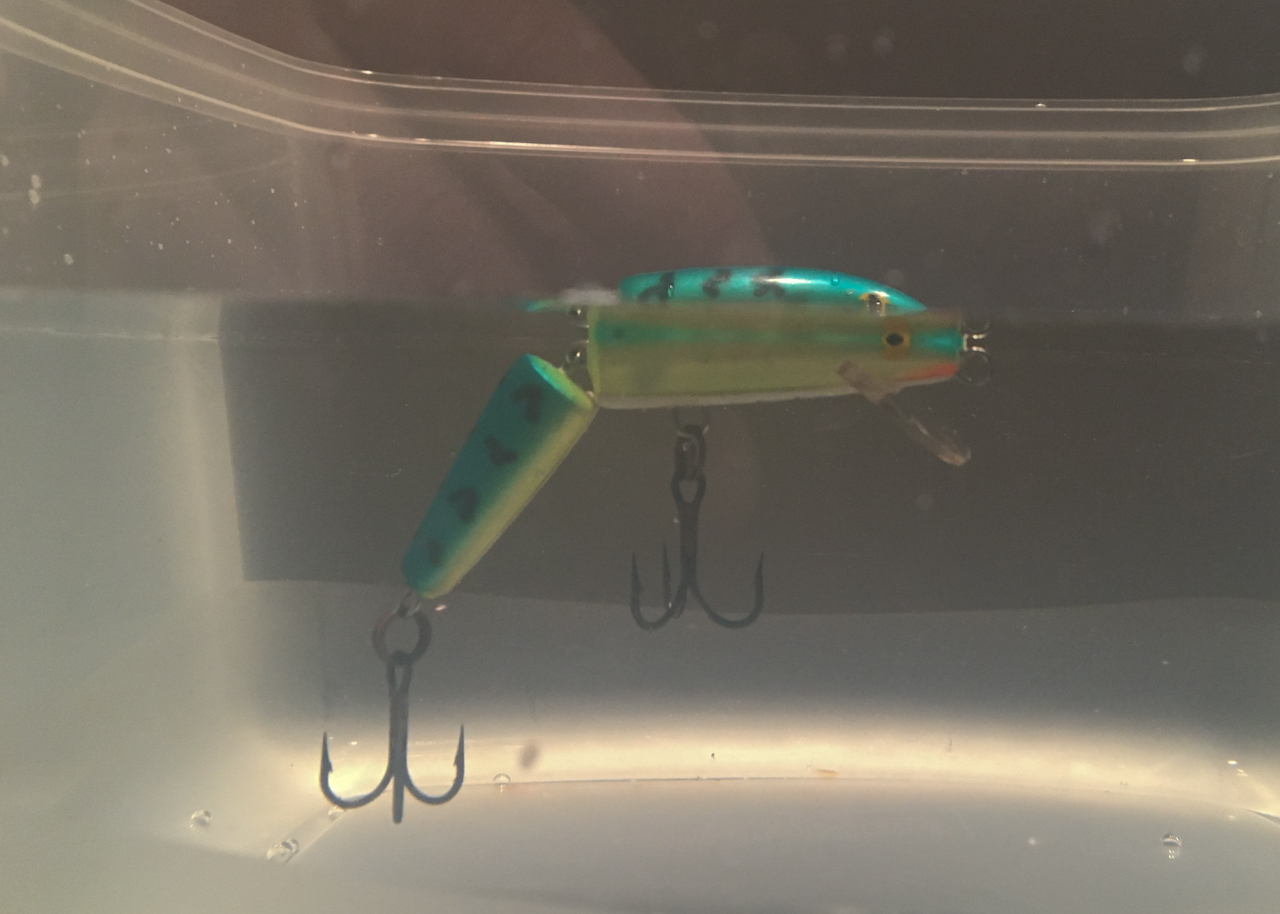
I went back to the design and removed the extra weights, added a few air chambers, and moved the hinges a little to close the gap.
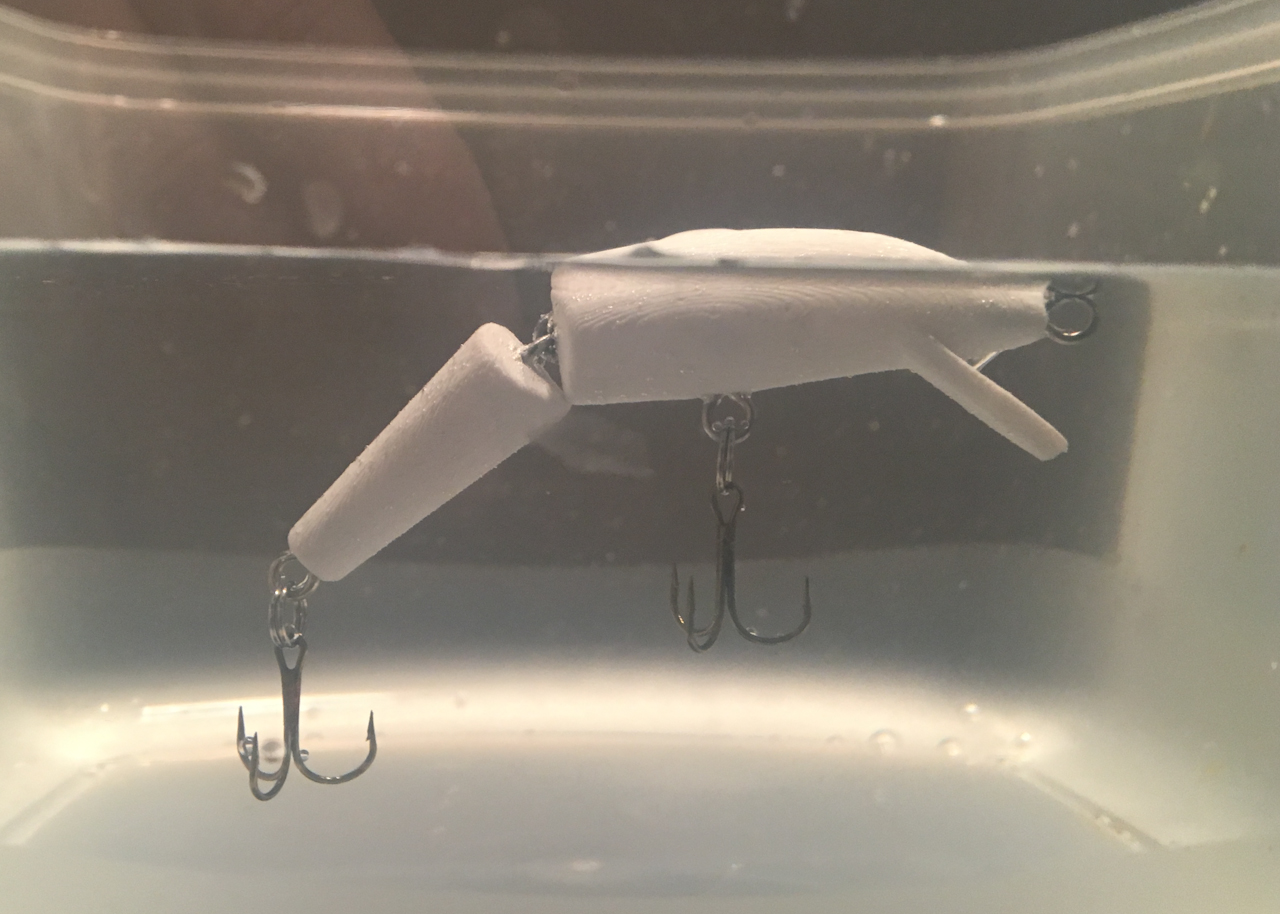
After reprinting it this one floats better and the tail hangs better with a gap closed up a bit. It is a challenging lure to assemble and probably requires a good printer to be able to print the parts correctly but I think it should fish pretty well… only time will tell. I’m going to scale it up a little larger and try a few more. Next I’ll throw some paint on them and hopefully they still float after that.
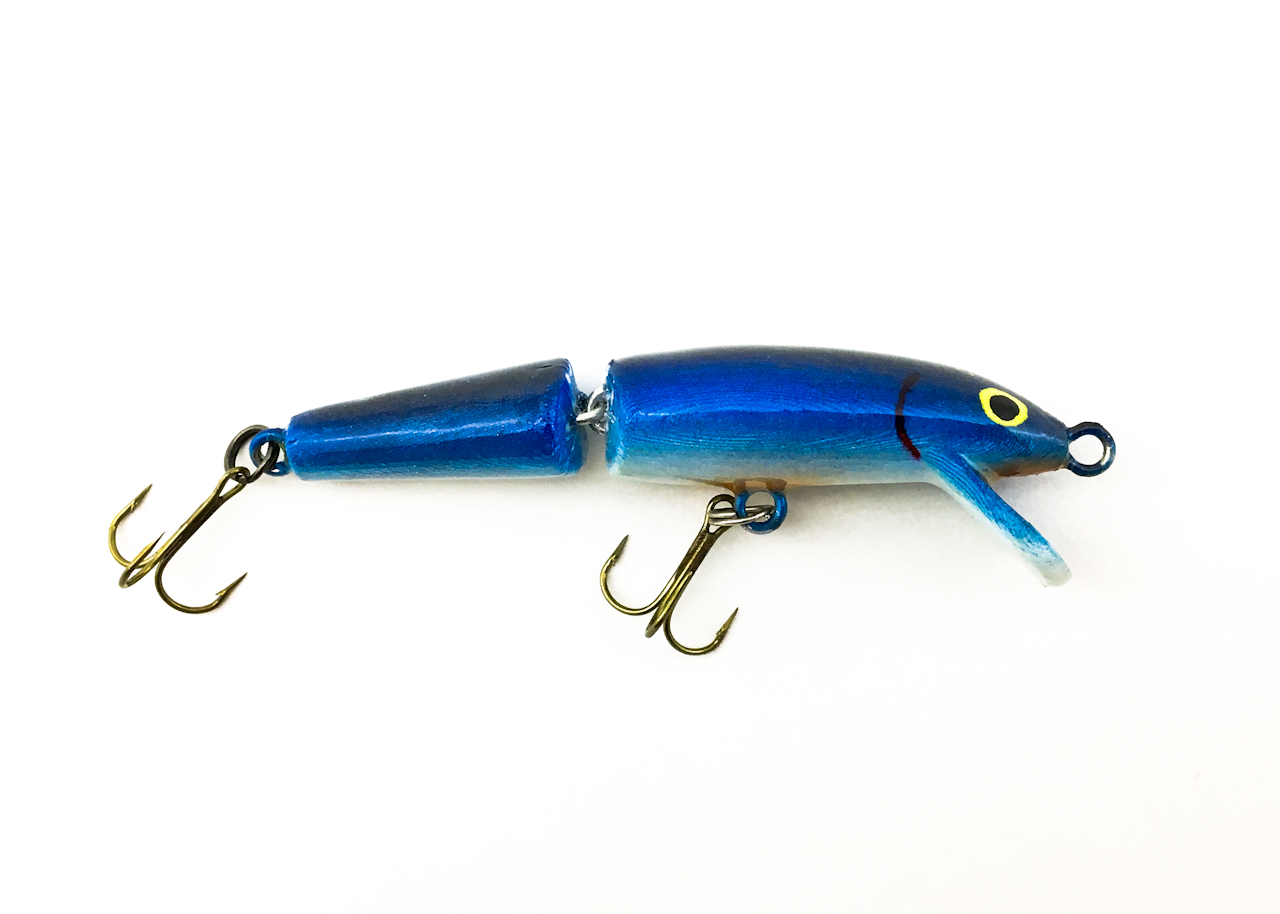
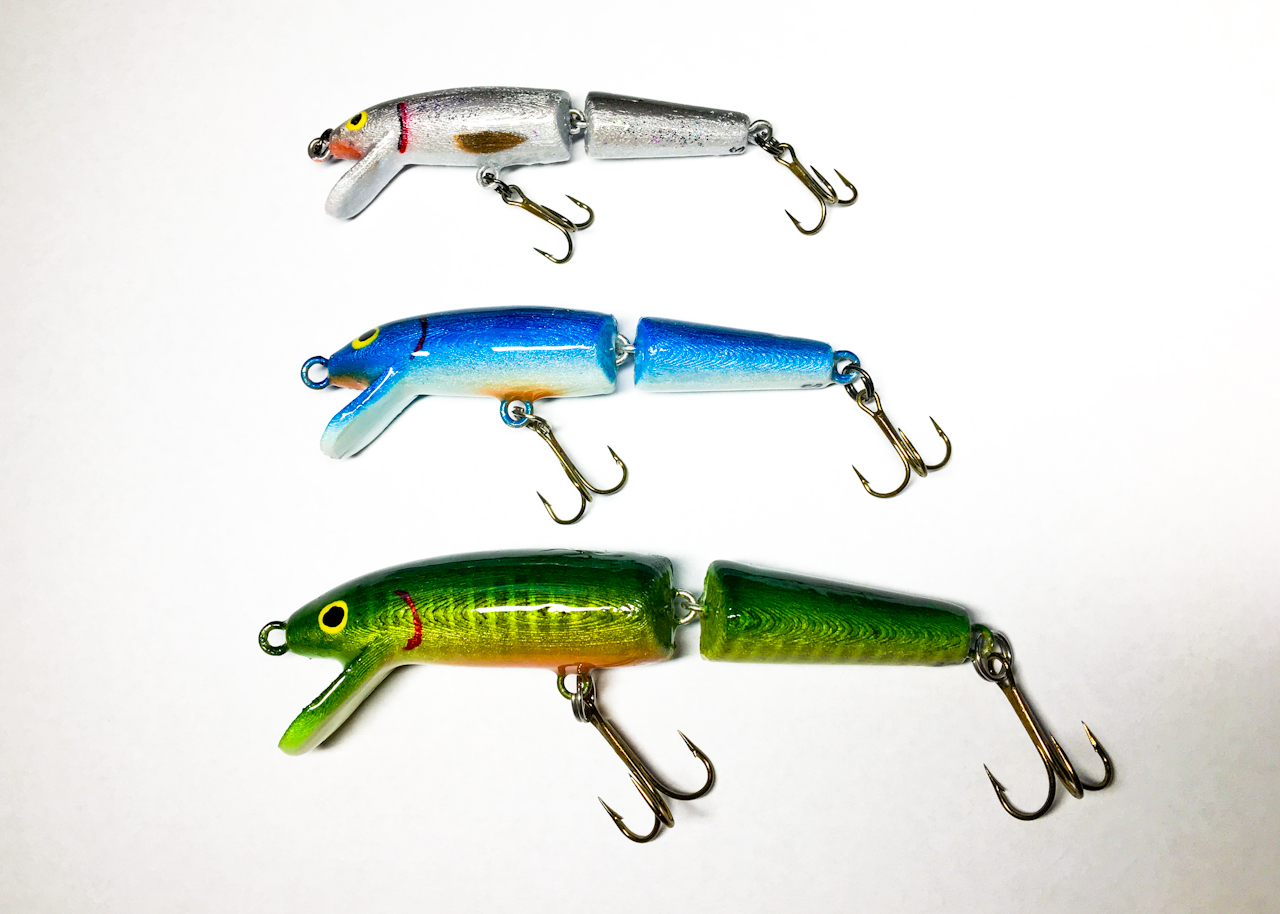
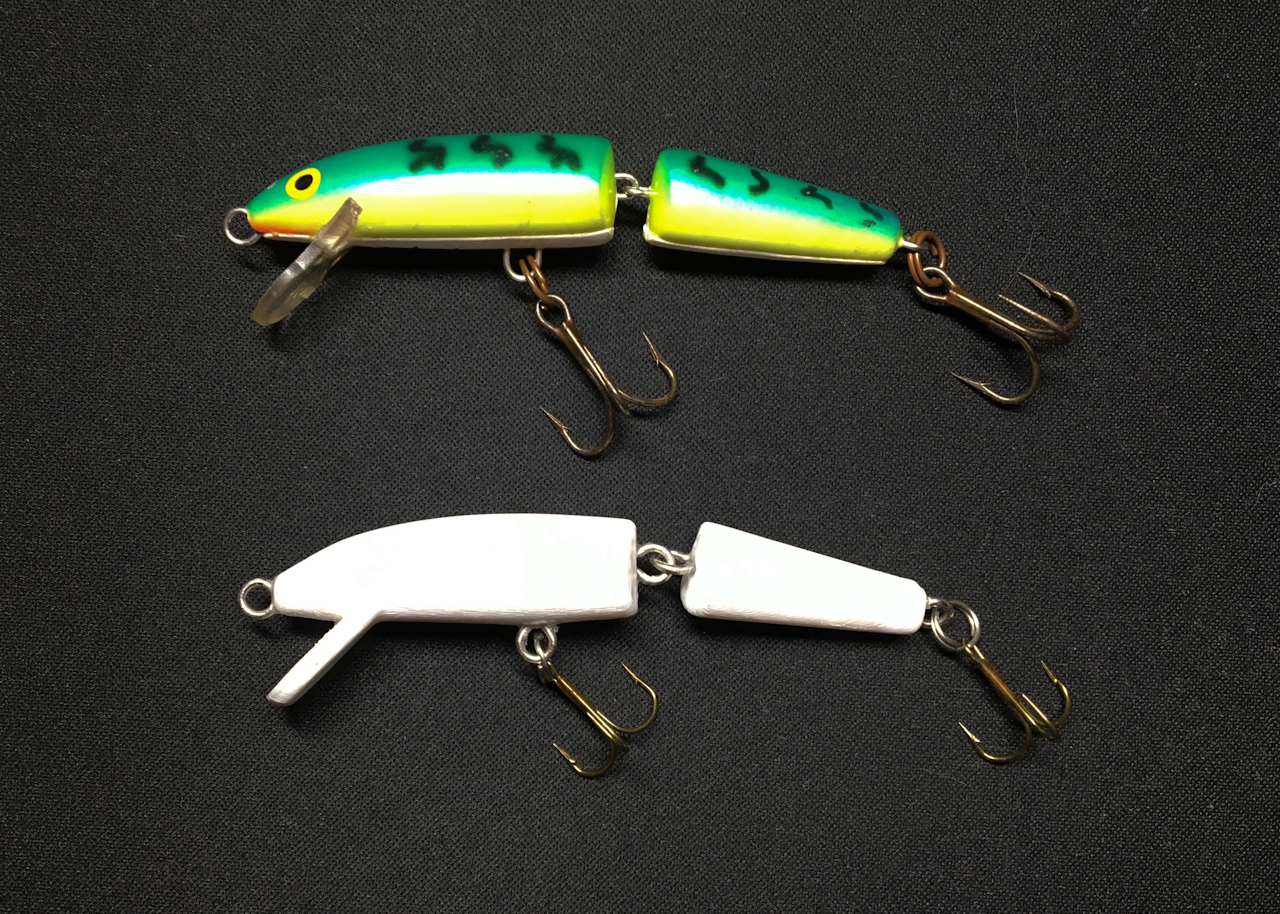
Here’s the finished lure. The smaller J-7 sized one was painted in a pearl blue pattern. It looks a lot better in real life than the picture. I used size 10 hooks on this one.
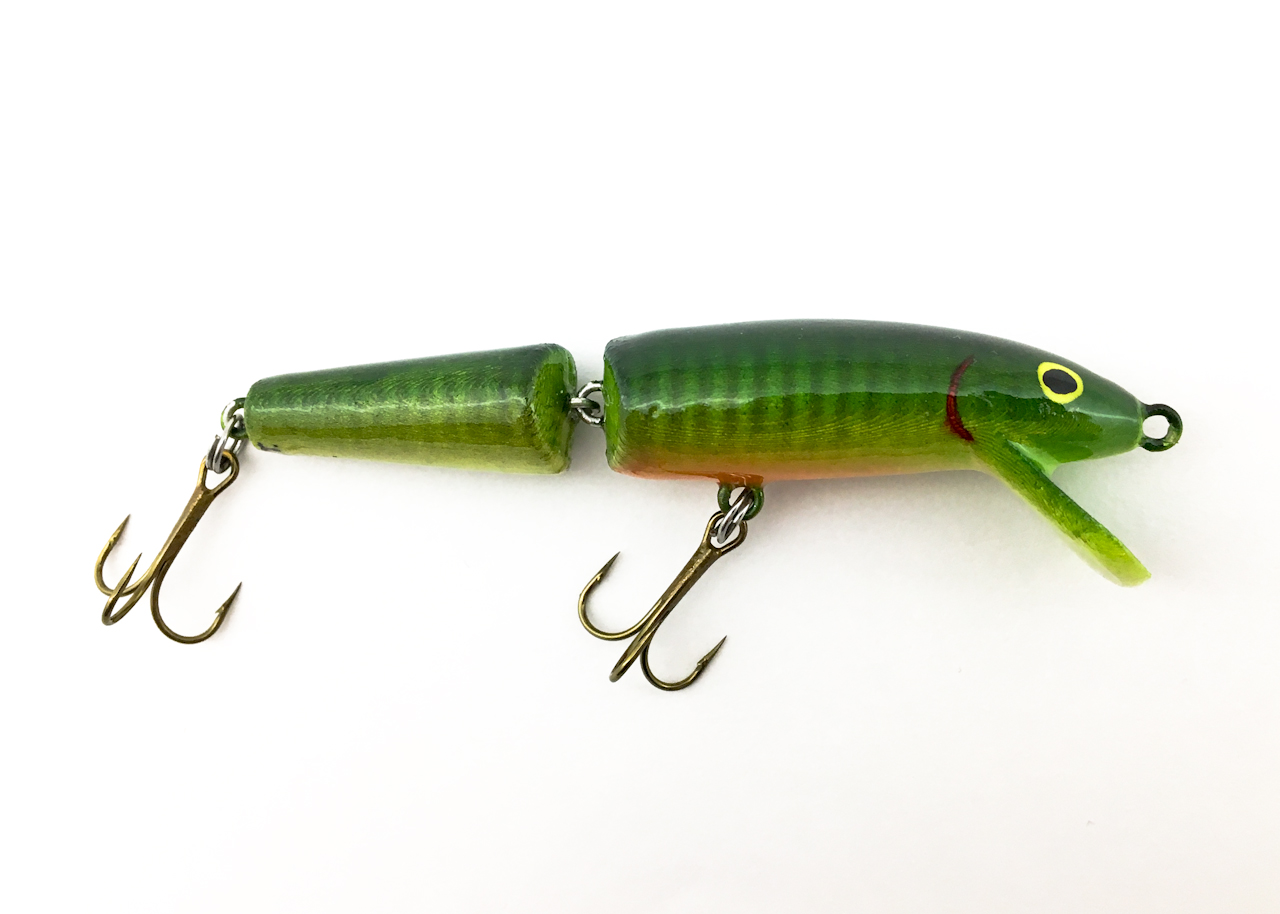
I did the larger J-9 one in my typical perch pattern.
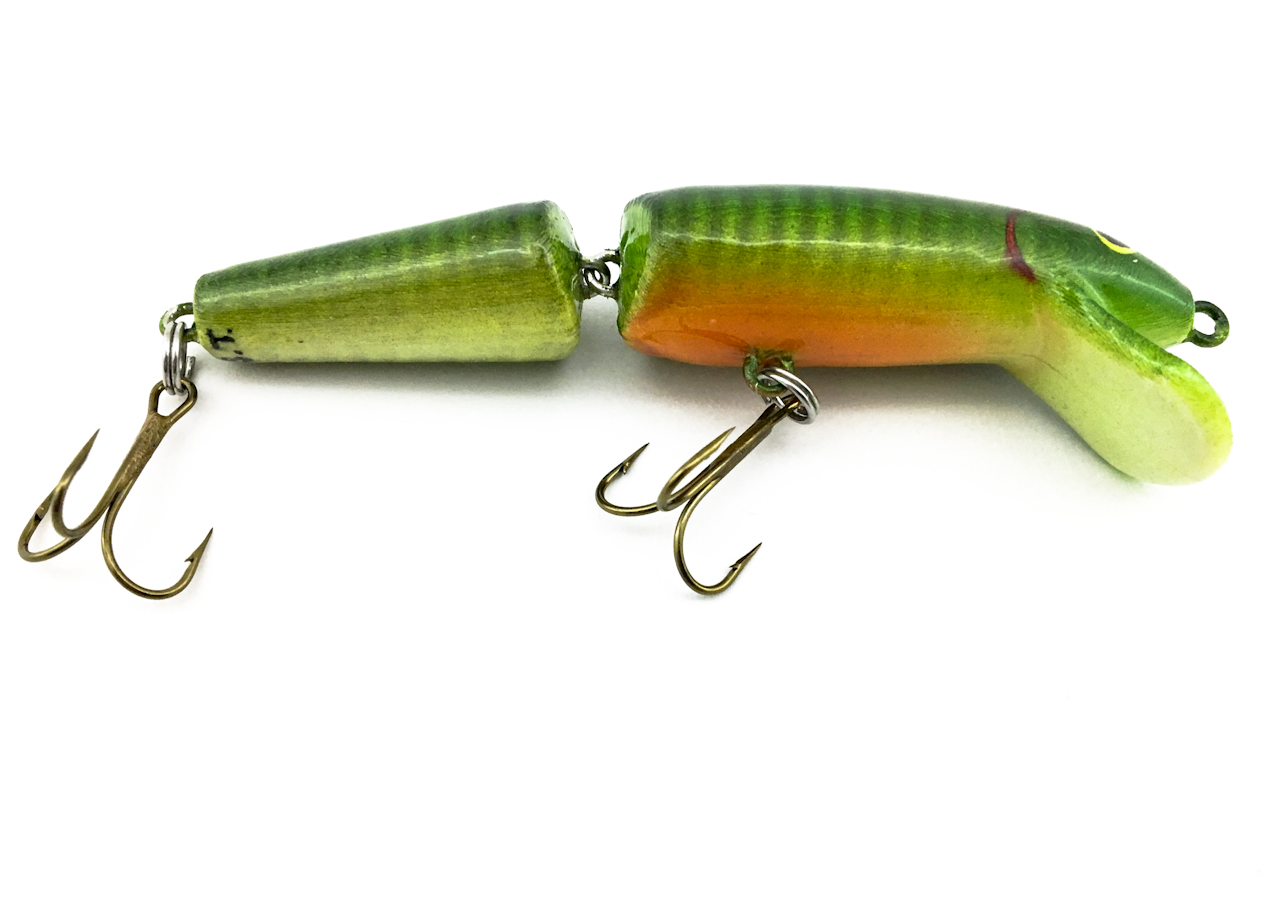
I used slightly larger size 6 hooks on this one.
I recently added a ultralight J-5 size one to the line up too.
Even though they were a little challenging to assemble I think they came out great. The hard part was not getting any epoxy on the hinge during the sealing process… I did but I was able to clean them up pretty well so they should still have a decent action.
Well after the finishing process they still float so that’s a good sign. I can’t wait to get out and fish with these this season.
![]()
All Information, Pictures, and Material is copyright © 2018 by Stephen Thone and may not be used for any personal or commercial purposes without the consent of the author. All rights reserved. The Author makes no guarantees or warranties as to the accuracy or completeness of, or results to be obtained from accessing and using the Information herein.
2 Replies to “Jointed Topwater Minnow”
Buongiorno, è possibile un file rapala j9 per una stampante resina?
Mi spiace, non so nulla di stampa su resina.