Shaker Vibration Table
April 19, 2020
Shaker Vibration Table
When pouring various silicone molds I use to put them on top of my vibratory reloading case cleaner to shake out the bubbles and have them come to the top of the mold before it cured. After dumping silicone into my cleaning media by accident one time I figured it was time to make an actual shaker table. I got the idea for this build from the Engineered Angler on YouTube (I have replicated some of his ideas before) and he recently posted how to make a shaker table so this is my version of his Vibe Table.
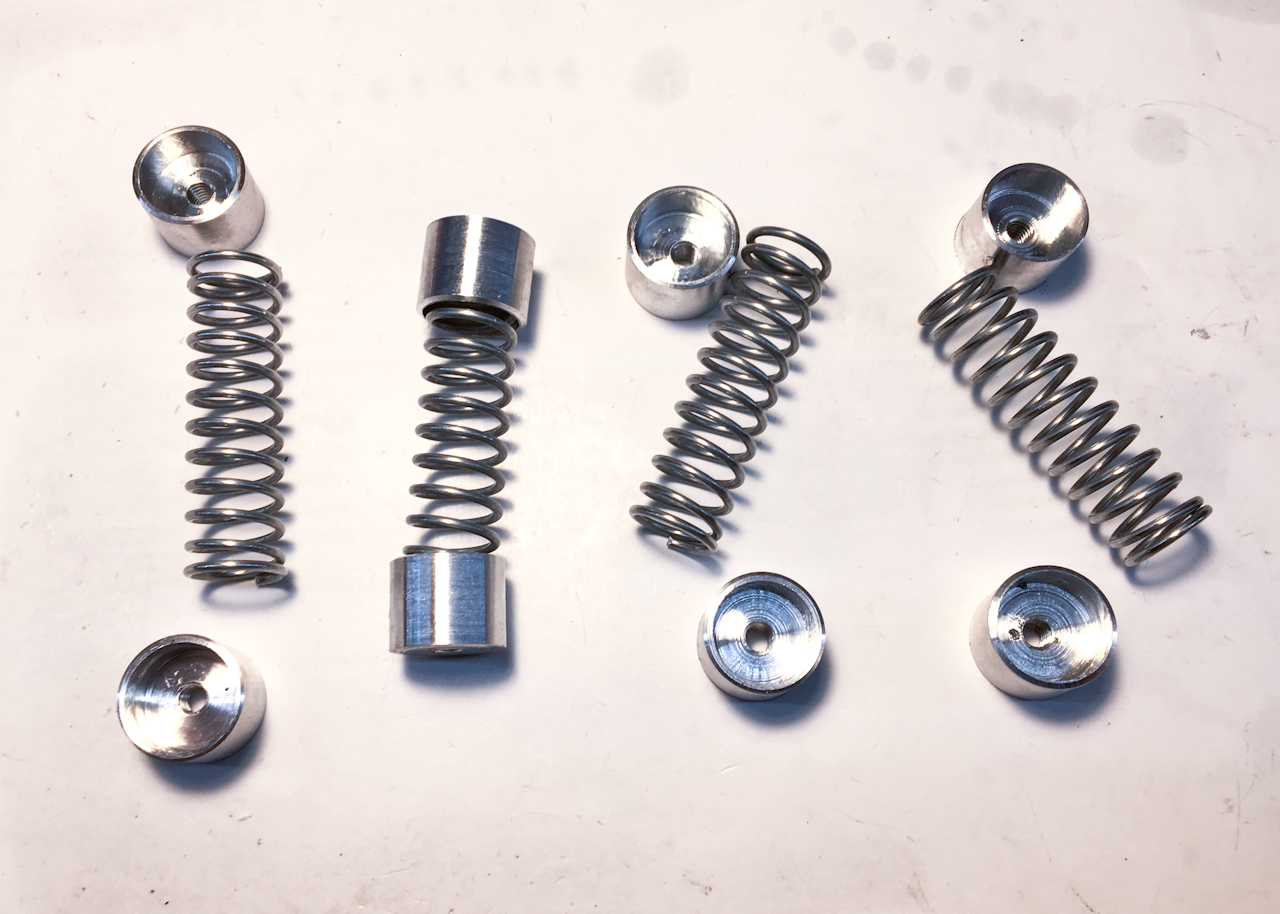
To start the table I found some springs at my local Ace Hardware store and I then machined up some aluminum caps for the ends of them. The caps were tapped to accept 8-32″ screws.
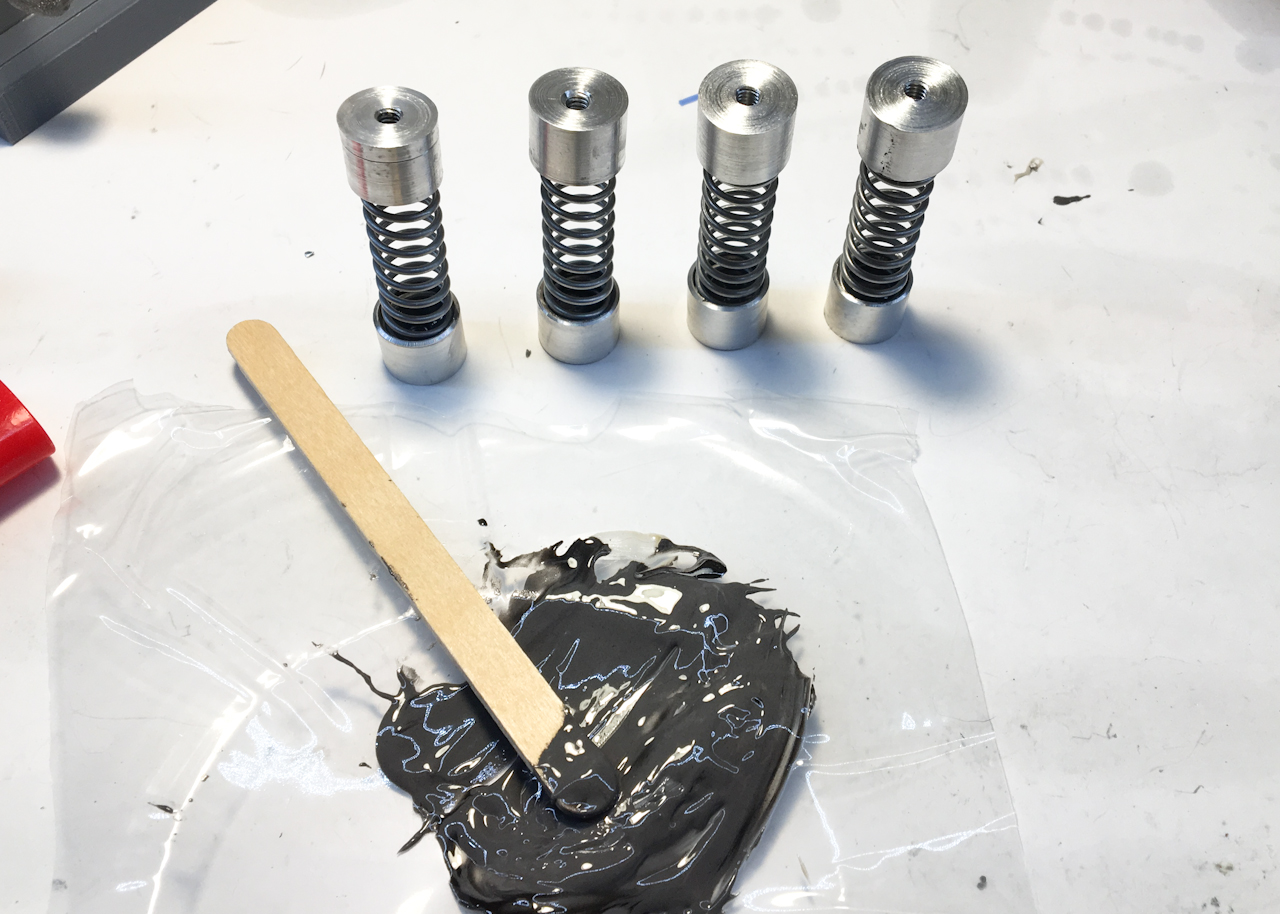
Next I glued the caps to each end of the springs using JB Weld Epoxy.
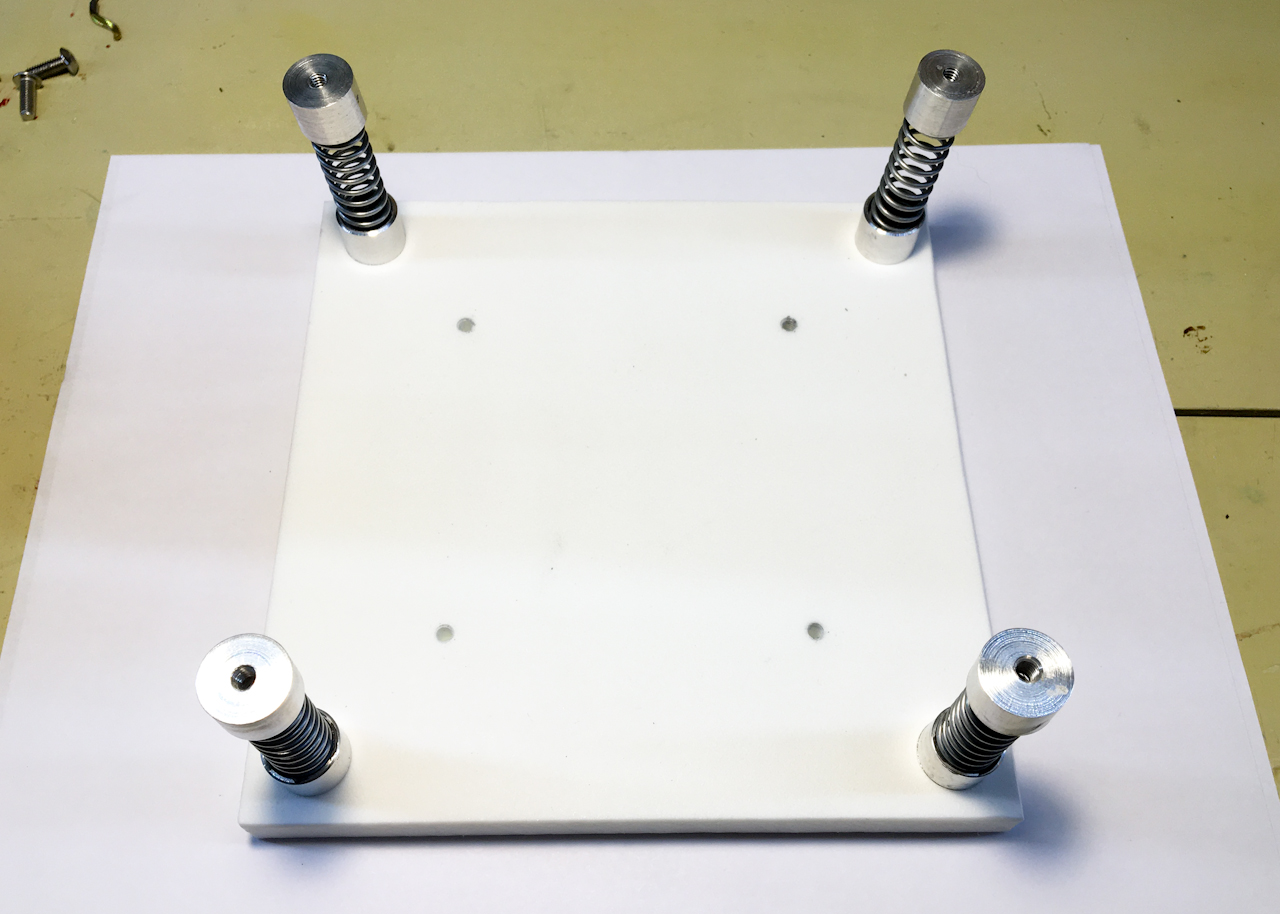
For the Table Top I am using a piece of Marine-Grade Polyethylene. (which is basically cutting board material.)
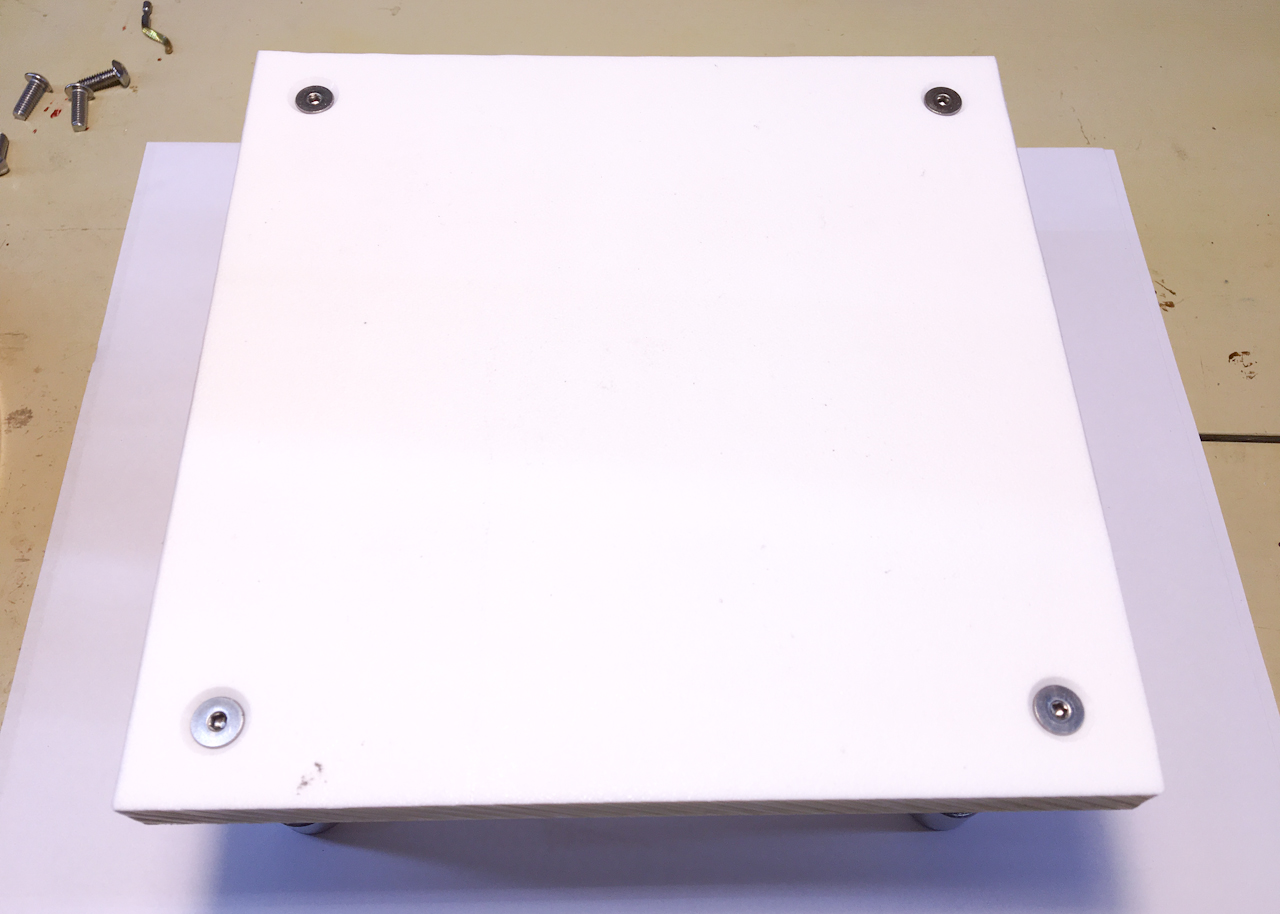
The spring setups then attach to the table top with the 8-32″ screws from the top.
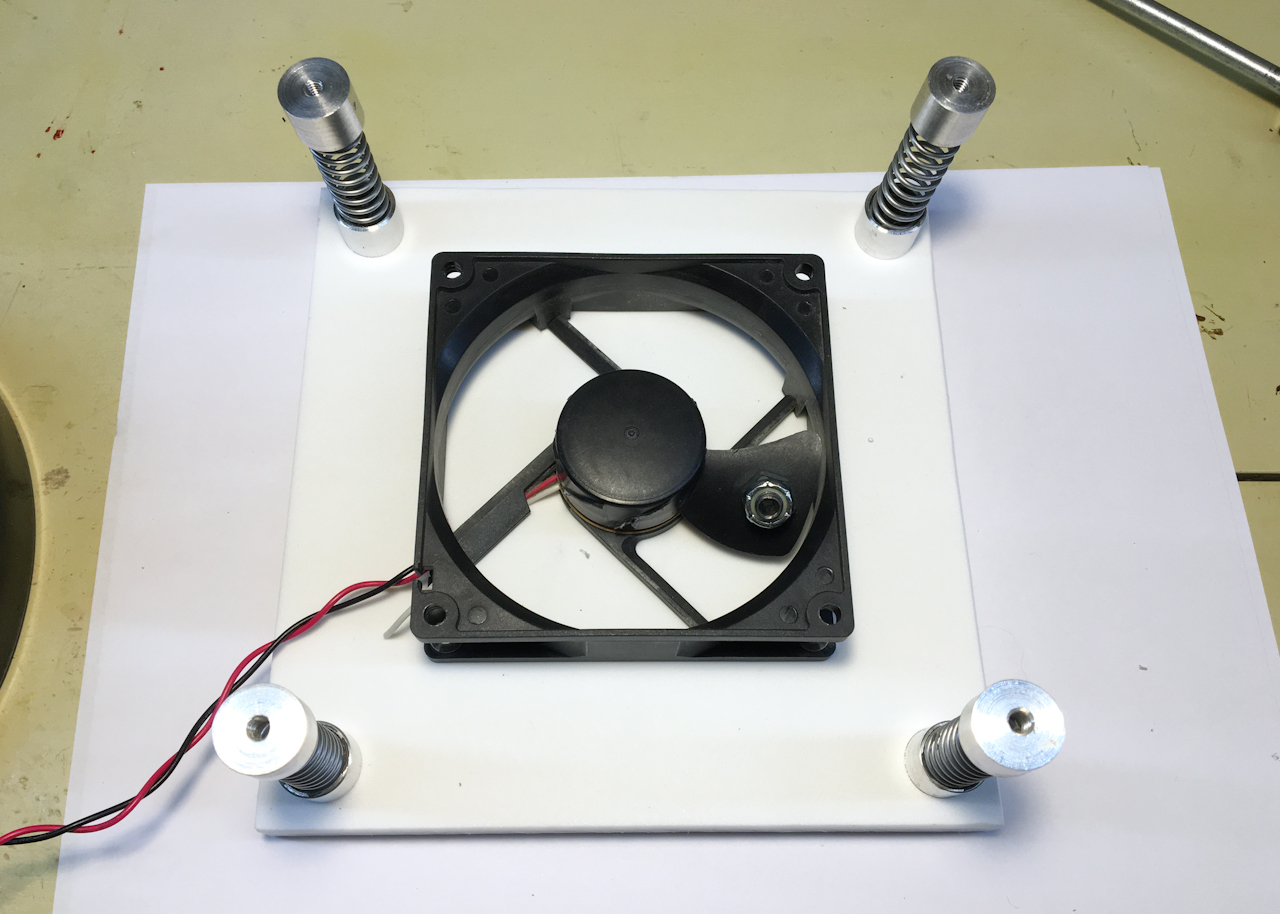
For the vibration motor the Engineered Angler had the great idea of repurposing a computer fan with all but one of the blades removed.
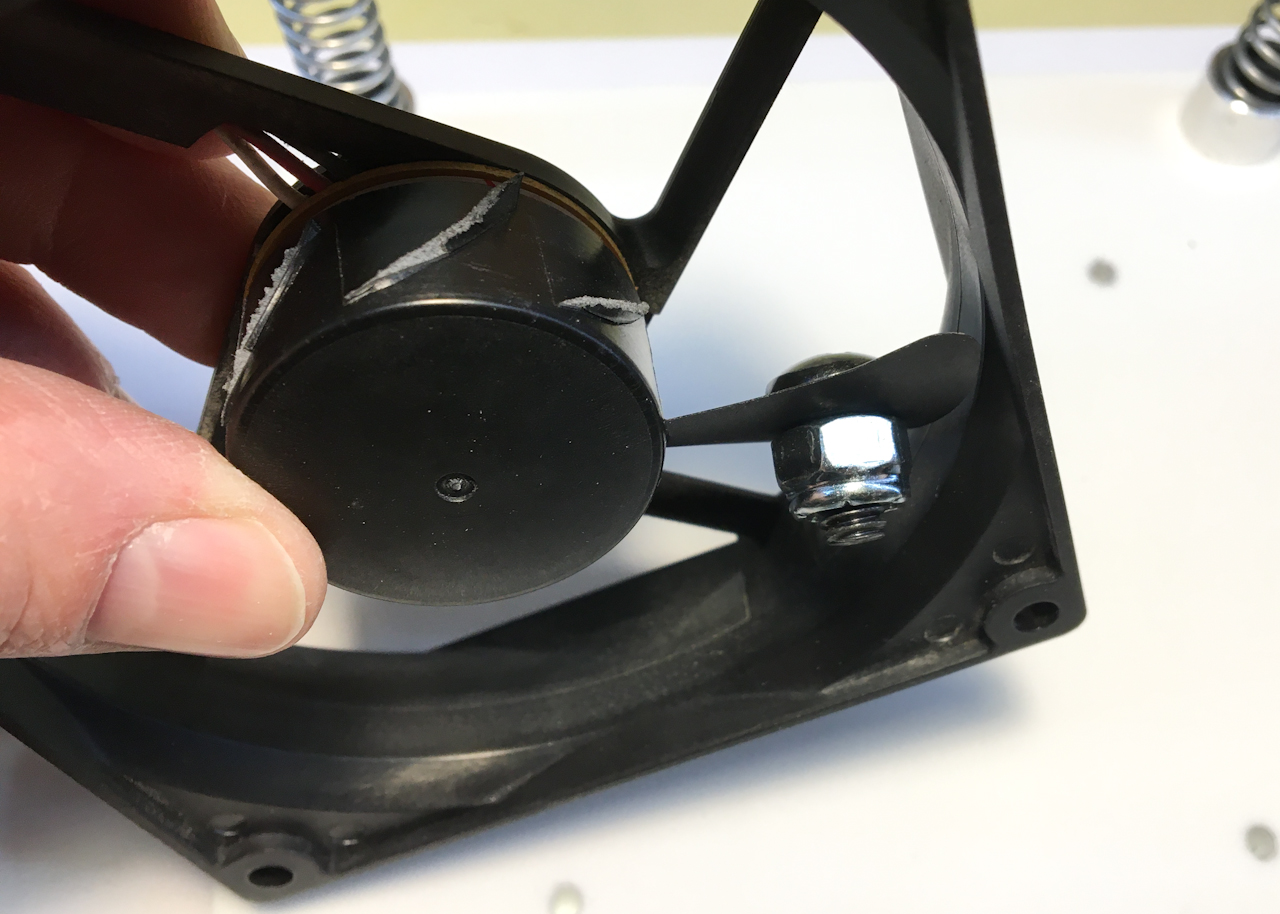
A lock nut/bolt combo is used on the remaining blade as the unbalanced mass which causes the entire thing to shake as it spins which is where all of the vibration comes from.
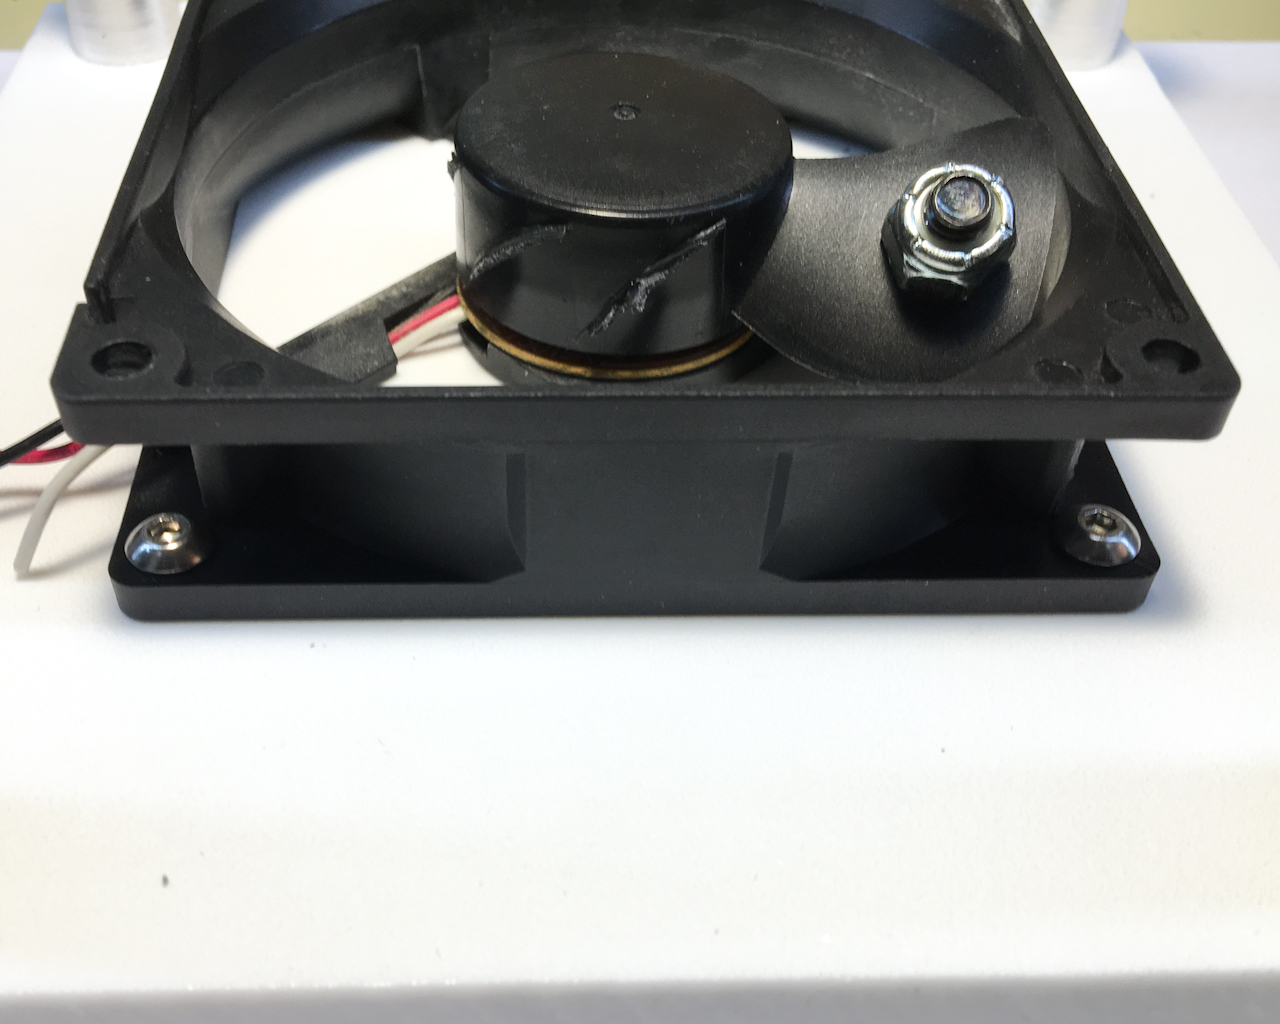
The fan setup just bolts to the under side of the table top.
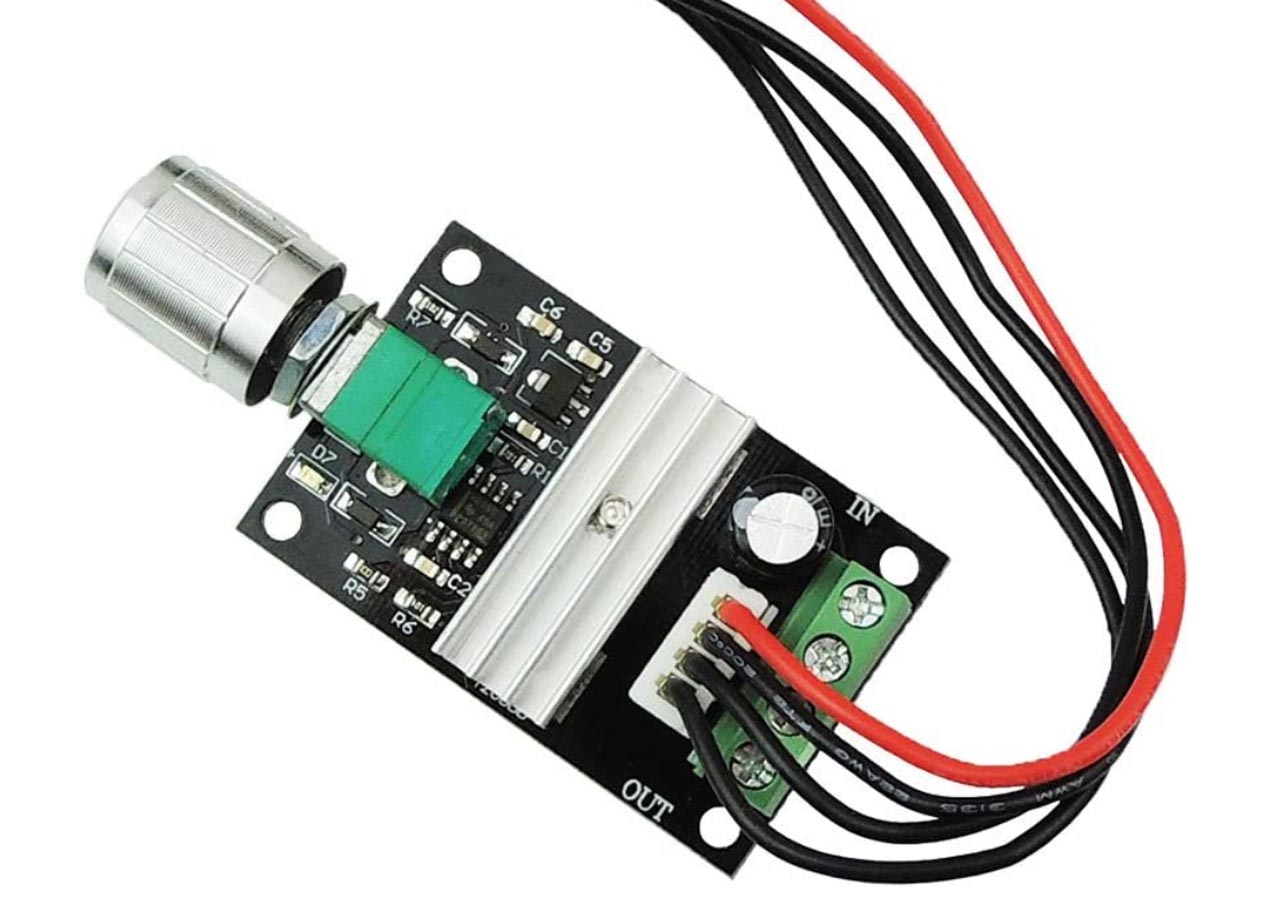
This is a cheap Motor Speed Controller I had laying around that I found on Amazon a few years ago that I will be using to control the shaker motor.
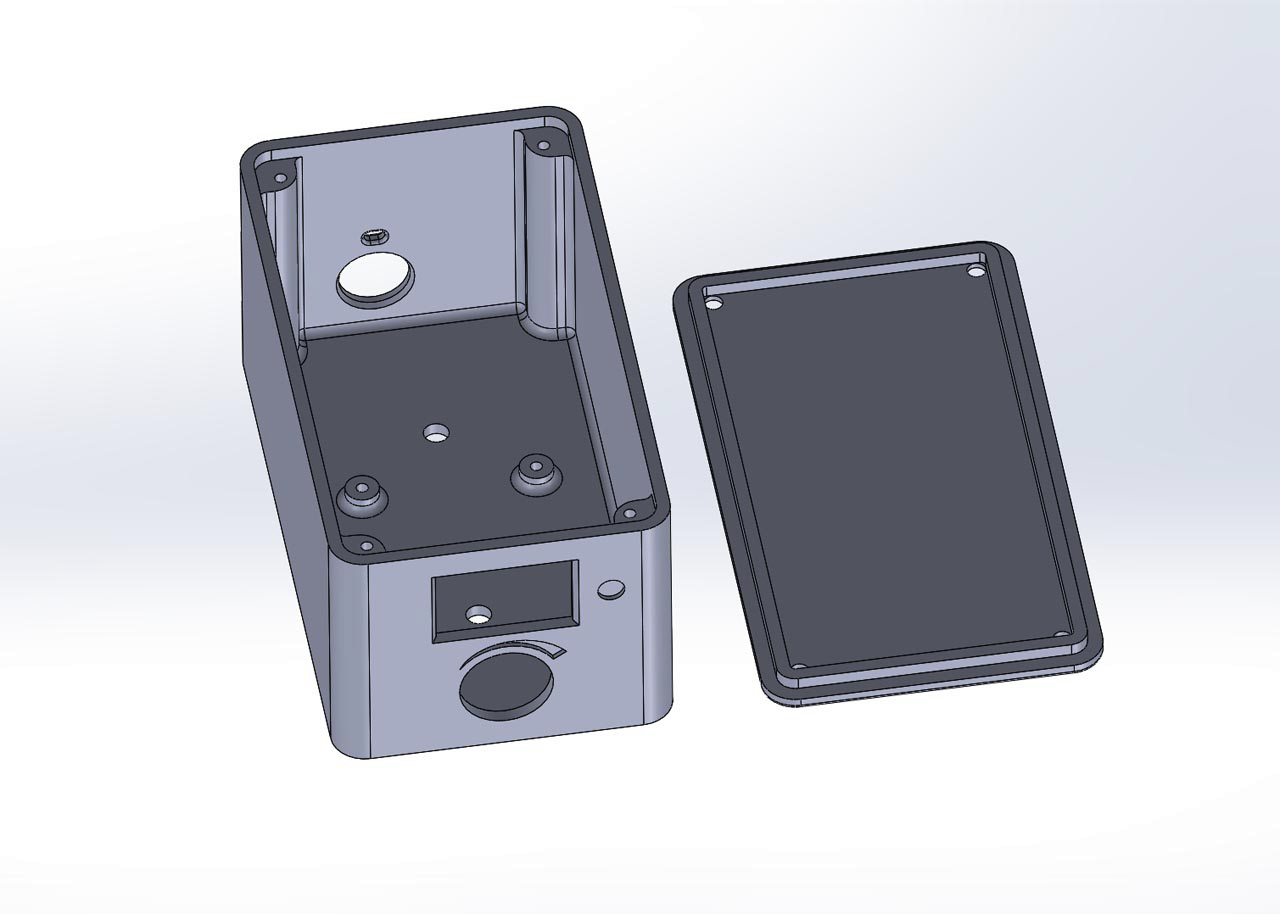
I designed a quick box in CAD for the motor controller that is then 3D printed
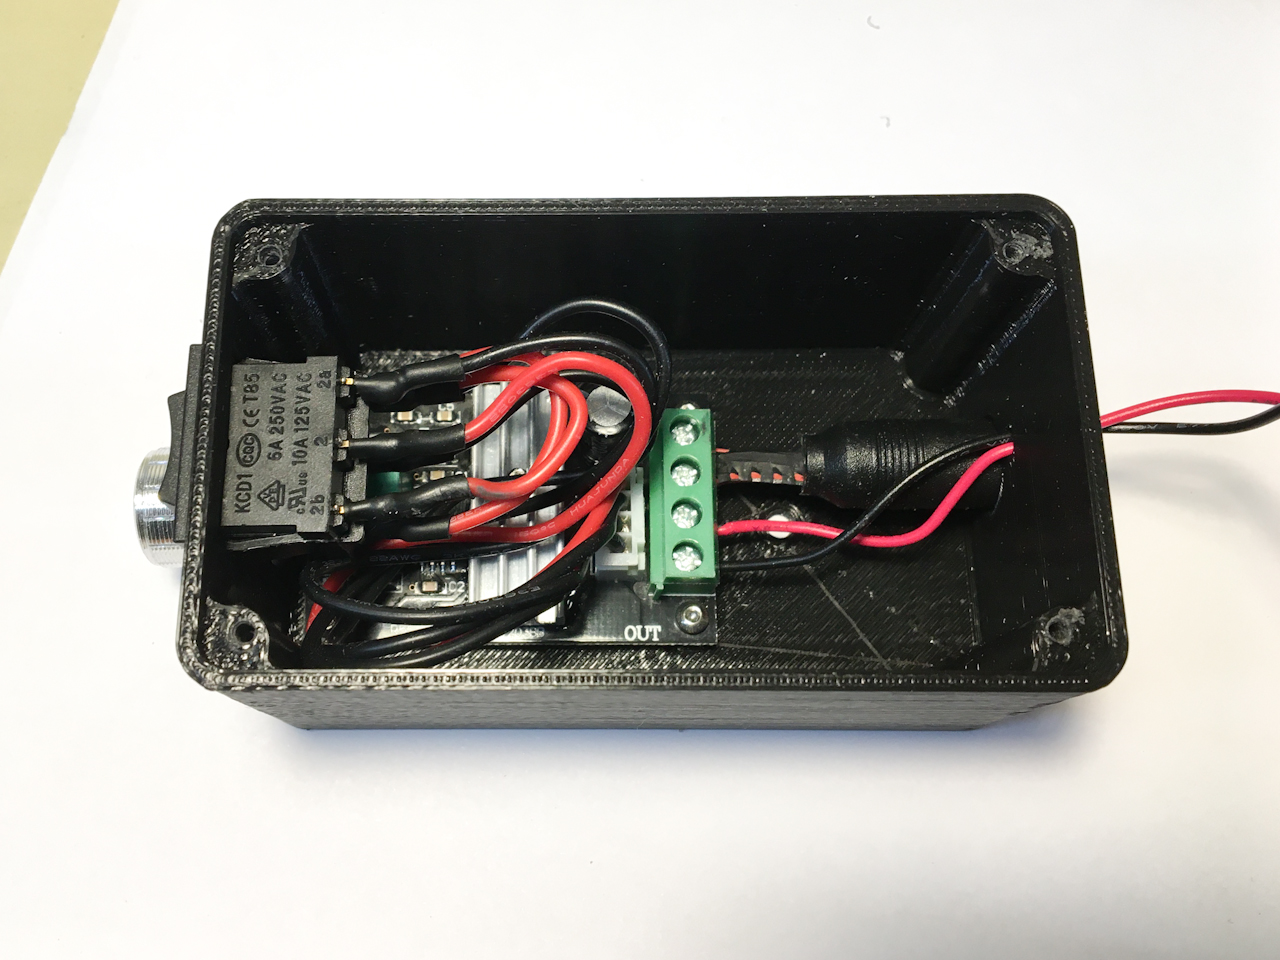
Here is the motor controller in the finished printed box.
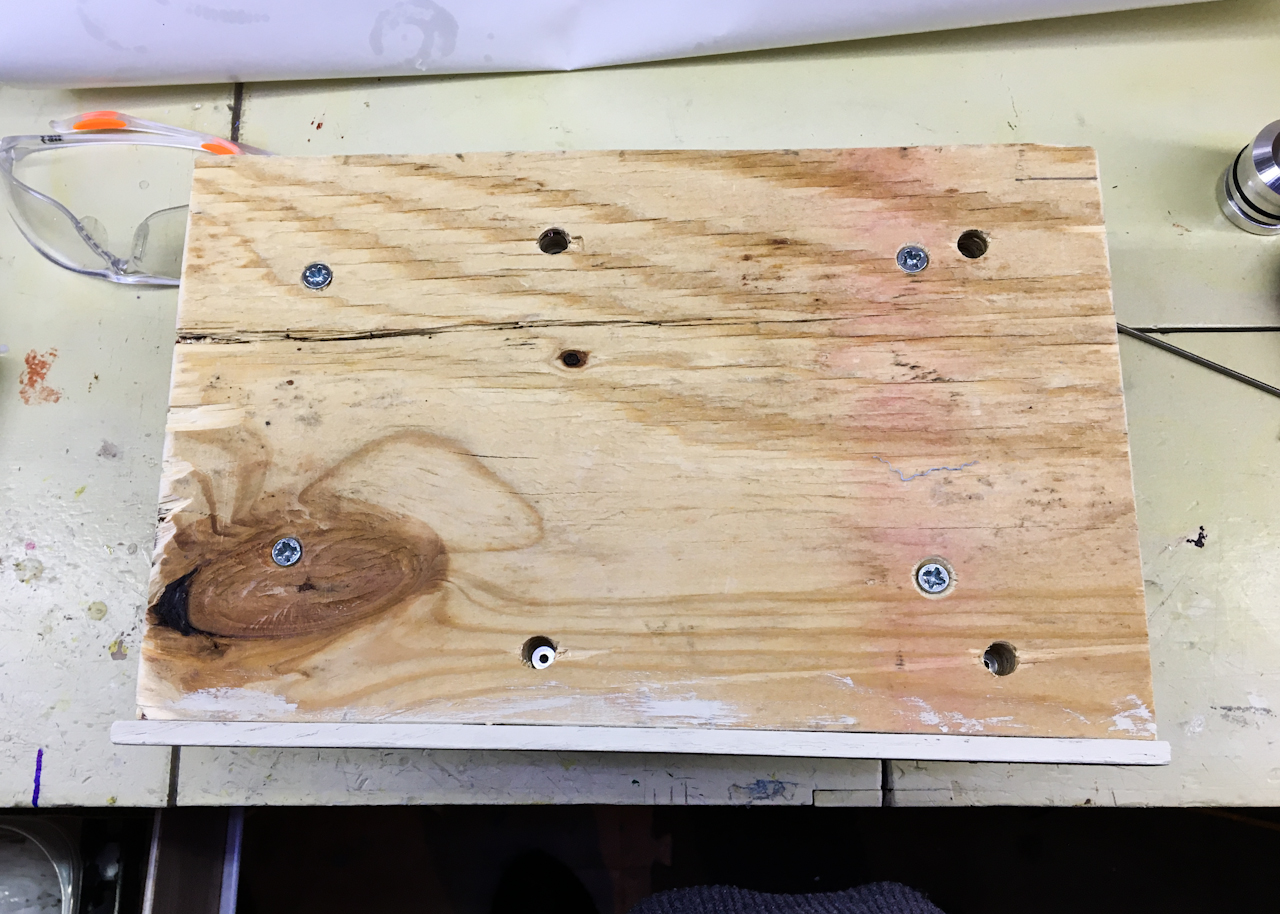
The shaker table setup gets mounts to a plywood slider through 4 counter sunk holes using 8-32″ screws.
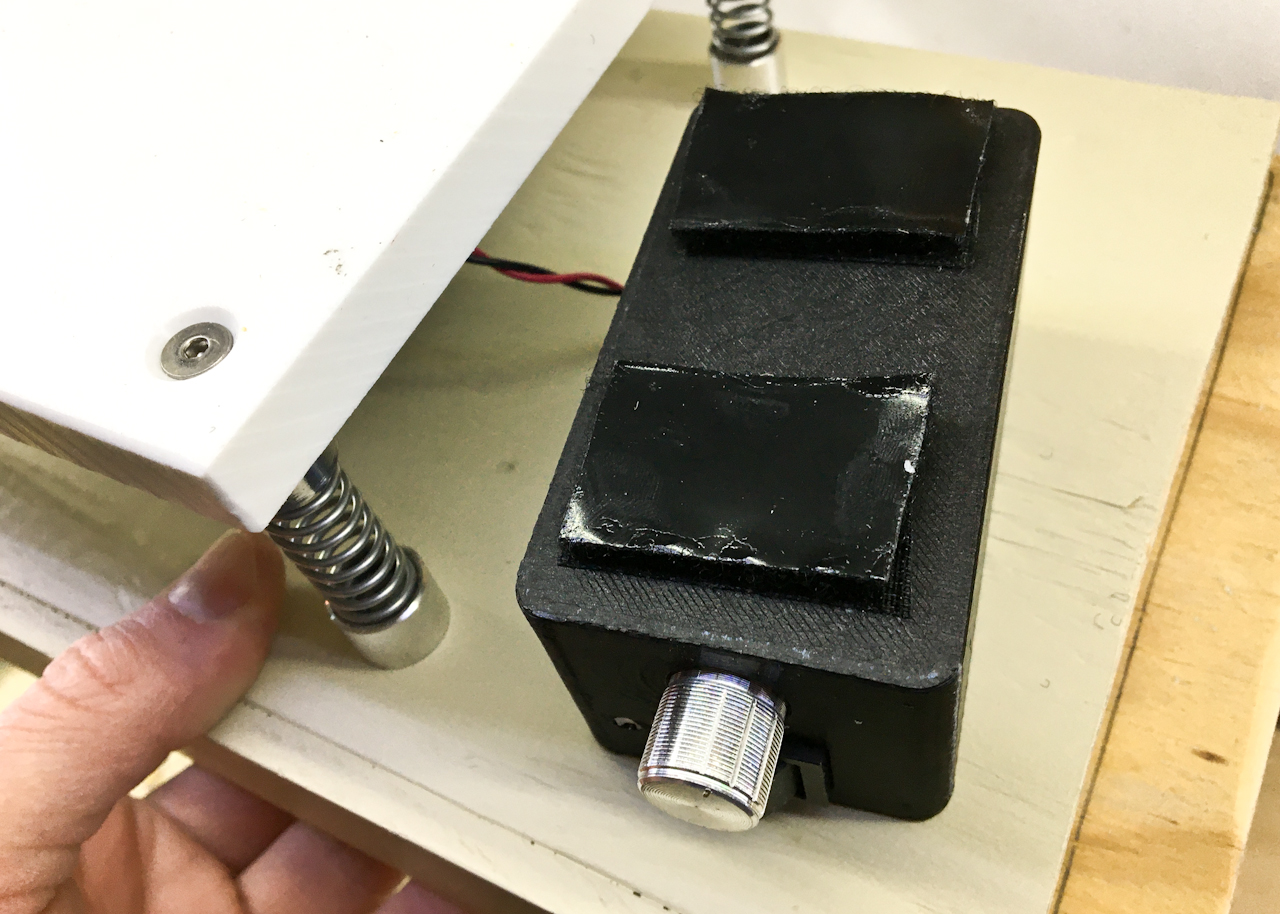
The controller box does have holes for mounting but I used some Velco in the hopes that it would dampen the vibrations to it.
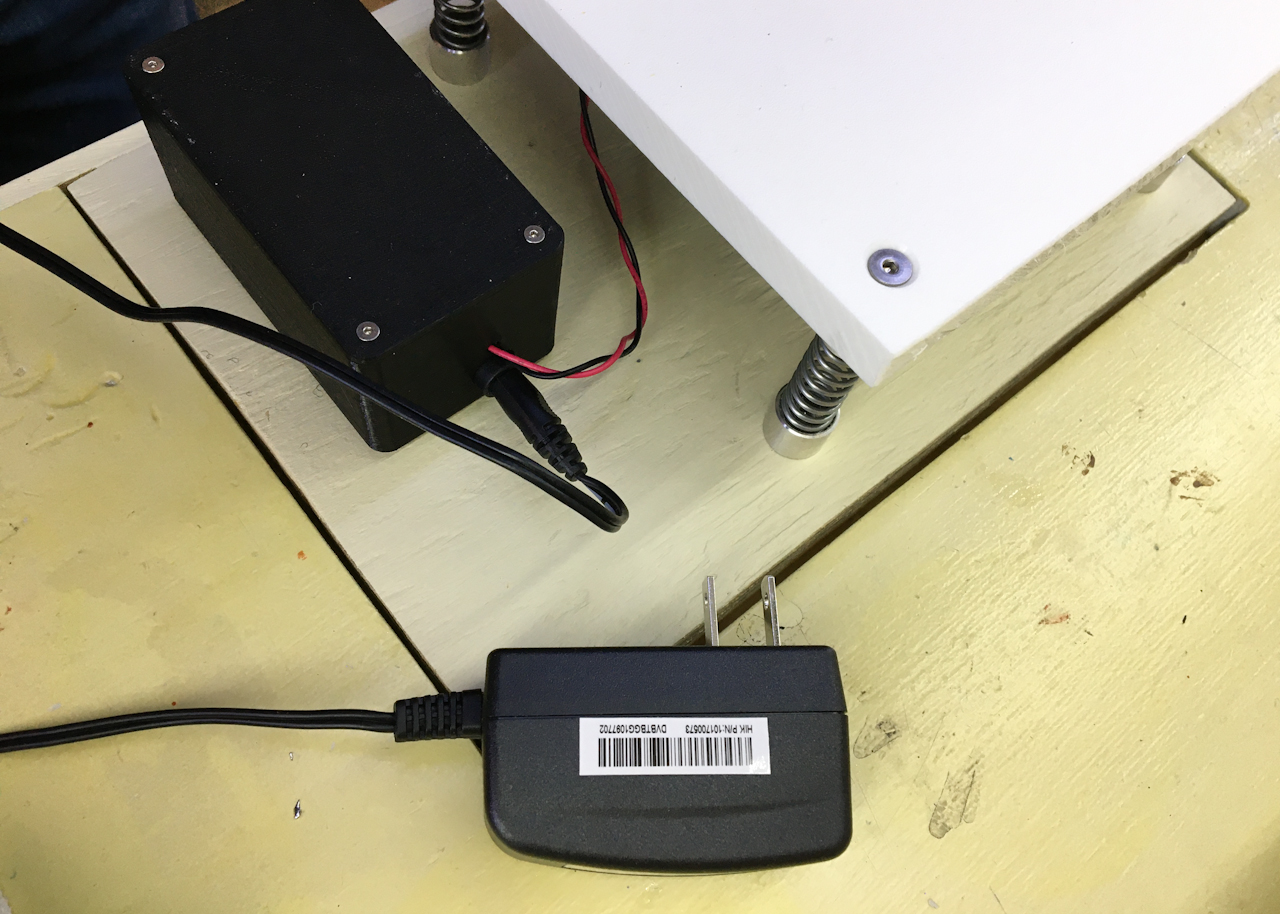
The power supply for the motor and controller is a 12VDC 1A wall wart I also found on Amazon for another project.
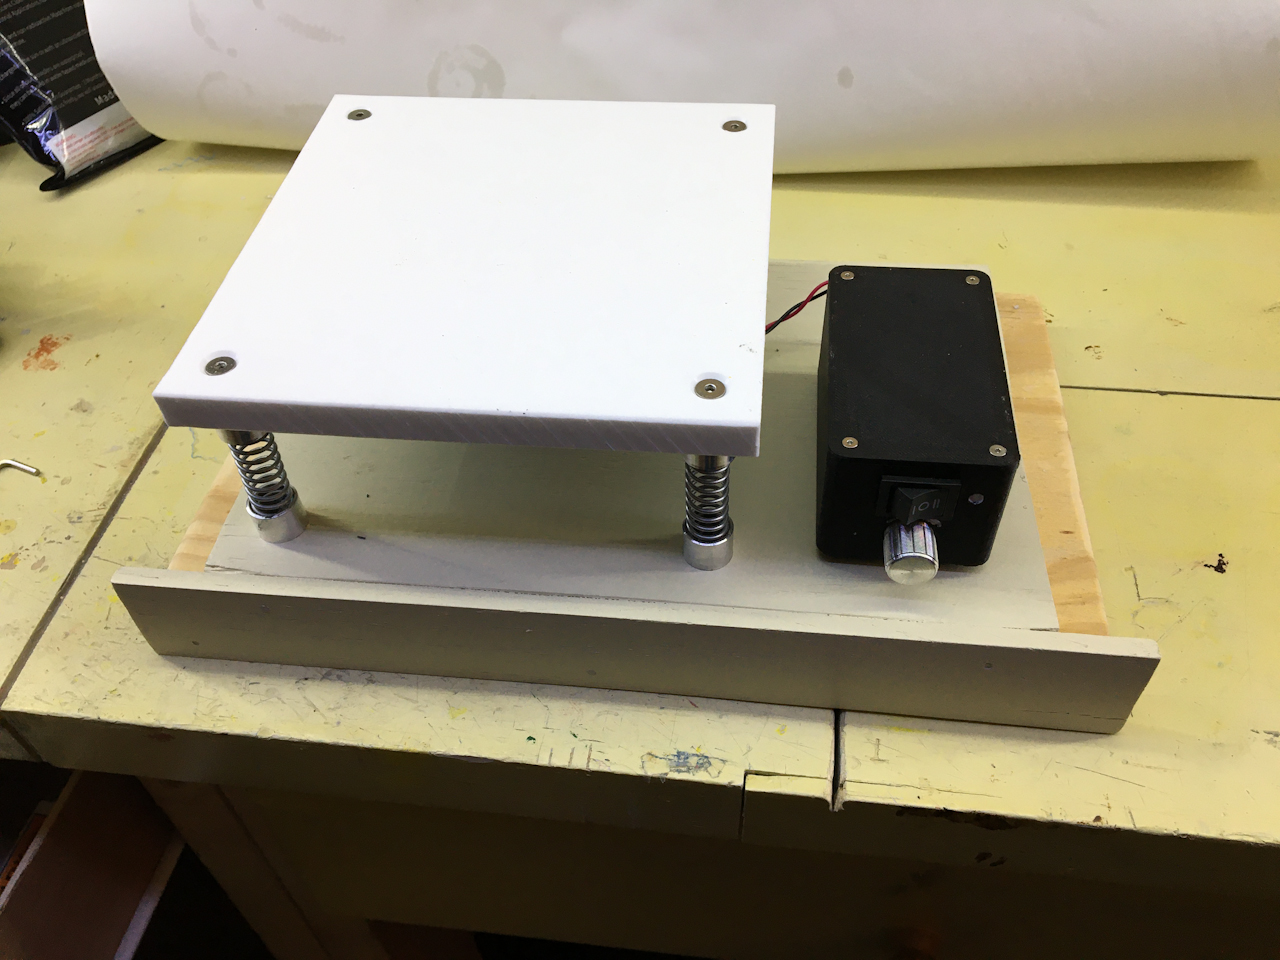
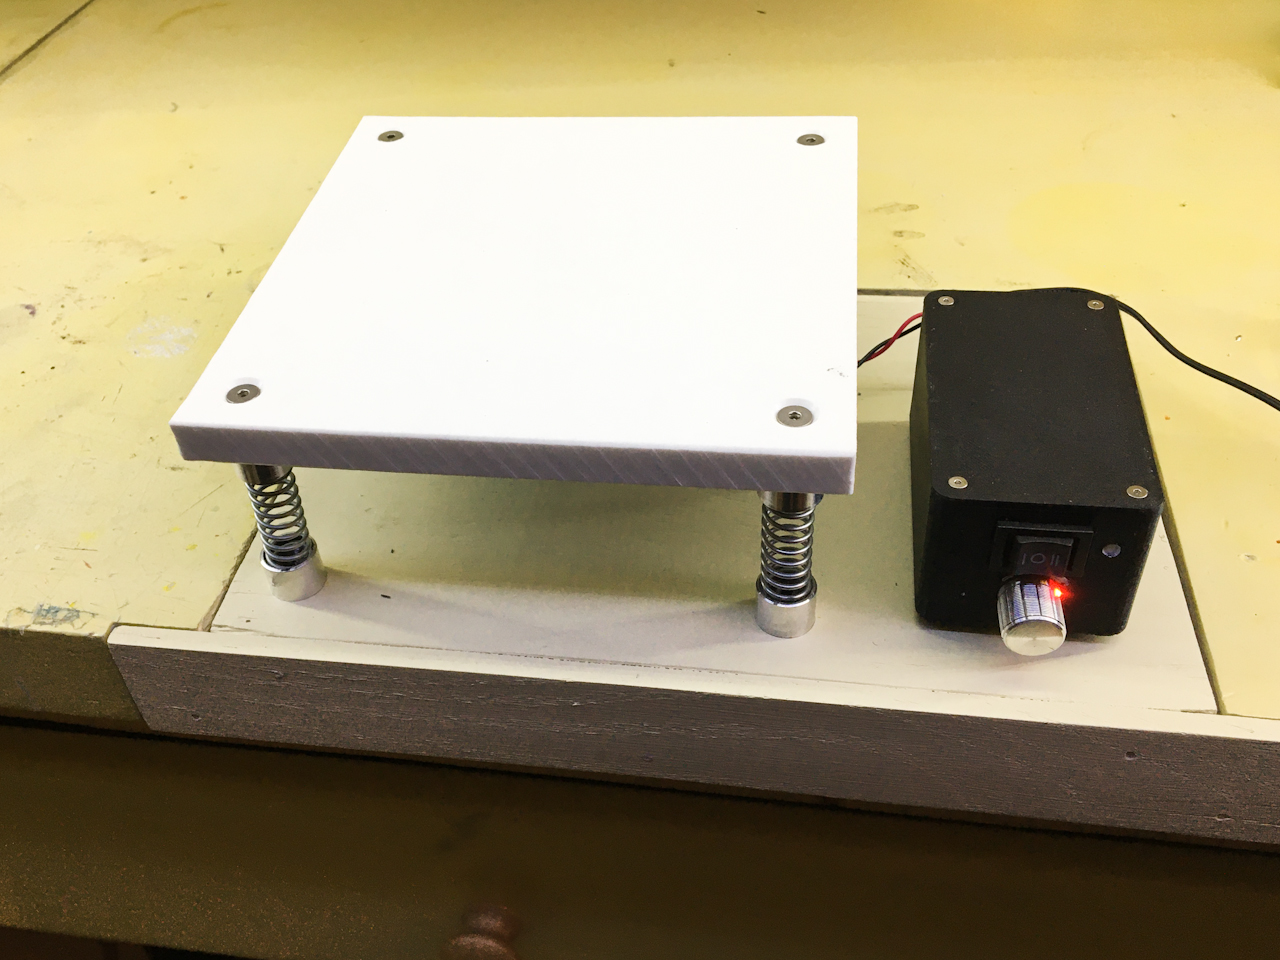
This is the finished shaker deck, the plywood it is mounted to is a slider that fits into the top of my work bench.
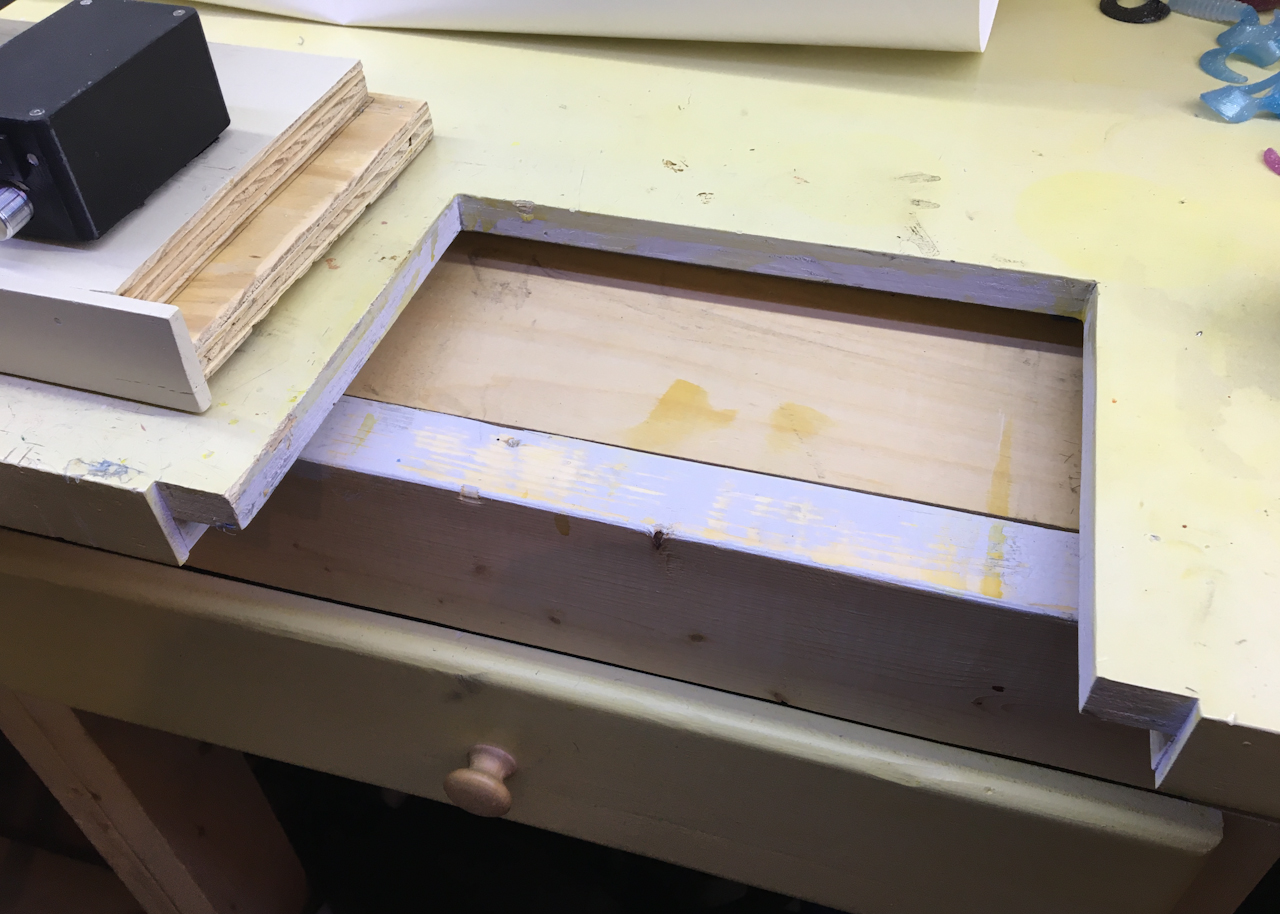
These sliders fit right into the top of my bench and have been very useful for securely mounting various tools to my bench over the years.
Here is the finished project ready for action.
All Information, Pictures, and Material is copyright © 2020 by Stephen Thone and may not be used for any personal or commercial purposes without the consent of the author. All rights reserved. The Author makes no guarantees or warranties as to the accuracy or completeness of, or results to be obtained from accessing and using the Information herein.
One Reply to “Shaker Vibration Table”
Vary interesting.